53
Recording Video and Photos
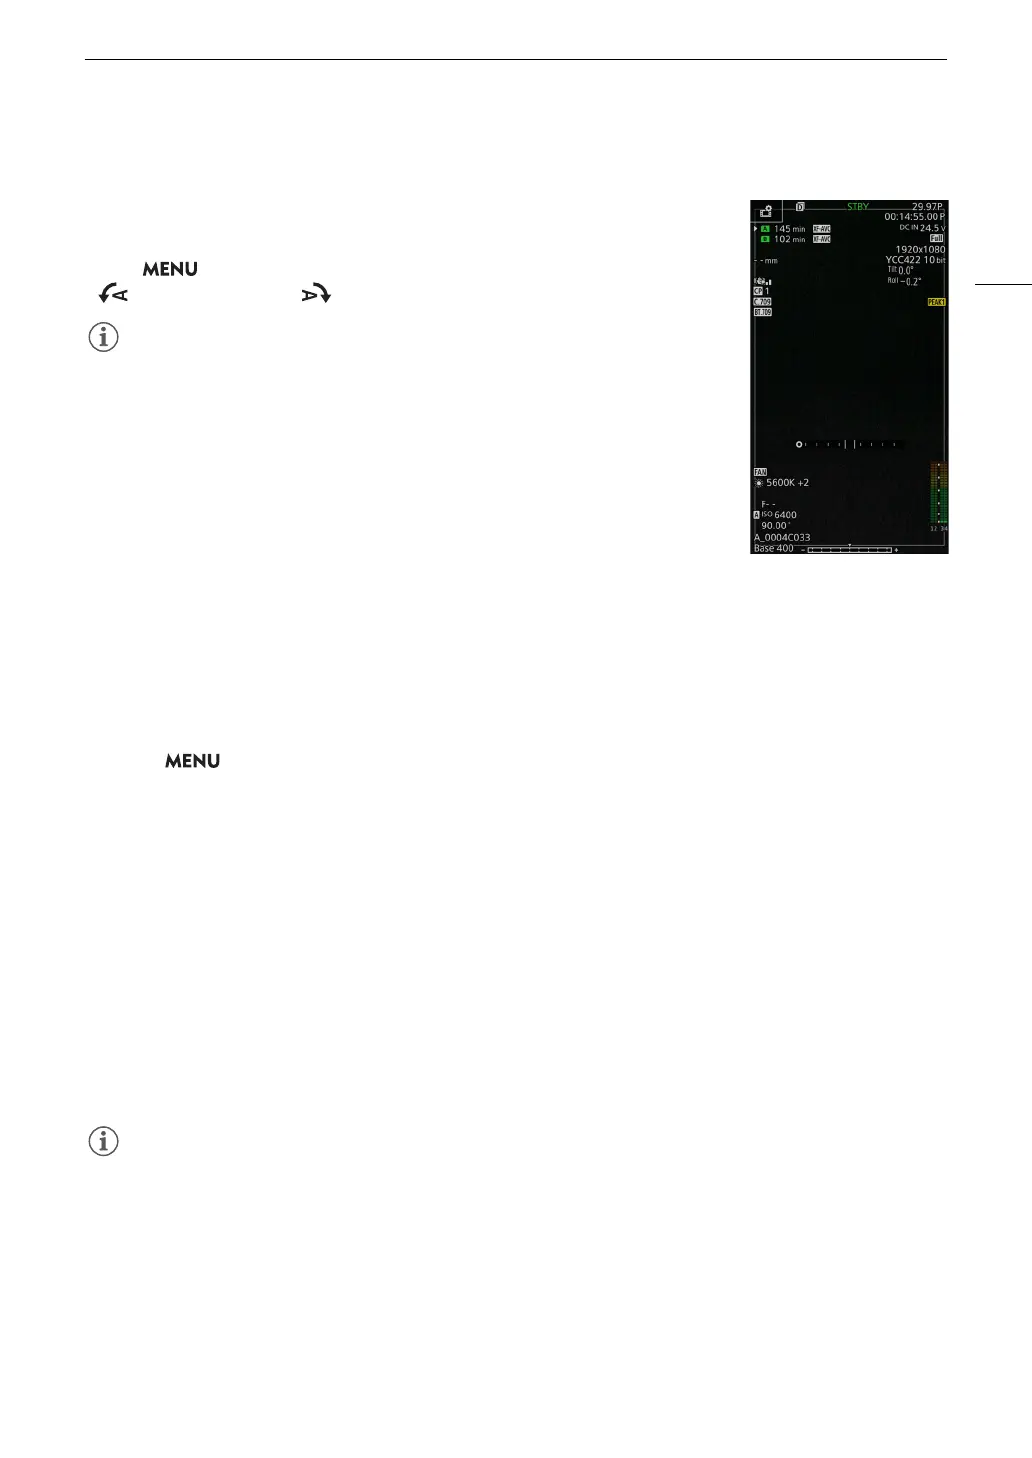
Onscreen Displays in Portrait Mode
When shooting in portrait mode, you can change the orientation of the onscreen
displays.
Select > [¢ Monitoring Setup] > Desired [OSD Orientation:] setting >
[ 90 Degrees Left] or [ 90 Degrees Right].
• The menu and status screens cannot be rotated.
• Direct touch control (other than recording settings) and the peripheral border
display cannot be used when the CAMERA mode screen is rotated.
Reviewing a Recording
If you set an assignable button to [Review Recording] in advance, you can review the last clip (primary clip)
recorded on the recording media currently in use even with the camera set to CAMERA mode.
1 Set an assignable button to [Review Recording] (A 123).
2 Select > [
B
System Setup] > [Review Recording] > Desired option.
3 After you finish recording a clip, press the assignable button.
• The last clip that was recorded is played back for the selected duration. [
Ð
REVIEW] appears on the
screen.
• There will be no sound from the built-in speaker but the audio will be output from the × (headphone), HDMI
OUT or SDI OUT terminal.
• You can use the joystick to jump back/forward within the clip. You can also touch or slide the onscreen
progress bar to move to a different position in the video (A 143).
• Press CANCEL or flick down on the screen to stop reviewing the clip.
• After the clip finishes playing back, or if you stop reviewing the clip, the camera returns to record standby
mode.
Options
[Entire Clip]: Allows you to review the entire clip.
[Last 4 sec]: Allows you to review just the last 4 seconds of the clip.
• If the camera switched cards during a recording, the camera will play back the clip on the card most recently
recorded on.
• You cannot review clips when continuous recording is activated.