COPYRIGHT
©
1999 CANON INC. CANON 405/335 REV.0 JAN. 1999 PRINTED IN JAPAN (IMPRIME AU JAPON)
10-27
CHAPTER 10 EXTERNALS/AUXILIARY MECHANISMS
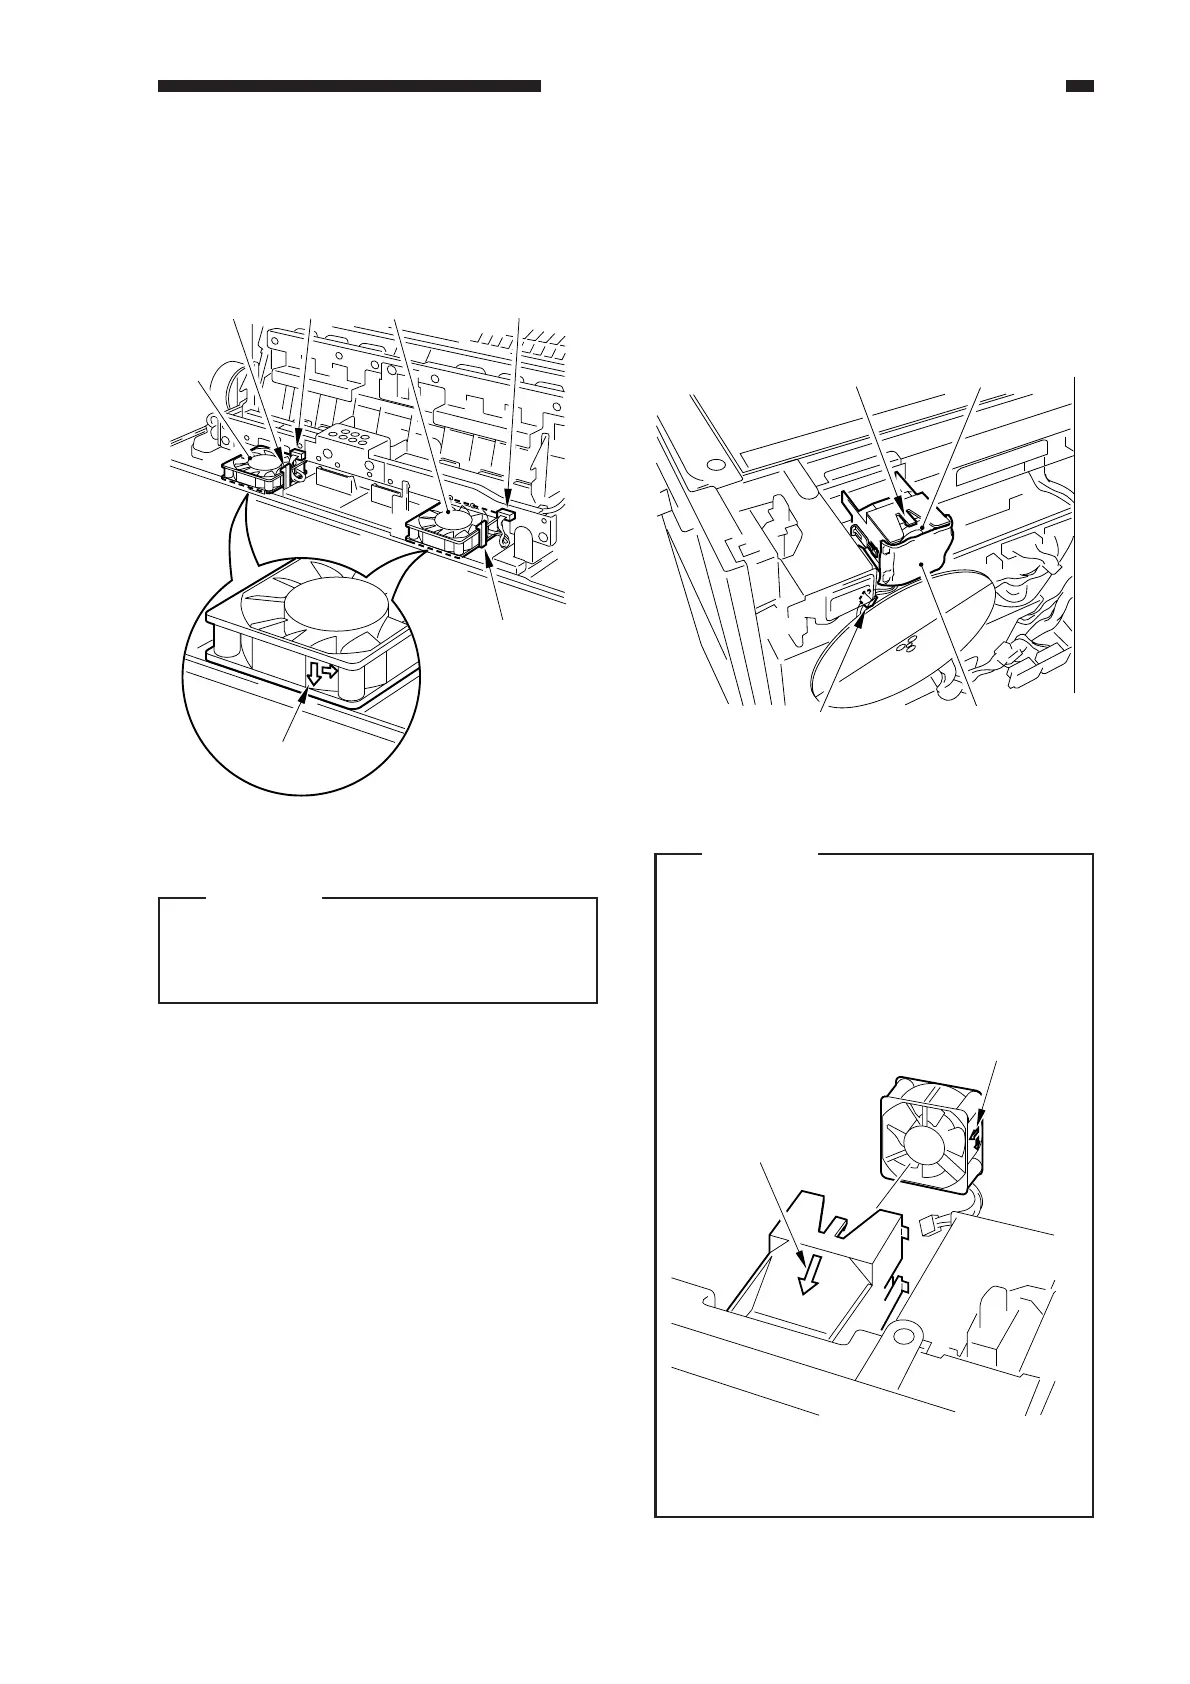
Figure 10-531
Caution:
When mounting the fan, be user that the
current of air [9] will be toward the
outside.
Figure 10-532
Caution:
When mounting the fan, be sure that the
direction of the arrow [5] (indicating the
direction of air current) marked on the
fan guide and the direction of the current
[6] on the fan exterior match.
Figure 10-533
[8]
[7]
[6]
[8]
[6]
[7]
[9]
FM3
FM2
[1]
[3] [4]
[2]
[5]
[6]
3. Laser Cooling Fan (FM4)
1) Remove the rear cover.
2) Remove the filter [1].
3) Disconnect the connector [2], and
disengage the hook [3]; then, remove the
laser cooling fan [4].
5) Disconnect the connector [6], and
disengage the hook [7]; then, detach the
fixing assembly heat discharge fan [8].



 To Next Page