20060301
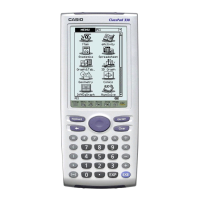
4. Replacing Batteries and Setting Up the
ClassPad
u
ClassPad Operation
(1) Making sure that you do not accidentally press the
o
key, attach the front cover to the
ClassPad and then turn the ClassPad over. Remove the battery cover from the ClassPad by
pulling with your finger at the point marked
1
.
(2) Load the four batteries that come with ClassPad.
• Make sure that the positive (+) and negative (–) ends of
the batteries are facing correctly.
3
Getting Ready
3. Using the Stylus
Slide the stylus from the slot provided for it on the ClassPad, and then use it to perform touch
panel operations.
Important!
• Be careful so that you do not misplace or lose the stylus. When you are not using it, always
keep the stylus in the slot provided for it on the ClassPad.
• Be careful so that you do not damage the tip of the stylus. A damaged tip can scratch or
otherwise damage the ClassPad touch panel.
• Use only the supplied stylus or a similar instrument to perform touch panel operations. Never
use a pen, pencil, or other writing instrument.