4-12
Catalyst 6500 Series Switches Installation Guide
OL-5781-04
Chapter 4 Removal and Replacement Procedures
Removing and Installing the AC-Input Power Supplies
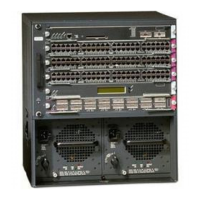
Step 4 Grasp the power supply handle with one hand. Place your other hand underneath the power supply, as
shown in Figure 4-7. Slide the power supply into the power supply bay. Make sure that the power supply
is fully seated in the bay.
Step 5 Tighten the power supply captive installation screw. (See Figure 4-6.)
Step 6 Plug the power cord into the power supply, and tighten the screw on the cable retention device. Refer to
Appendix A for a list of supported AC power cords.
Note The AC power cord for the 4000 W power supply is hard wired to the power supply.
Step 7 Connect the other end of the power cord to an AC-input power source.
Caution In a system with dual power supplies, connect each power supply to a separate input source. In case of
a power source failure, the second source should still be available.
Step 8 Turn the power switch to the On (|) position on the power supply. Switching the power switch to On also
engages a pawl that locks the power supply in the bay.
Step 9 Verify the power supply operation by ensuring that the power supply front panel LEDs are in these states:
• INPUT OK LED is green
• FAN OK LED is green
• OUTPUT FAIL LED is not lit
If the LEDs indicate a power problem, see the “Identifying Startup Problems” section on page E-3 for
troubleshooting information.