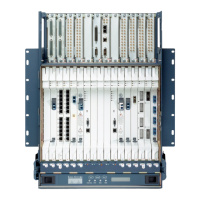
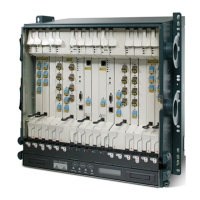
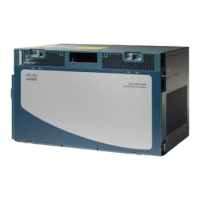
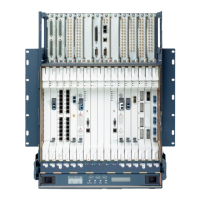
Step 2 Choose the corresponding West or East side of the second shelf to cable the 32WSS card for the second
ROADM node.
Step 3 On the front of the fiber-storage tray that will be used for routing the fiber-optic cable, push the tabs on the
left and right sides inward to release the lock on the tray.
Step 4 Pull the fiber-storage tray away from the shelf until it is fully opened.
Step 5 Open the fold-down door located at the bottom of both shelf assemblies to expose the cable-routing channels
for each.
Figure 13: Managing Cables on the Front Panel
Step 6 Plug one end of the first 3-meter fiber-optic cable into the EXP-TX connector on the first 32WSS card.
Step 7 Route the fiber-optic cable through the shelf cable-routing channel and cutout on the appropriate side of the
shelf assembly, as necessary.
Step 8 Route the fiber-optic cable through the vertical fiber guide as needed to reach the entry to the fiber-storage
tray.
Step 9 Thread the cable into the fiber-storage tray at the appropriate side and around the first bend radius delimiter
as shown in Figure 14: Fiber-Storage Tray, on page 54.
Step 10 As needed, route slack fiber-optic cable around the slack management cable retainers in the fiber-storage tray.
Figure 14: Fiber-Storage Tray
Turning Up a Node
54
Turning Up a Node
NTP-G191 Installing Fiber-Optic Cables on Passthrough ROADM Nodes
 Loading...


