Installing Your Phone
Before You Begin
Cisco Small Business Pro IP Phone SPA525G (SIP) User Guide 26
2
Before You Begin
Before you install and connect your phone, verify with your System Administrator
(if applicable) that the network is ready for the phone, read the safety notices, and
make sure you have all the phone parts and documentation available.
Connecting the Handset
STEP 1 Find the longer end of the coiled phone cord. Insert it into the back of the phone
base in the slot marked with a phone symbol. This port is labeled #5 on the Cisco
SPA525G IP Phone Connections graphic.
STEP 2 Insert the short end of the handset cord into the jack at the bottom of the handset
(not shown).
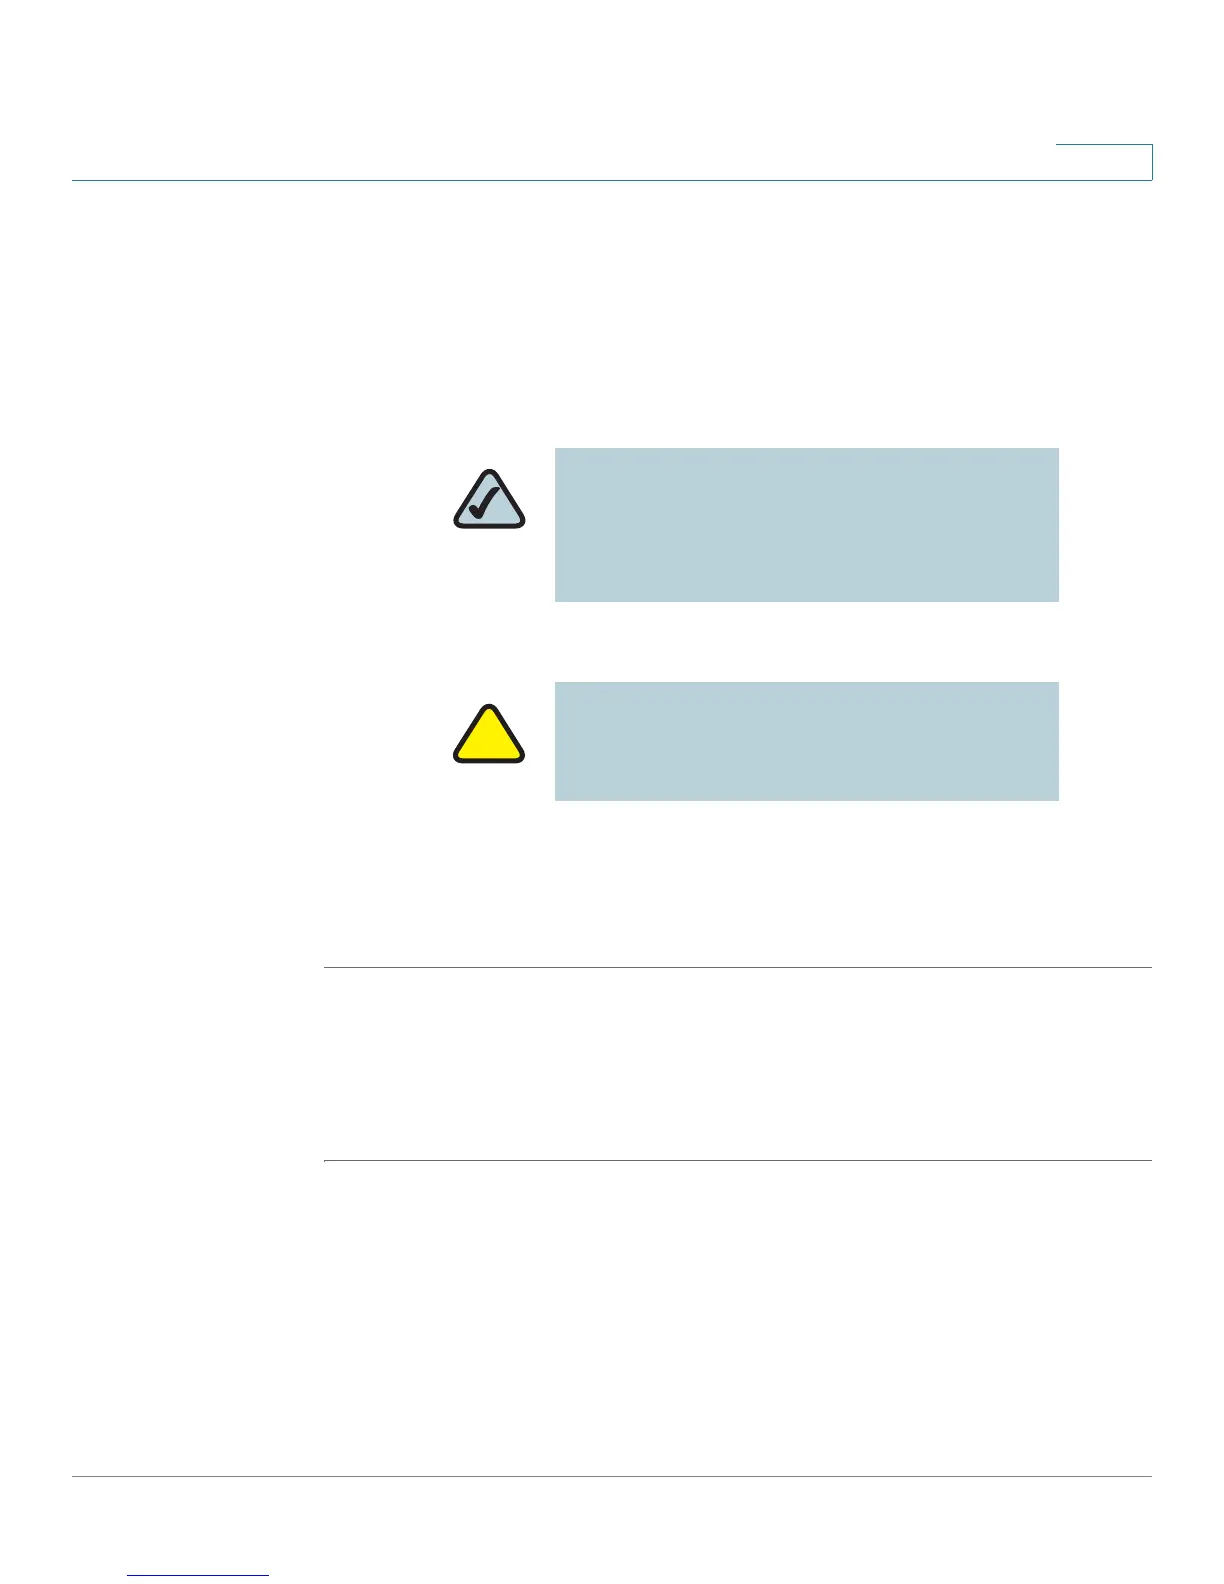
NOTE: The RJ-11 port marked “AUX” is
reserved for connection with the SPA932
Attendant Console that works with the
SPA525G. It is not for use as a telephone line
port.
CAUTION: Do not plug a telephone line cord
into the port marked “AUX.”