P/N 80679, Rev. 10 Page 41
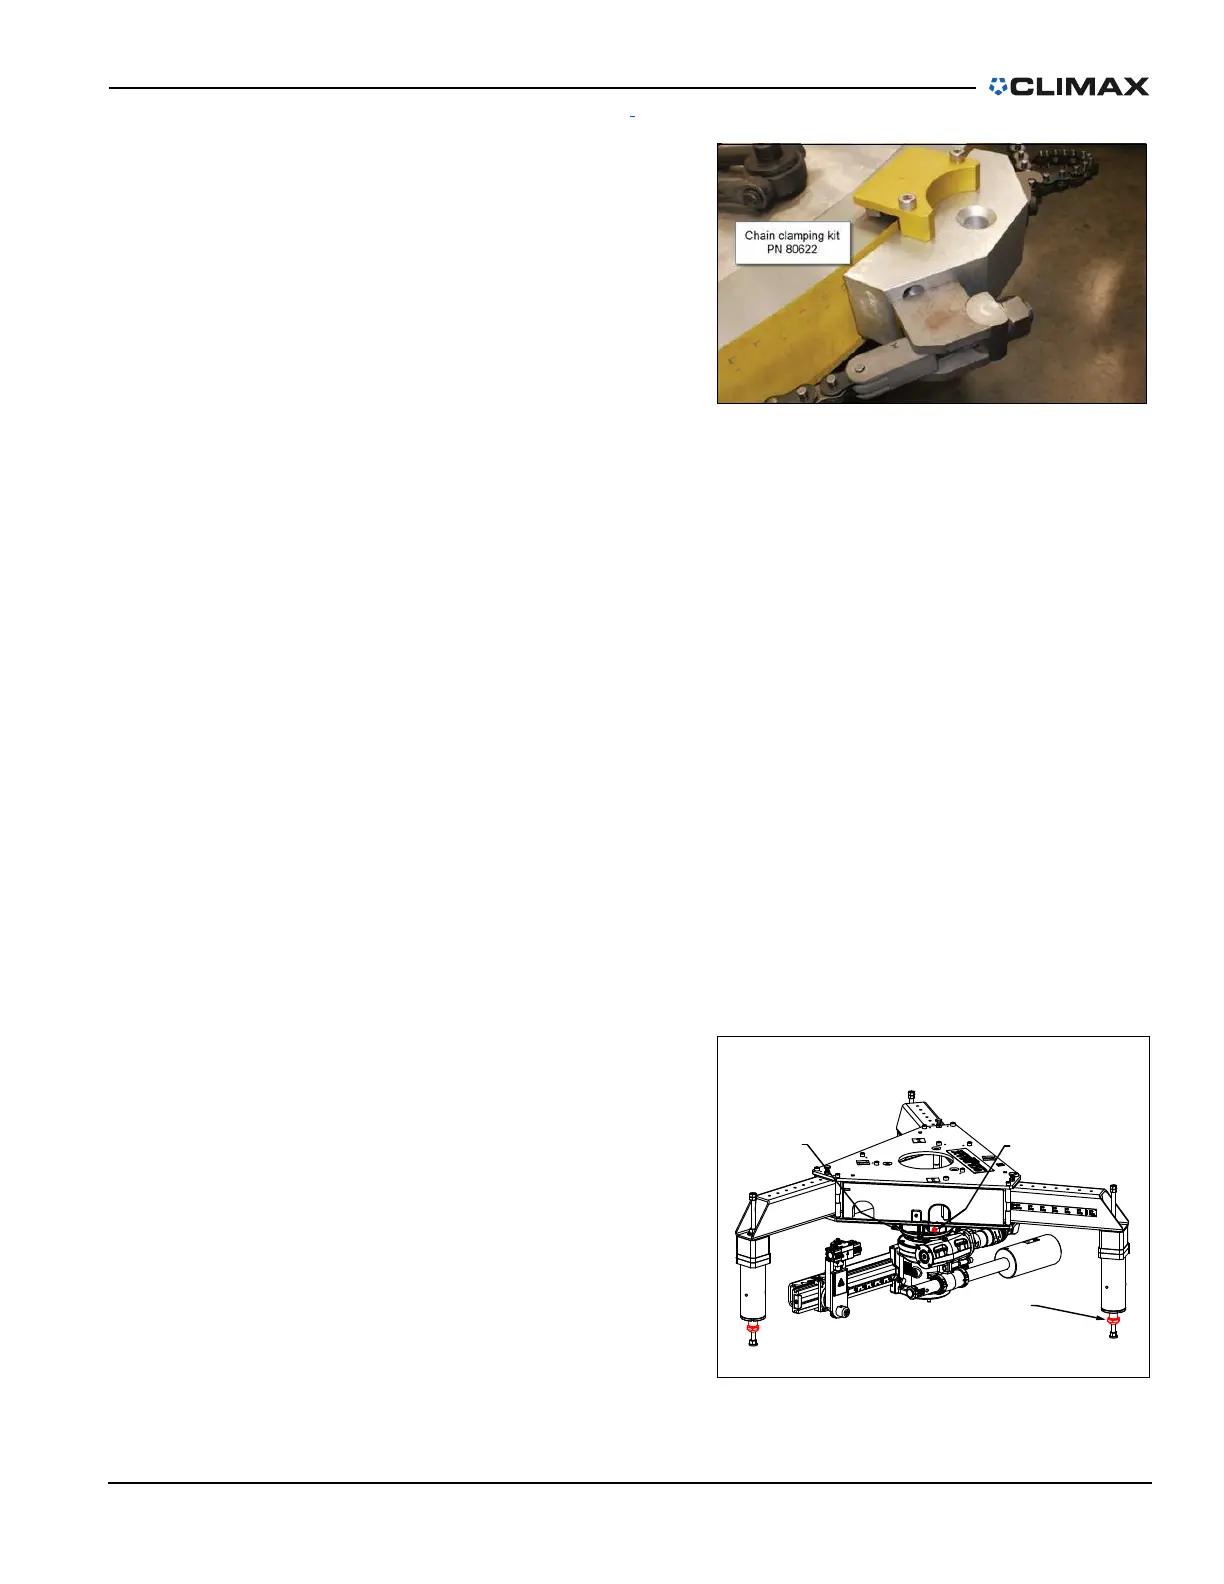
• Attach the vertical legs by
using the CLIMAX OD
Chain Clamp Kit (P/N
80622) (Figure 3-23).
Tighten the chain evenly to
50 ft-lbs (68 N m).The
chain clamp kit is an
optional accessory; contact
your CLIMAX representa-
tive for more information.
3.7.5 Centering and leveling the OD mount assembly
1. Check that the centering plate spacer is approximately centered on the OD
mount.
2. Mount a dial indicator on the turning arm.
3. Check that power to the machine drive is isolated and locked out.
4. Using the dial indicator, indicate the workpiece surface for level while
manually rotating the machine.
• To manually rotate the pneumatic machine, insert a 10-mm hex wrench in
the hex opposite the motor or push on the end of the turning arm.
• To manually rotate the hydraulic machine, use the cross-connection hose
supplied with the machine to connect the #1 and #2 port hoses. Insert a 10-
mm hex wrench in the hex opposite the motor or push on the end of the
turning arm.
5. Level the machine by turning two of the three leveling screws at the end of the
vertical legs, with the dial indicator close to leveling adjustment (Figure 3-6 on
page 29, ID chuck shown).
6. Reposition the dial indicator to check machine centering.
7. Loosen the centering plate
clamp screws and adjust the
machine center using the four
jacking screws as necessary
(Figure 3-24).
8. Tighten the three centering
plate clamp screws (Figure 3-
24).
9. Check the machine for level
and center again.
10. Repeat step 5 to step 9 until the
machine is aligned.
FIGURE 3-23. ATTACHING THE OD MOUNT USING THE CLIMAX
CHAIN CLAMP KIT
CENTERING
SCREW 4X
CENTERING
PLATE
LEVELING
SCREWS 3X
FIGURE 3-24. OD MOUNT ADJUSTMENT POINTS