Product Manual — Doc. 9349B Crestron Zūm® Wired Solutions • 139
Rocker and Button Tree Installation
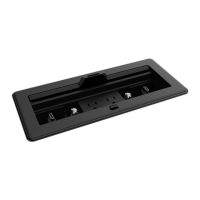
The ZUMLINK-KP comes preassembled with the white ZUMLINK-BTNR rocker button. The
following procedure describes how to replace the bezel and rocker button with a new bezel and
rocker button/button tree.
In the Box
Qty. Description
1 ZUMLINK-BTN, 2, 4, 6, or 8 Button Tree with Bezel for Zūm® Light Control Keypads
(ZUMLINK-KP) or
ZUMLINK-BTNR, Rocker Button with Bezel for Zūm® Light Control Keypads (ZUMLINK-KP)
NOTE: ZUMLINK-BTN and ZUMLINK-BTNR are available with blank, pad-printed, or custom
engraved buttons and in almond, black, gray, red, and white finishes.
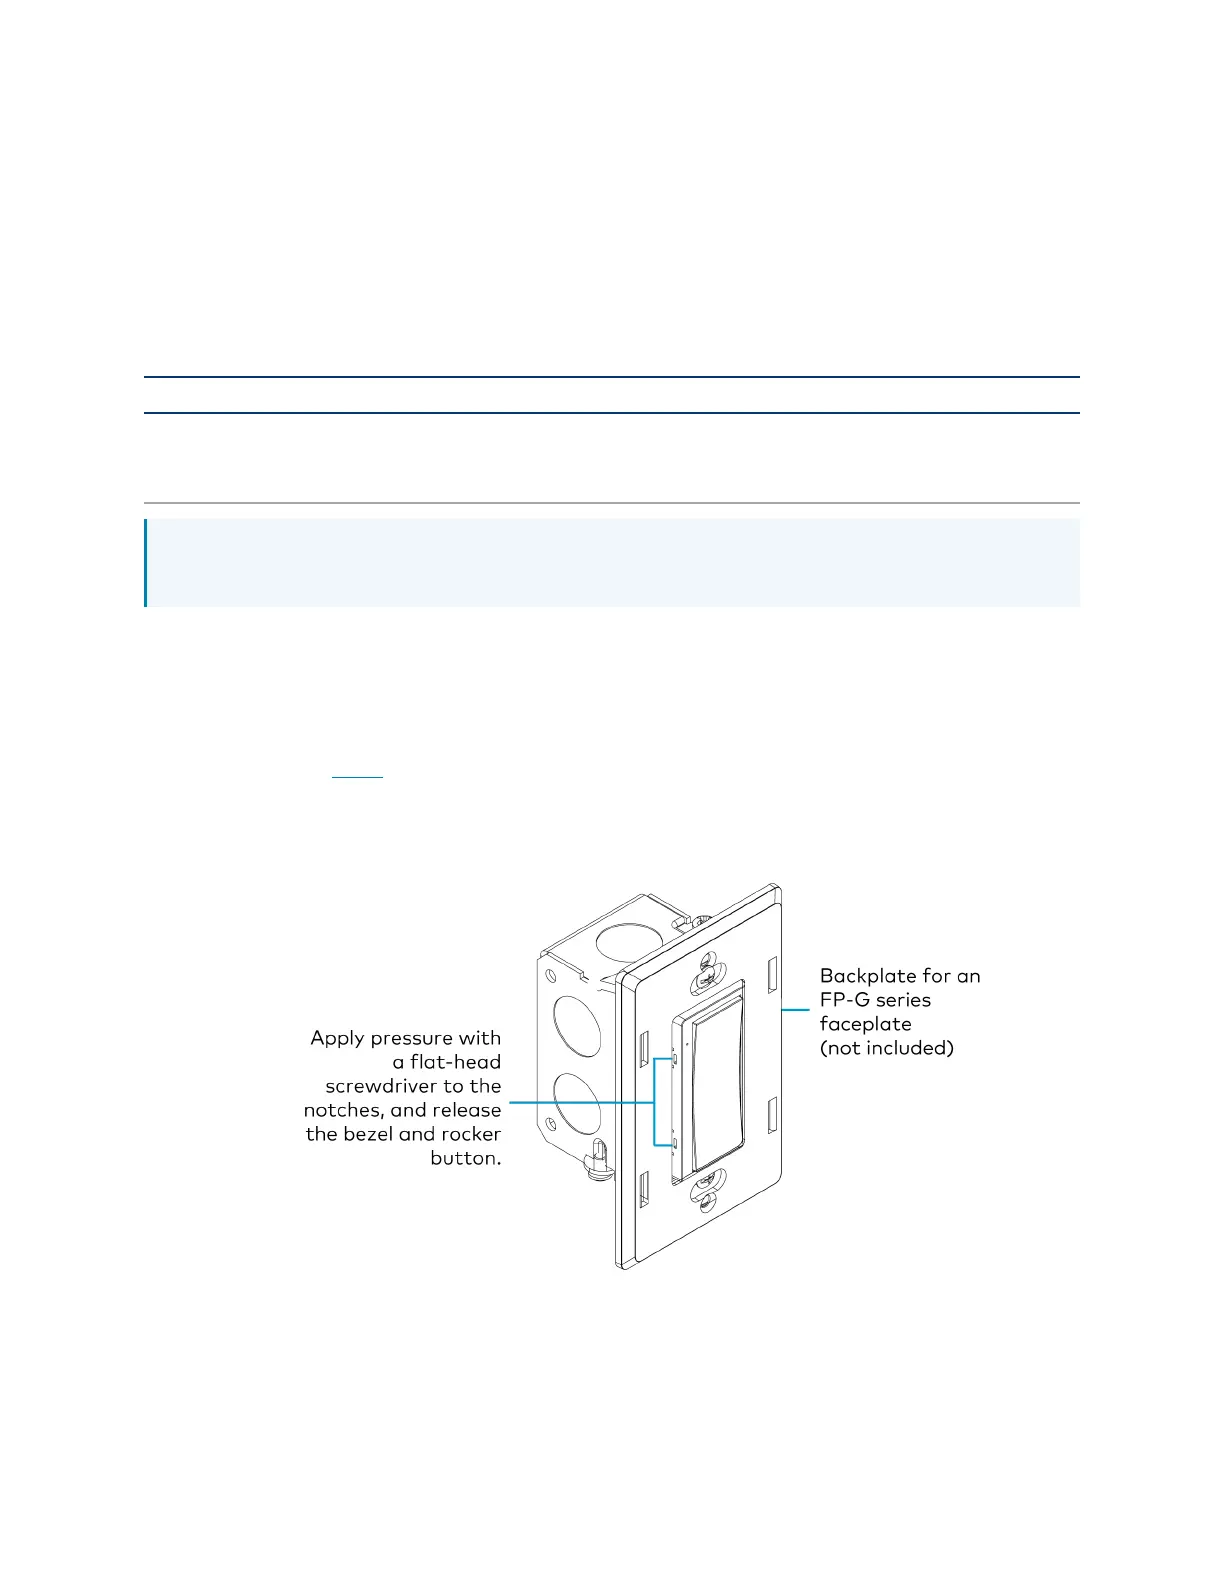
Install a Bezel and Rocker Button or Button Tree
To replace the bezel and rocker button with a new bezel and rocker button/button tree:
1. Remove the faceplate from the keypad.
If a Crestron FP-G series faceplate (not included) is installed, remove only the cover.
2. Use a flat-head screwdriver to remove the bezel and rocker button by pressing the
screwdriver into the notches on the side of the keypad.
The bezel and rocker button release from the keypad.
3. Position the replacement rocker button/button tree on the keypad.
 Loading...