NOTE: It is normal for the heat sink to slip o the blue retention clips when the screws are partially
loosened, continue to loosen the screw(s).
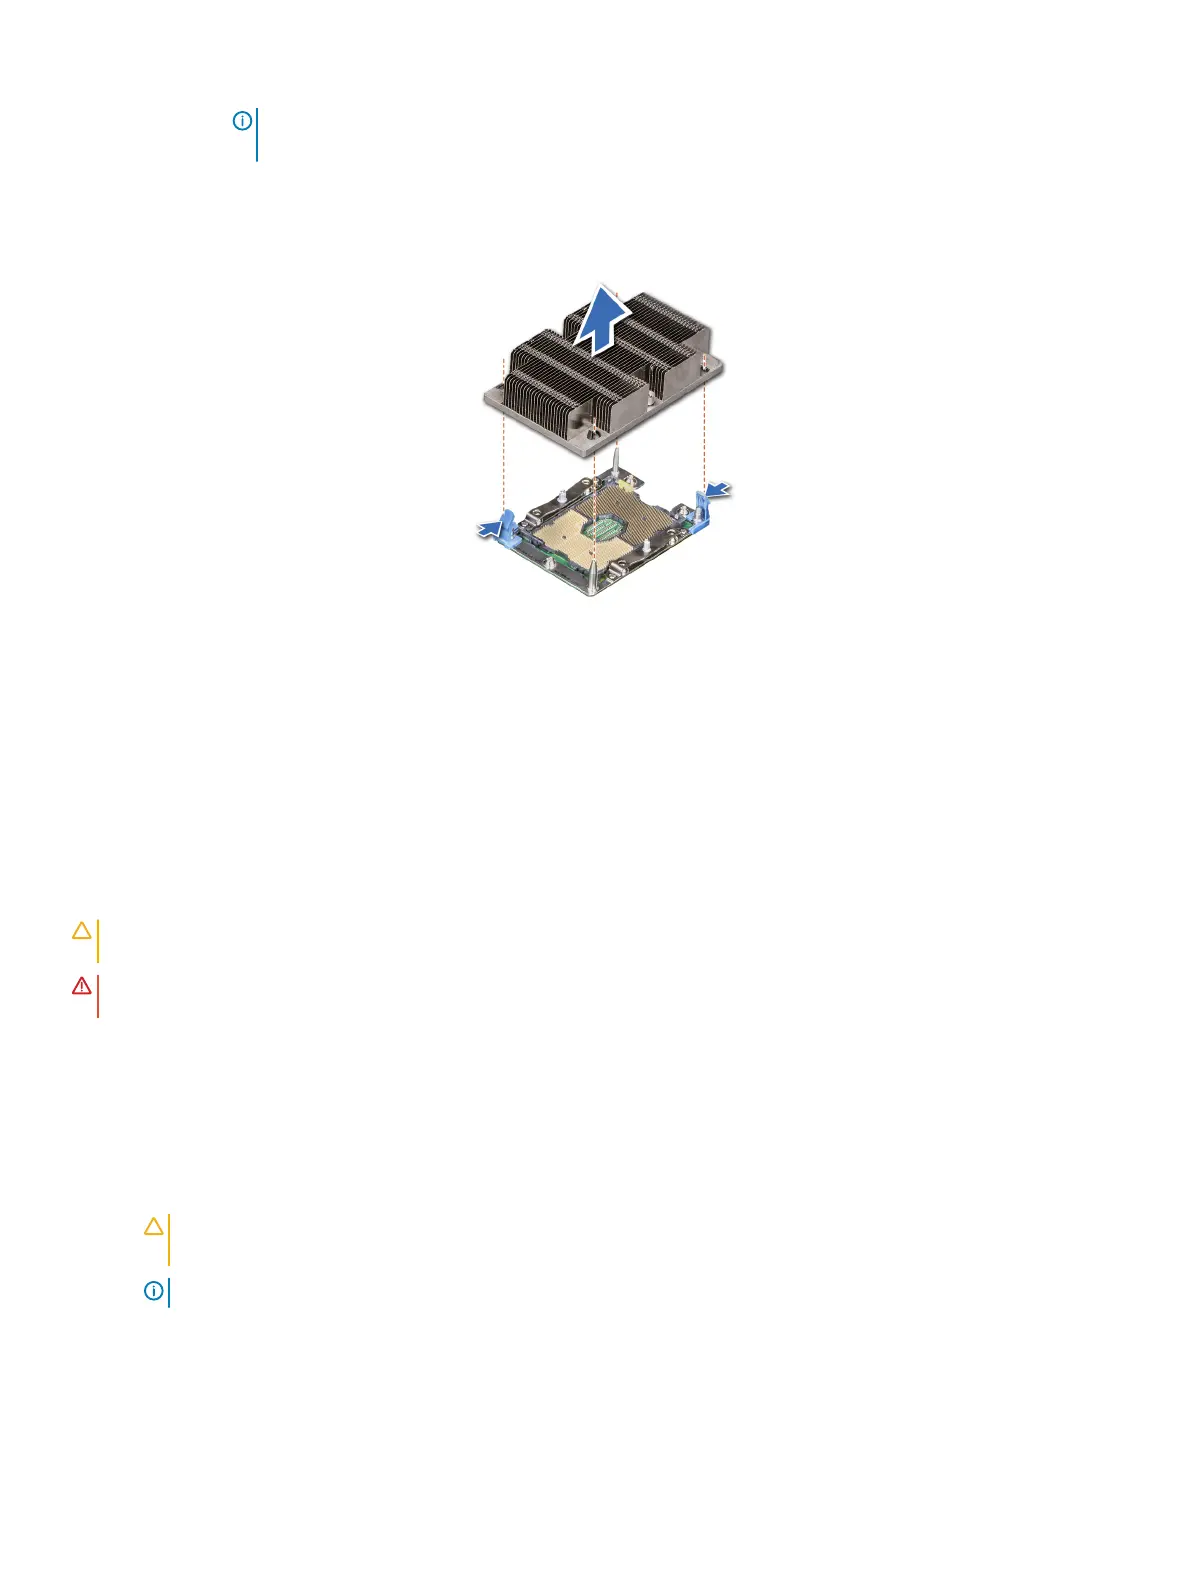
2 Pushing both blue retention clips simultaneously, lift the processor and heat sink module (PHM) out of the system.
3 Set the PHM aside with the processor side facing up.
Figure 42. Removing a processor and heat sink module
Next step
1 Install the processor and heat sink
Installing the processor
Prerequisites
CAUTION
: Never remove the heat sink from a processor unless you intend to replace the processor. The heat sink is necessary to
maintain proper thermal conditions.
WARNING: The heat sink may be hot to touch for some time after the system has been powered down. Allow the heat sink to
cool before removing it.
1 Follow the safety guidelines listed in Safety instructions.
2 If installed, remove the processor/DIMM blank and CPU dust cover.
The procedure to remove the processor/DIMM blank is similar to that of the memory module.
Steps
1 Align the pin 1 indicator of the heat sink to the system board and then place the processor and heat sink module (PHM) on the
processor socket.
CAUTION
: To avoid damaging the ns on the heat sink, do not press down on the heat sink
ns.
NOTE: Ensure that the PHM is held parallel to the system board to prevent damaging the components.
2 Push the blue retention clips inward to allow the heat sink to drop into place.
3 Supporting the heat sink with one hand.
4 Using the Torx #T30 screwdriver, tighten the screws on the heat sink in the order below:
a Partially tighten the rst screw (approximately 3 turns).
66
Installing and removing system components