Removing M.2 SSD module
Prerequisites
1. Follow the safety guidelines listed in the Safety instructions.
2. Follow the procedure listed in the Before working inside your system.
3. Remove the BOSS S1 card.
NOTE: The procedure to remove the M.2 SSD module is the same for Rear Accessed and Front Accessed configurations.
Steps
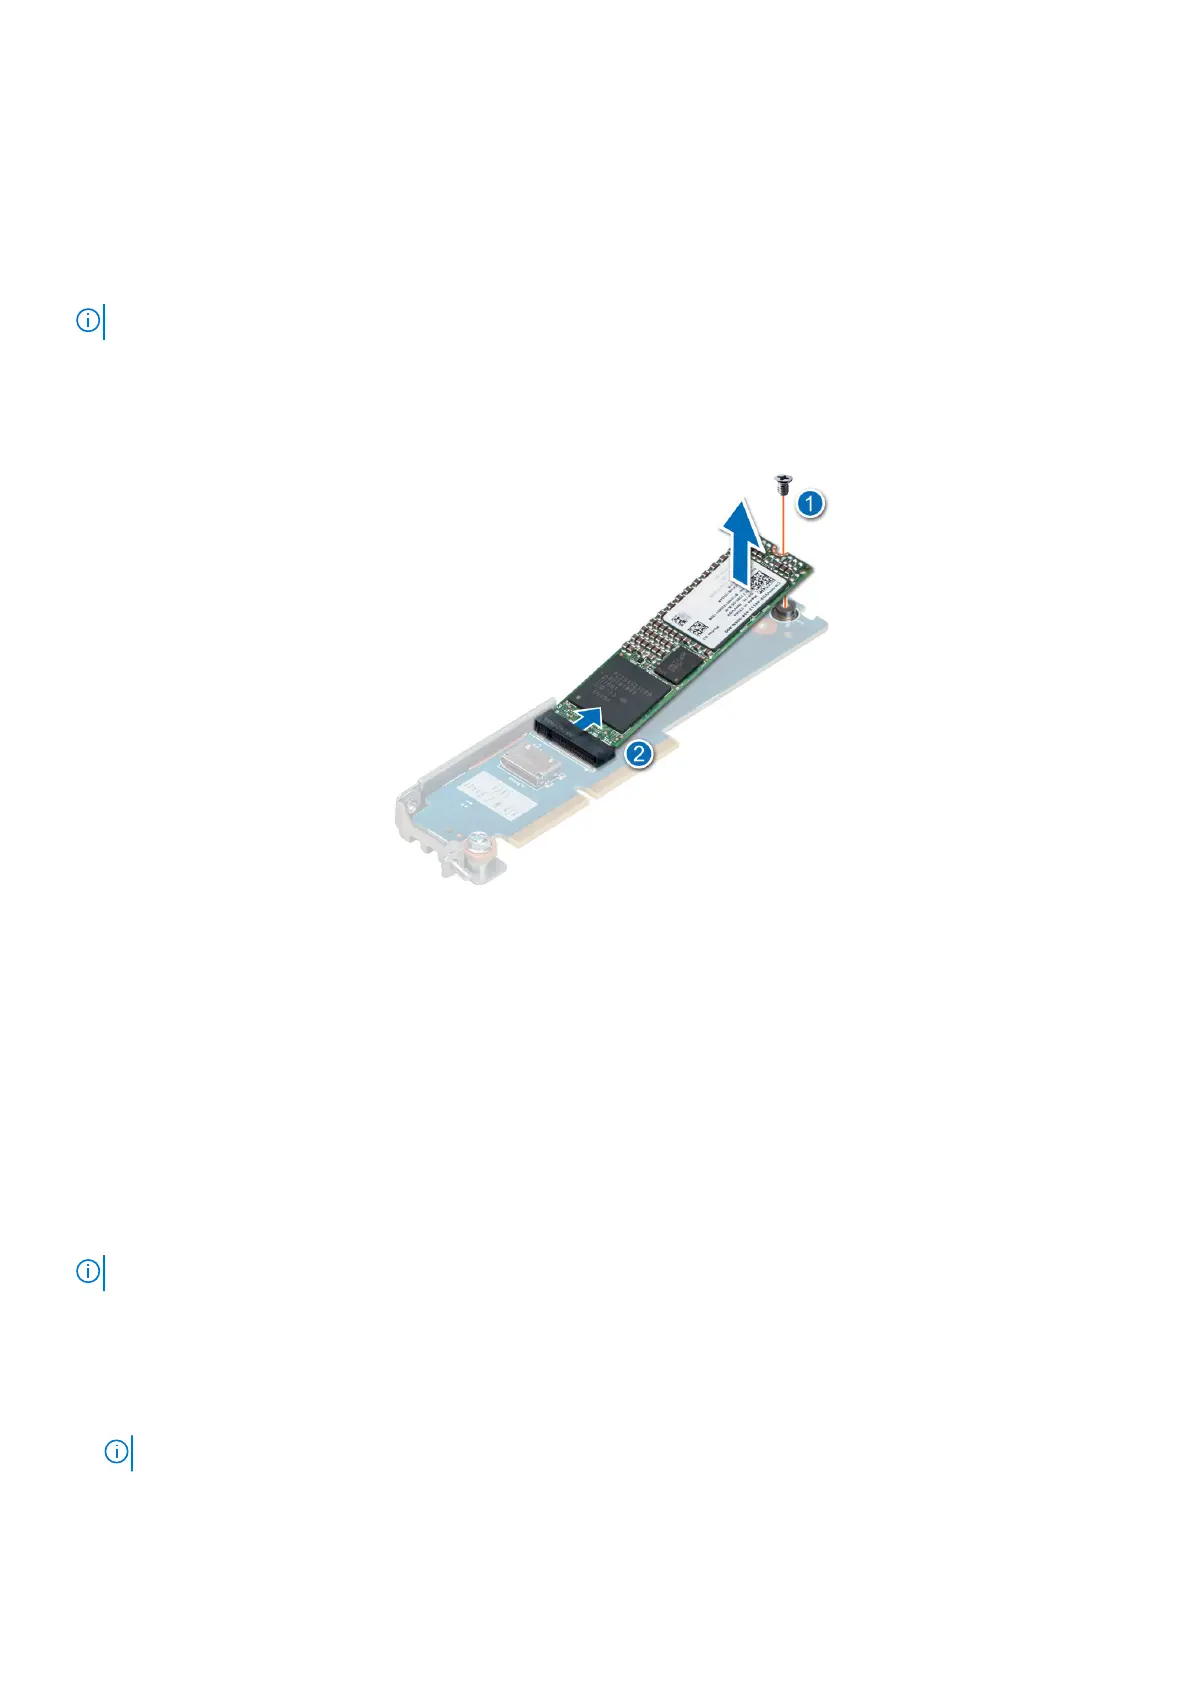
1. Using the Phillips #1 screwdriver, remove the screw securing the M.2 SSD module to the BOSS S1 card.
2. Pull the M.2 SSD module to disconnect from the connector on the BOSS S1 card.
Figure 77. Removing the M.2 SSD module
Next steps
If applicable, install the M.2 SSD module.
Installing M.2 SSD module
Prerequisites
1. Follow the safety guidelines listed in the Safety instructions.
2. Follow the procedure listed in Before working inside your system.
3. Remove the BOSS S1 card.
NOTE: The procedure to install the M.2 SSD module is the same for Rear Accessed and Front Accessed configurations.
Steps
1. Align the M.2 SSD module at an angle with the connector on the BOSS S1 card.
2. Insert the M.2 SSD module until it is firmly seated in BOSS S1 card connector.
3. Using the Phillips #1 screwdriver, secure the M.2 SSD module on the BOSS S1 card with the screw.
NOTE: The numbers on the image do not depict the exact steps. The numbers are for representation of sequence.
Installing and removing system components 81

 Loading...


