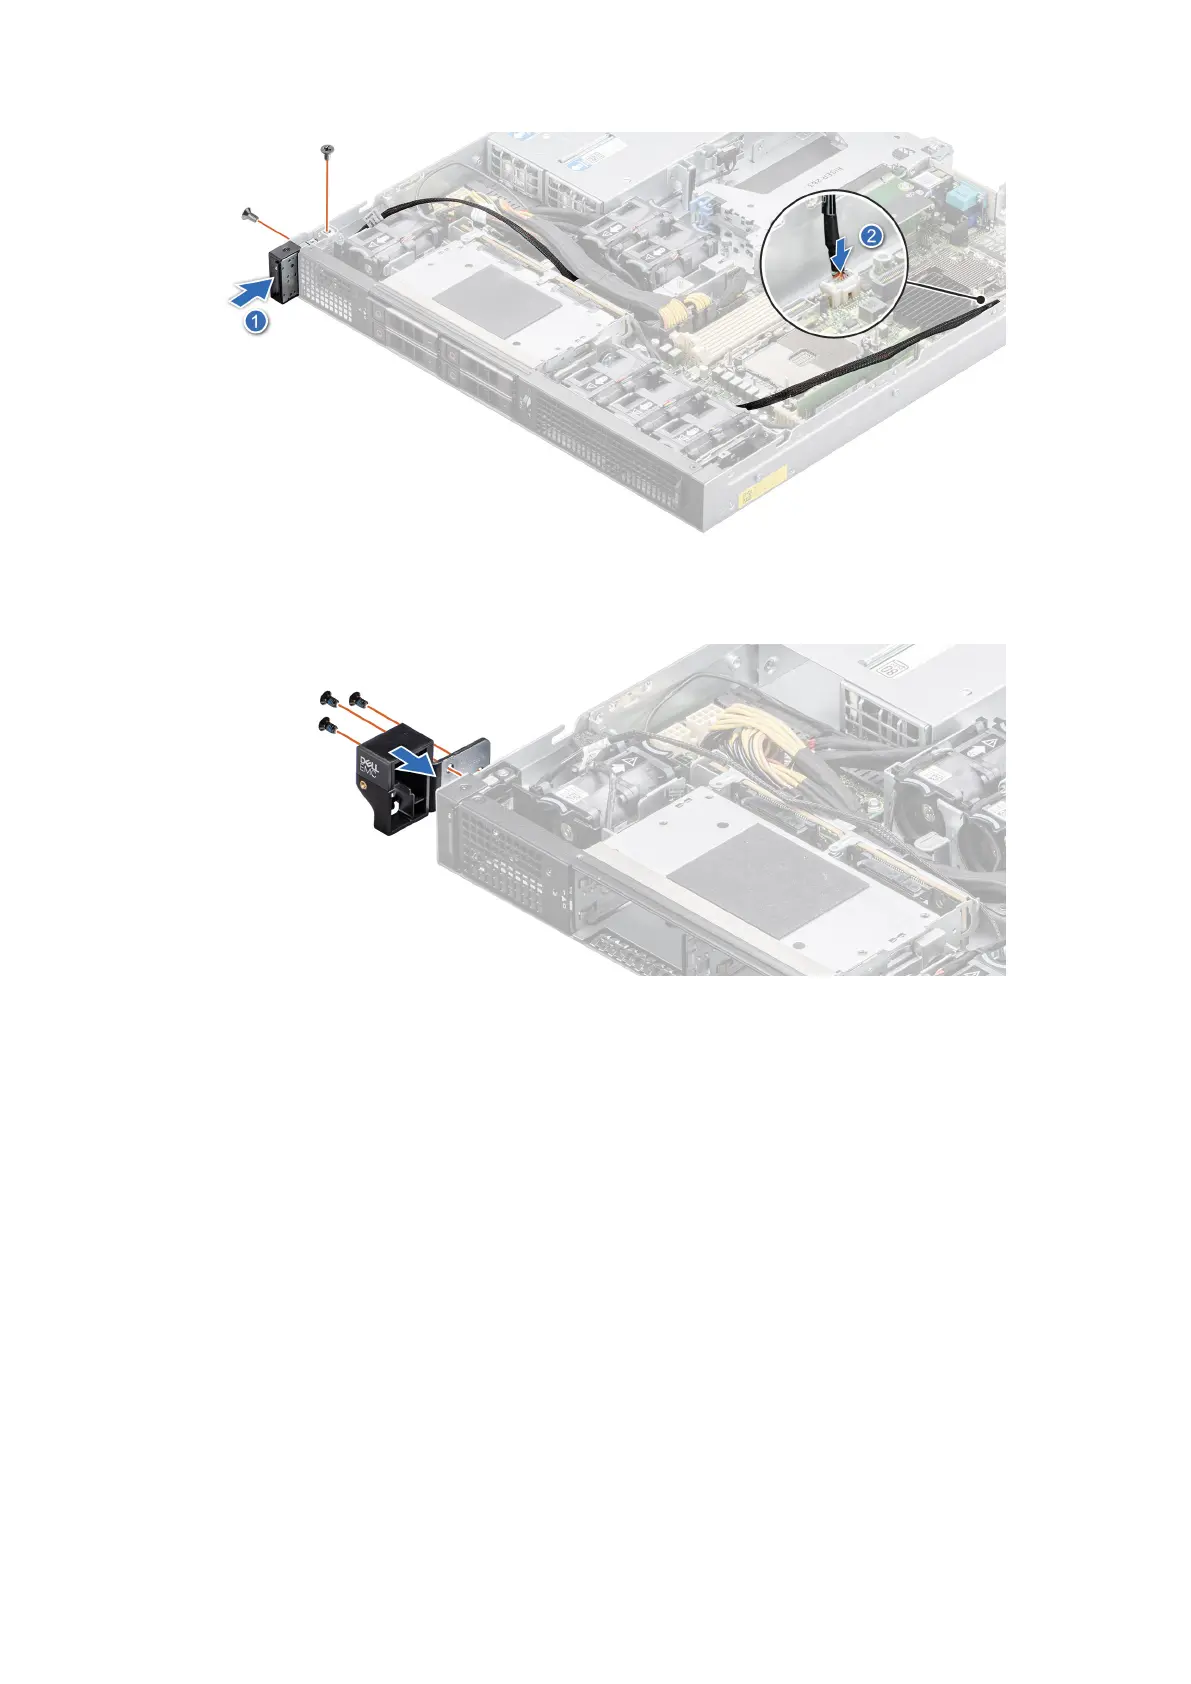
Figure 97. Installing the status LED control panel for Rear Accessed configuration
4. Align and insert the left ear handle in the slot on the system and fasten the screws.
Figure 98. Installing the left ear handle for Rear Accessed configuration
Next steps
1. Install the expansion card riser 1.
2. Install the processor and heat sink module.
3. Install the air shrouds.
4. Follow the procedure listed in the After working inside your system.
Removing the power button control panel for Rear Accessed
configuration
Prerequisites
1. Follow the safety guidelines listed in the Safety instructions.
2. Follow the procedure listed in the Before working inside your system.
3. Remove the air processor air shroud.
4. Remove the Riser 1
Installing and removing system components
99

 Loading...


