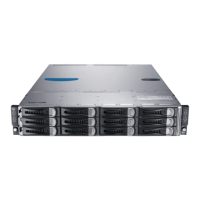
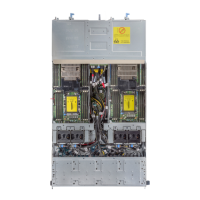
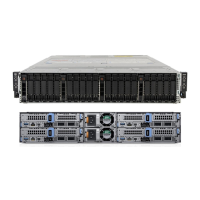
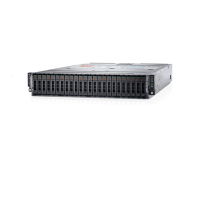
Figure 34. Removing the 60 mm cooling fan cage
Next steps
1. Install the cooling fan cage.
Installing the 60 mm cooling fan cage
Prerequisites
WARNING: Do not attempt to operate the system without the cooling fans.
NOTE: Observe the routing of the cables when removing them from the system. Route these cables properly when you
replace them to prevent the cables from being pinched or crimped.
1. Follow the safety guidelines listed in Safety instructions.
2. Follow the procedures listed in Before working inside your system.
3. Remove the system cover.
4. Remove the mid top cover.
Steps
1. Align the guide pins on the cooling fan cage with the guide holes on the chassis.
2. Install the fan cage onto the chassis, and push until it is firmly seated on the guide holes.
3. Connect the fan power cable to the connector on the chassis management board.
NOTE: To prevent the cable from being damaged, route this cable properly.
38 Installing and removing system components
 Loading...
