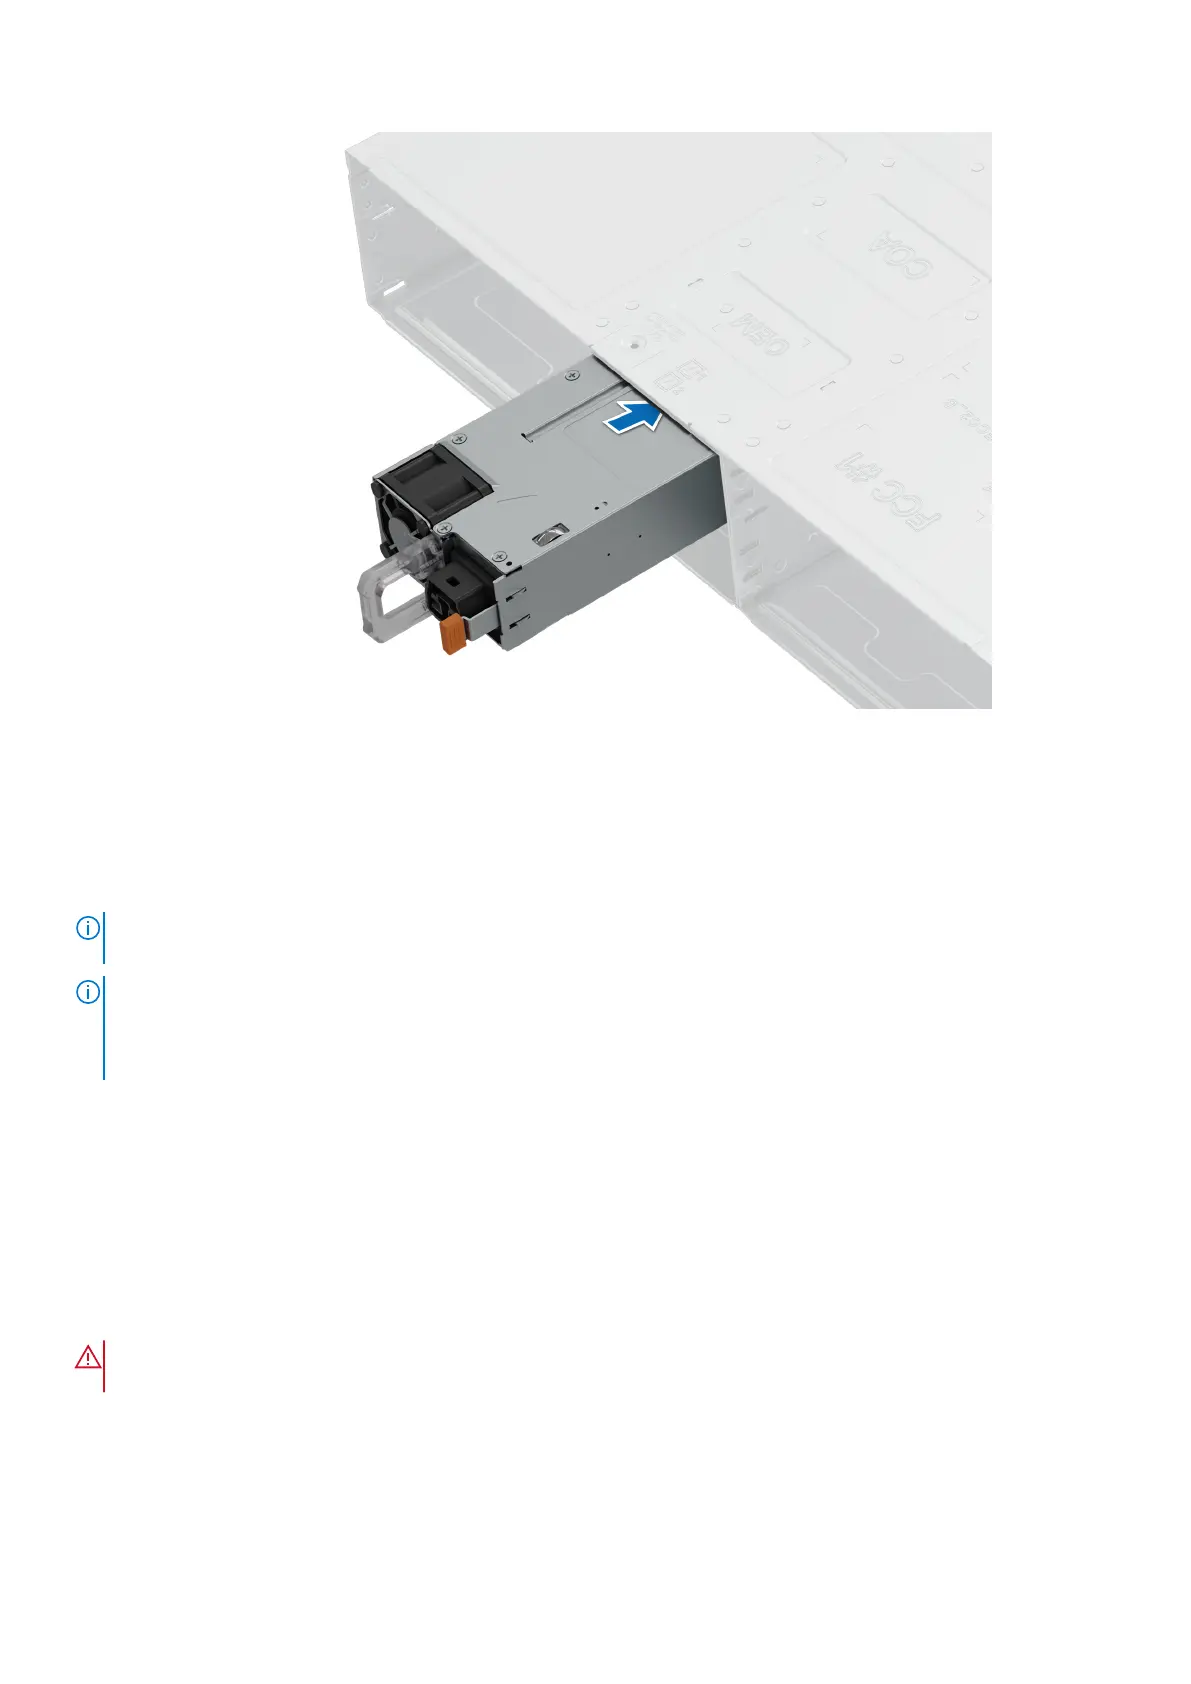
Figure 53. Installing a power supply unit
Next steps
1. If you have unlatched the cable management arm, relatch it. For information about the cable management arm, see the
system’s rack documentation at https://www.dell.com/poweredgemanuals.
2. Connect the power cable to the PSU, and plug the cable into a power outlet.
NOTE:
For certain premium configurations with high power consumption, system PSU might stay with 2+0 mode only, 1+1
redundant mode is not available.
NOTE: When installing, hot swapping, or hot adding a new PSU, wait for 15 seconds for the system to recognize the
PSU and determine its status. The PSU redundancy may not occur until discovery is complete. Wait until the new PSU is
discovered and enabled before you remove the other PSU. The PSU status indicator turns green to signify that the PSU is
functioning properly.
Power distribution board
This is a service technician replaceable part only.
Removing the power distribution board
Prerequisites
WARNING:
Allow the power distribution board (PDB) to discharge after you power off the system. Handle the
PDB by the edges and avoid touching the contact surfaces of the connectors.
1. Follow the safety guidelines listed in Safety instructions.
2. Follow the procedure listed in Before working inside your system.
3. Remove the power supply units.
4. Disconnect the cables that are connected to PDB except for the midplane power cables.
Installing and removing system components
55