Next steps
Replace the left control panel.
Installing the left control panel
Prerequisites
NOTE: Observe the routing of the cables on the chassis as you remove them from the system.
NOTE: Additional tape maybe required to secure the cables.
1. Follow the safety guidelines listed in Safety instructions.
2. Follow the procedure listed in Before working inside your system.
3. Remove the mid top cover.
4. Remove the 80 mm fans.
5. Remove the diskless 80 mm fan cage.
6. Disconnect control panel cables from the midplane.
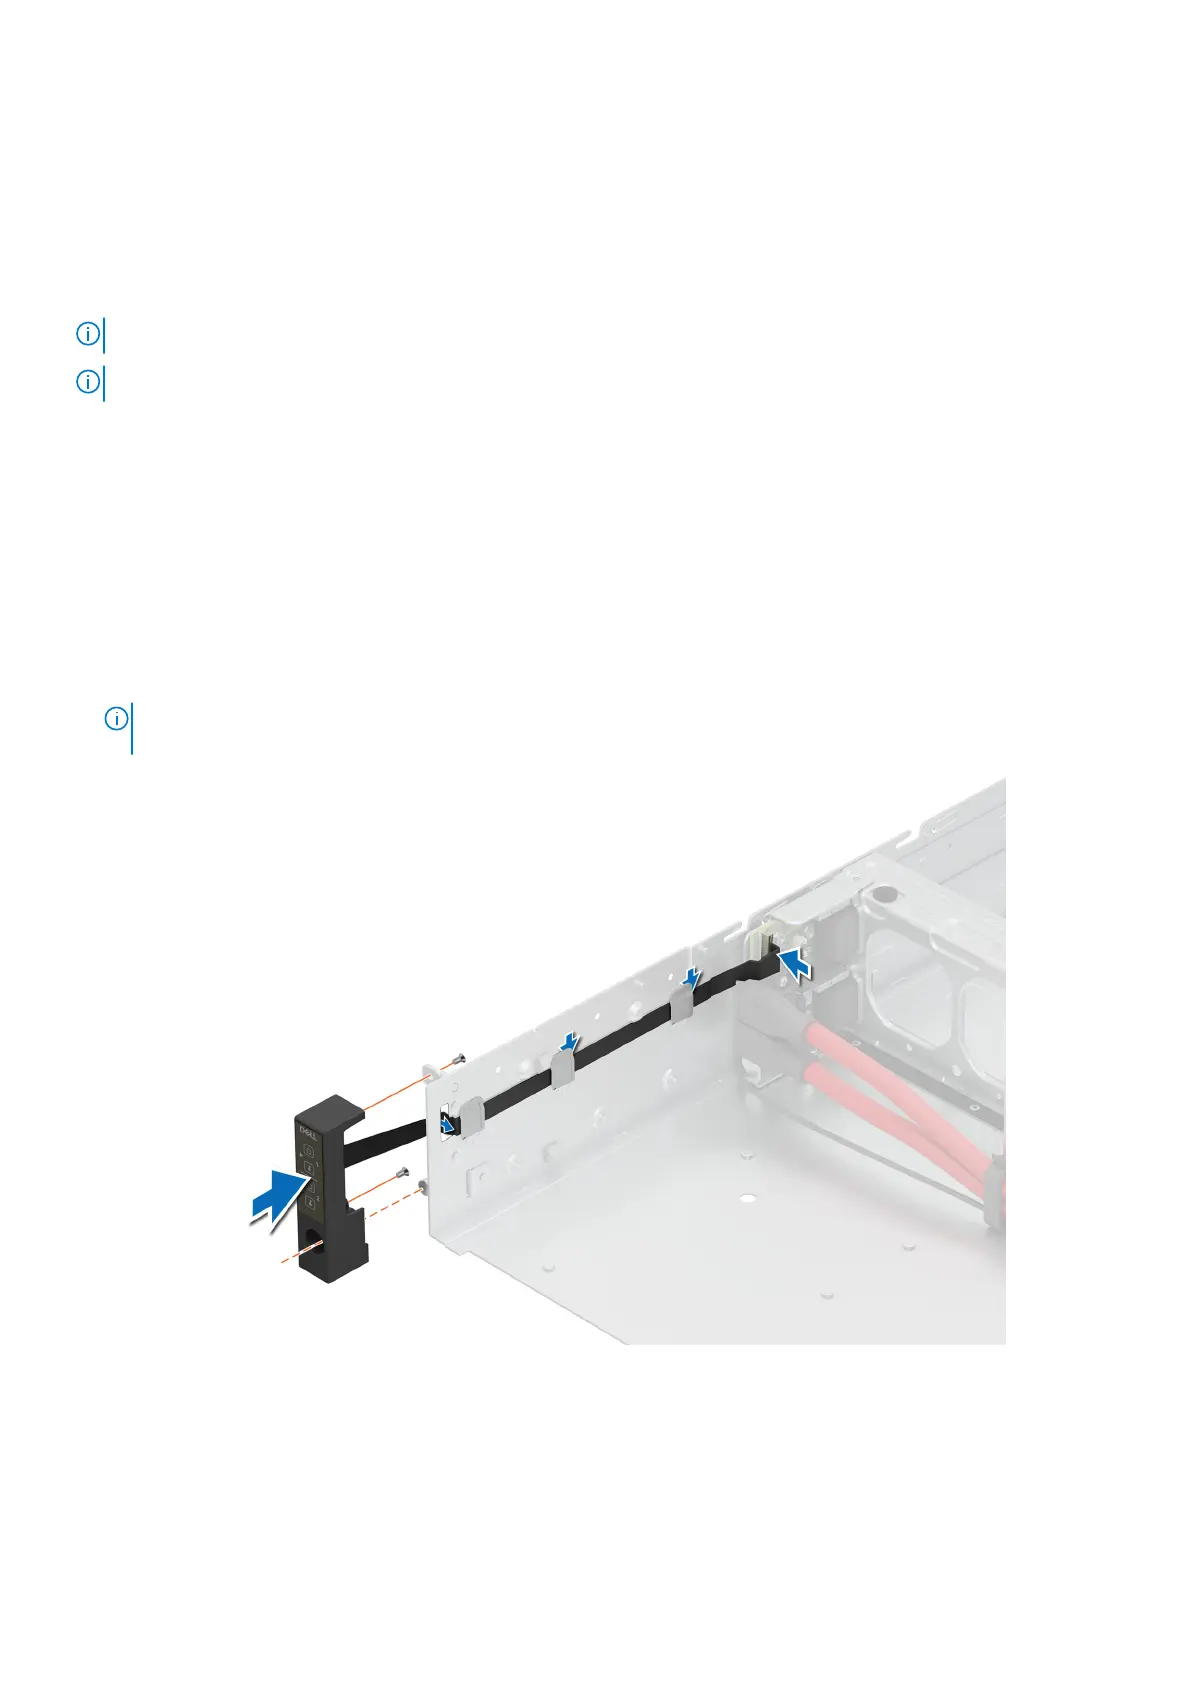
Steps
1. Route the left control panel cable through the cable retention clips.
2. Align and install the left control panel assembly.
3. Using the Phillips 1 screwdriver, tighten the screws to secure the control panel to the system.
NOTE:
You must route these cables properly when you replace them to prevent the cables from being pinched or
crimped.
Figure 63. Installing the left control panel assembly
Installing and removing system components
63