148 ECLYPSE APEX
OR
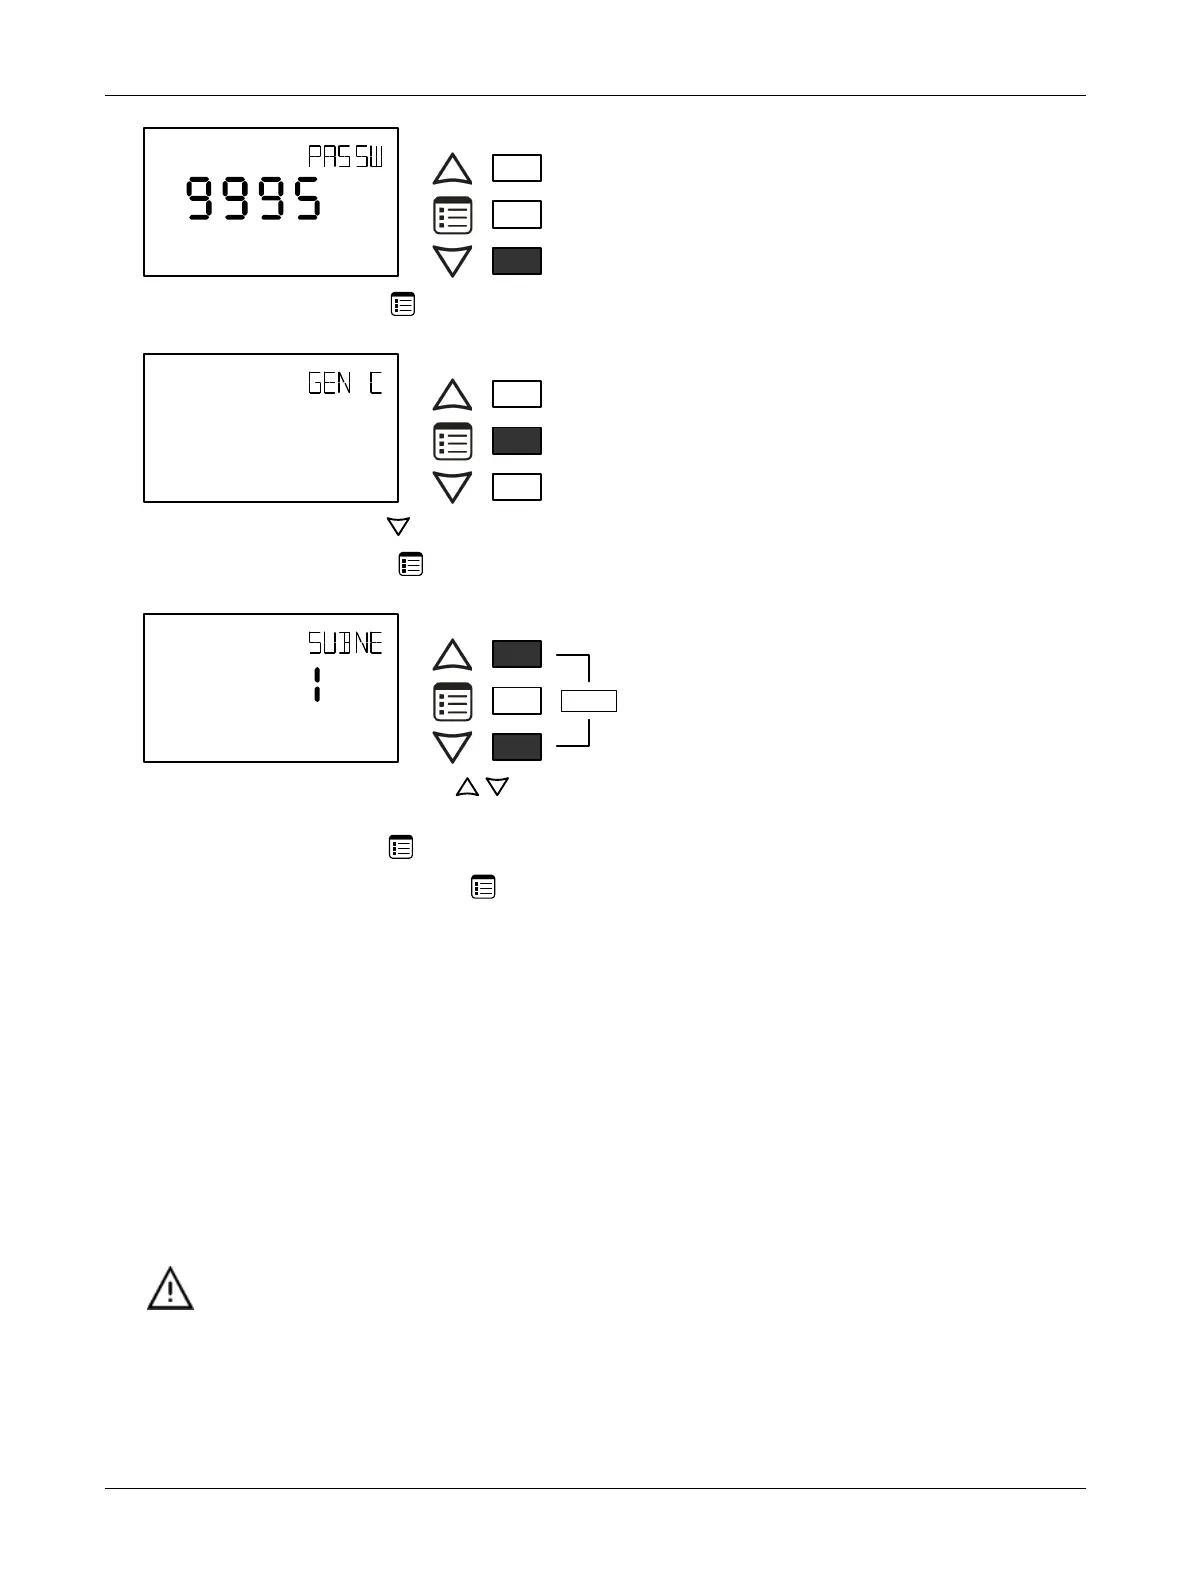
Screen Timeout: 15 seconds
1) Press the Menu button to submit the password. Upon submitting the password, the
GEN CFG
menu appears on the display.
OR
Screen Timeout: 30 seconds
1) Press the down button once to enter the
GEN CFG
submenu.
2) Press the Menu button several times until SUBNET ID appears on the display. The current
controller’s Subnet ID is shown.
OR
Screen Timeout: 30 seconds
1) Use the up and down buttons to set the controller’s Subnet ID to
1
.
Tip
: Hold down either
the up or down button to fast-advance the display value.
2) Press the Menu button once.
3) Press and hold the Menu button for 5 seconds to exit the configuration menu.
The Allure EC-Smart-Vue sensor can now be used to go from one ECLYPSE Connected VAV Con-
troller to the next for commissioning purposes.
When the controller has been programmed, each connected Allure EC-Smart-Vue’s Sensor must be
assigned a unique Subnet ID.
Setting the Allure EC-Smart-Air and EC-Smart-Comfort
Communicating Sensor Series’ Subnet ID Address
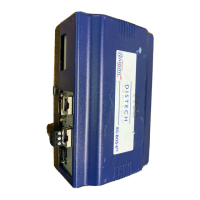
Each Allure EC-Smart-Air or EC-Smart-Comfort communicating sensor connected to a controller’s
Subnet Port must be set to a unique subnet ID address. This address should correspond to the block
number of the associated Subnet Extension block in EC-
gfx
Program. The address is set through a
DIP switch located inside the sensor near the RJ-45 connectors.
Allure EC-Smart-Comfort and EC-Smart-Air communicating sensor series share the same Subnet ID range: the same
address cannot be assigned concurrently to an Allure EC-Smart-Comfort communicating sensor series and to an
Allure EC-Smart-Air communicating sensor series.
Subnetwork Installation Guidelines