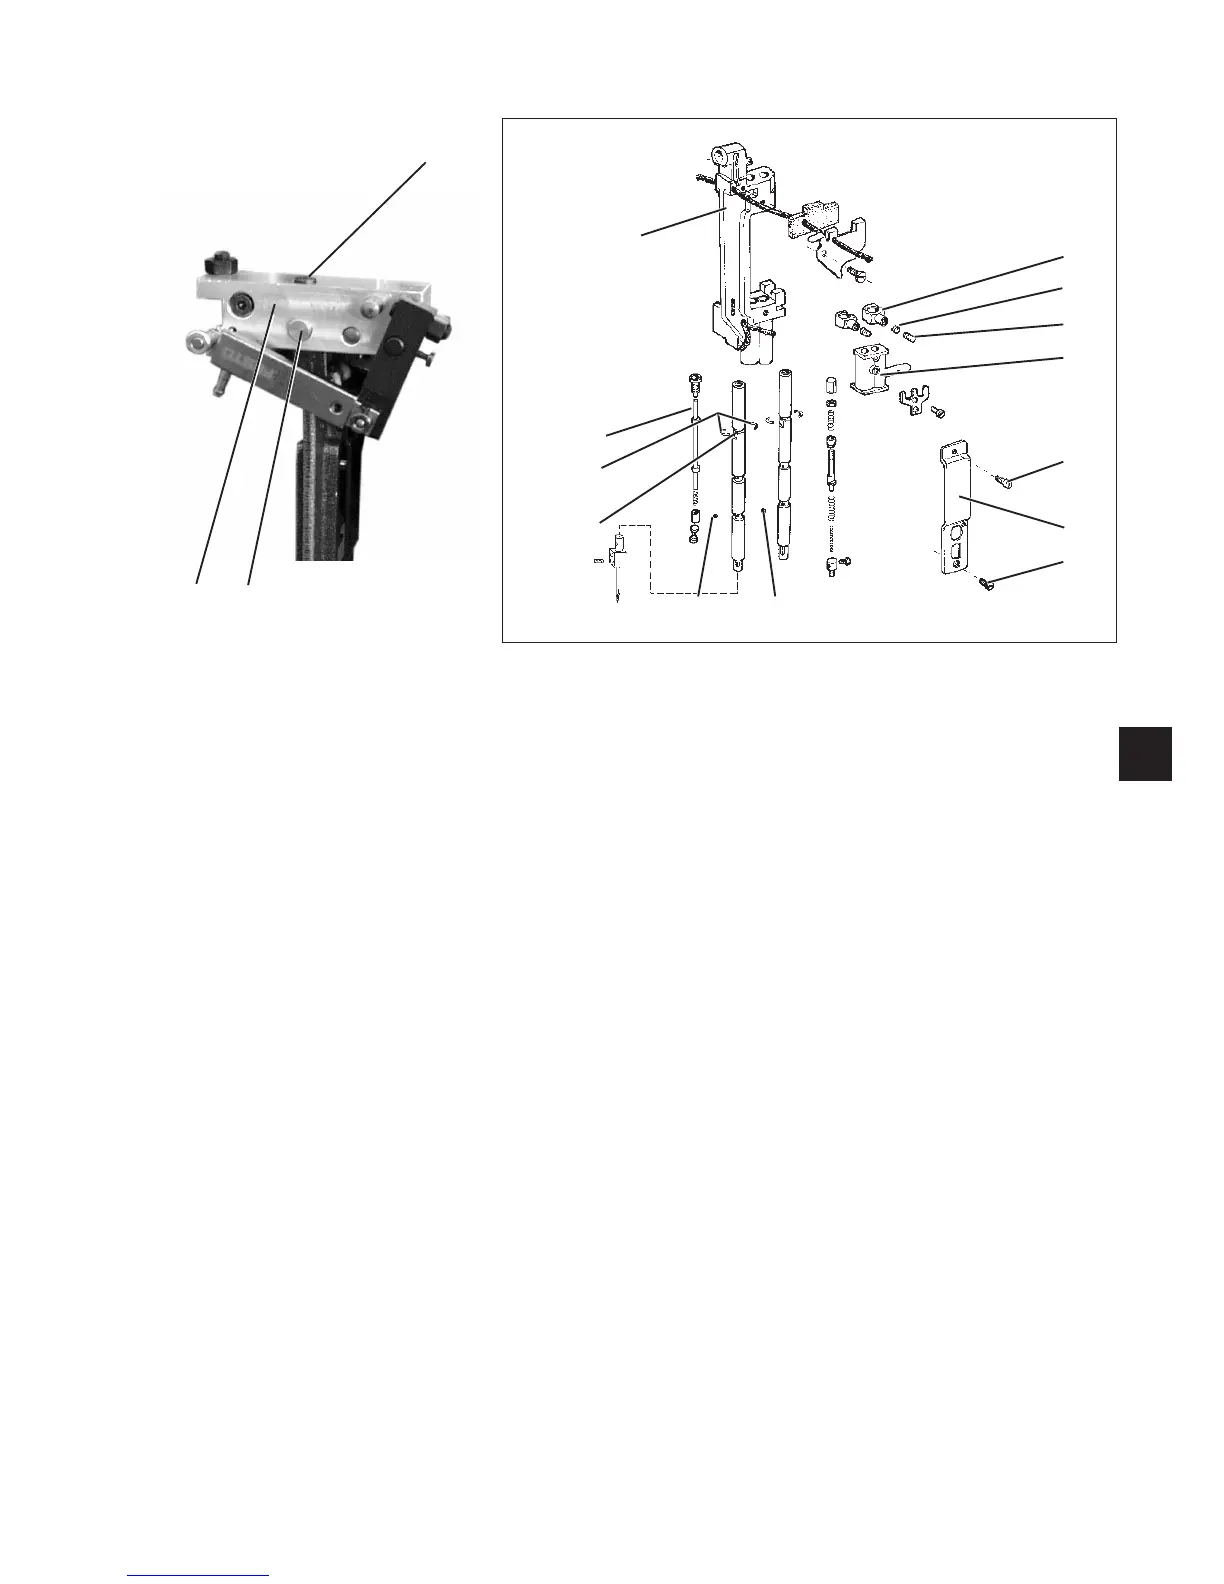
2.4.2 Removing a needle bar from the linkage
–
Loosen the clamping screw 1.
–
Pull out the bearing bolt 2
–
Pull off the support plate 3 from the needle bar linkage.
–
Unscrew the screws 8 and 10.
–
Remove the guide rail 9.
–
Actuate both decoupling bars 15 and push yoke 7 downwards to
half the needle bar stroke.
–
Unscrew the safety bolt 6 of the clamping ring 4 as well as the
fastening screw 5 located below.
–
Remove the two securing halves 14. They are located in the
annular slot 13 and become visible after pushing down the
clamping ring 4.
–
Shift the switching block in such a way that the two decoupling bars
15 are not actuated.
–
Shift the yoke 7 s lowly up the needle bar until the three upper
coupling balls 12 come out.
ATTENTION !Take care that the balls do not get lost - they are
under spring pressure.
–
Pull the needle bar downward out of the linkage 16.
ATTENTION !The three lower balls 11 can drop out of the ball
holes of the needle bar.
17
3
32
4
5
6
7
8
9
10
12 11
15
14
13
16
1
 Loading...


