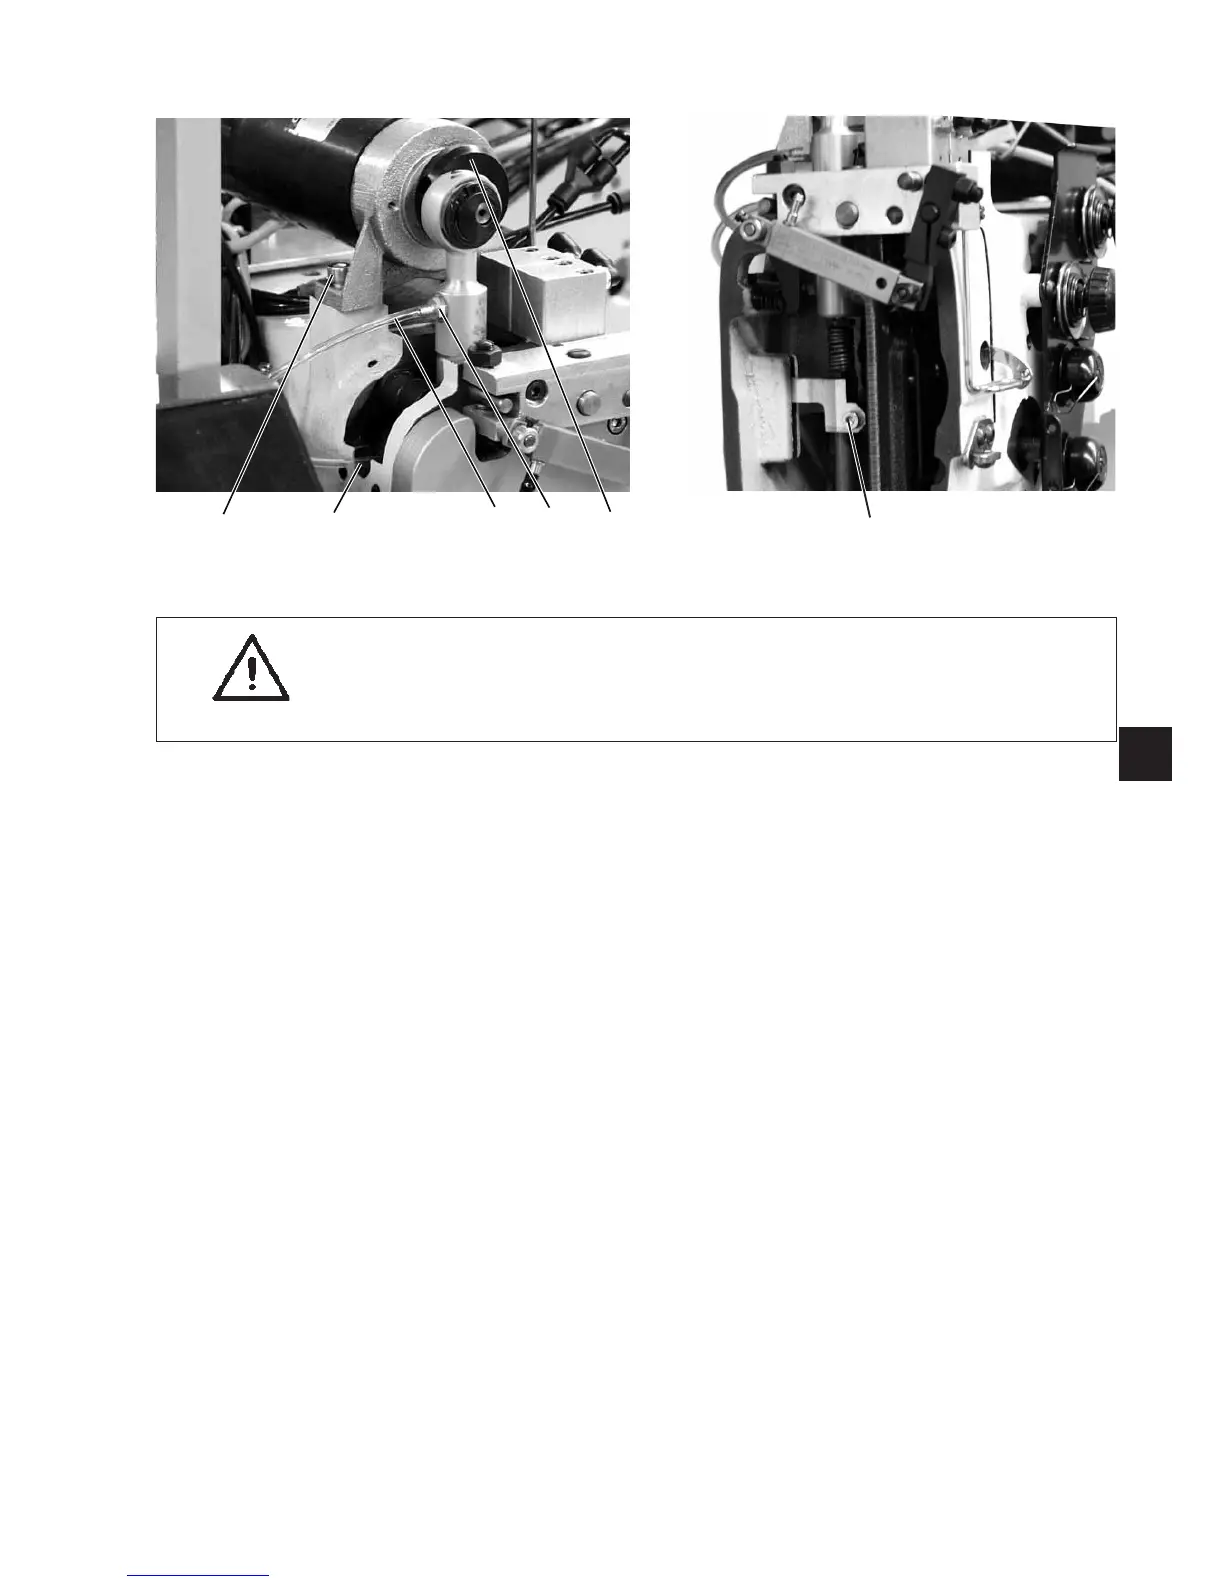
2.6.2 Removing / Installing the switching cylinder
Caution: Danger of injury !
Switch off the main switch.
Remove and mount the switching cylinder only with the
sewing unit switched off.
Removing the s witching cylinder
–
Pull off the pneumatic hoses 3 and 4.
–
Screw the hose connections 2 out of the c ylinder.
–
Remove the driving motor (see chapter 2.6.1).
–
Loosen the clamping screw 6 between switching cylinder and
drive shaft.
–
Pull the switching cylinder out upwards.
Installing the sw itching cylinder
–
Insert the switching cylinder from above.
–
Tighten the clamping screw 6 between switching cylinder and
drive shaft.
–
Push the motor to the front and push the motor shaft into the
eccentric 1.
–
Screw the motor tight with the fastening screws 5.
–
Tighten the screws at the eccentric 1.
–
Screw the pneumatic connections into the cylinder.
–
Push on the pneumatic hoses 3 and 4.
–
Mount the driving motor (see chapter 2.6.1).
41
3
54 321
6
 Loading...


