Home
DURKOPP ADLER
Sewing Machine
745-34-2
DURKOPP ADLER 745-34-2 Installation Instructions
4
of 1
of 1 rating
160 pages
Give review
Manual
Specs
To Next Page
To Next Page
To Previous Page
To Previous Page
Loading...
2.
Sewing
machine
head
2.1
Raising
the
sewing
machine
head
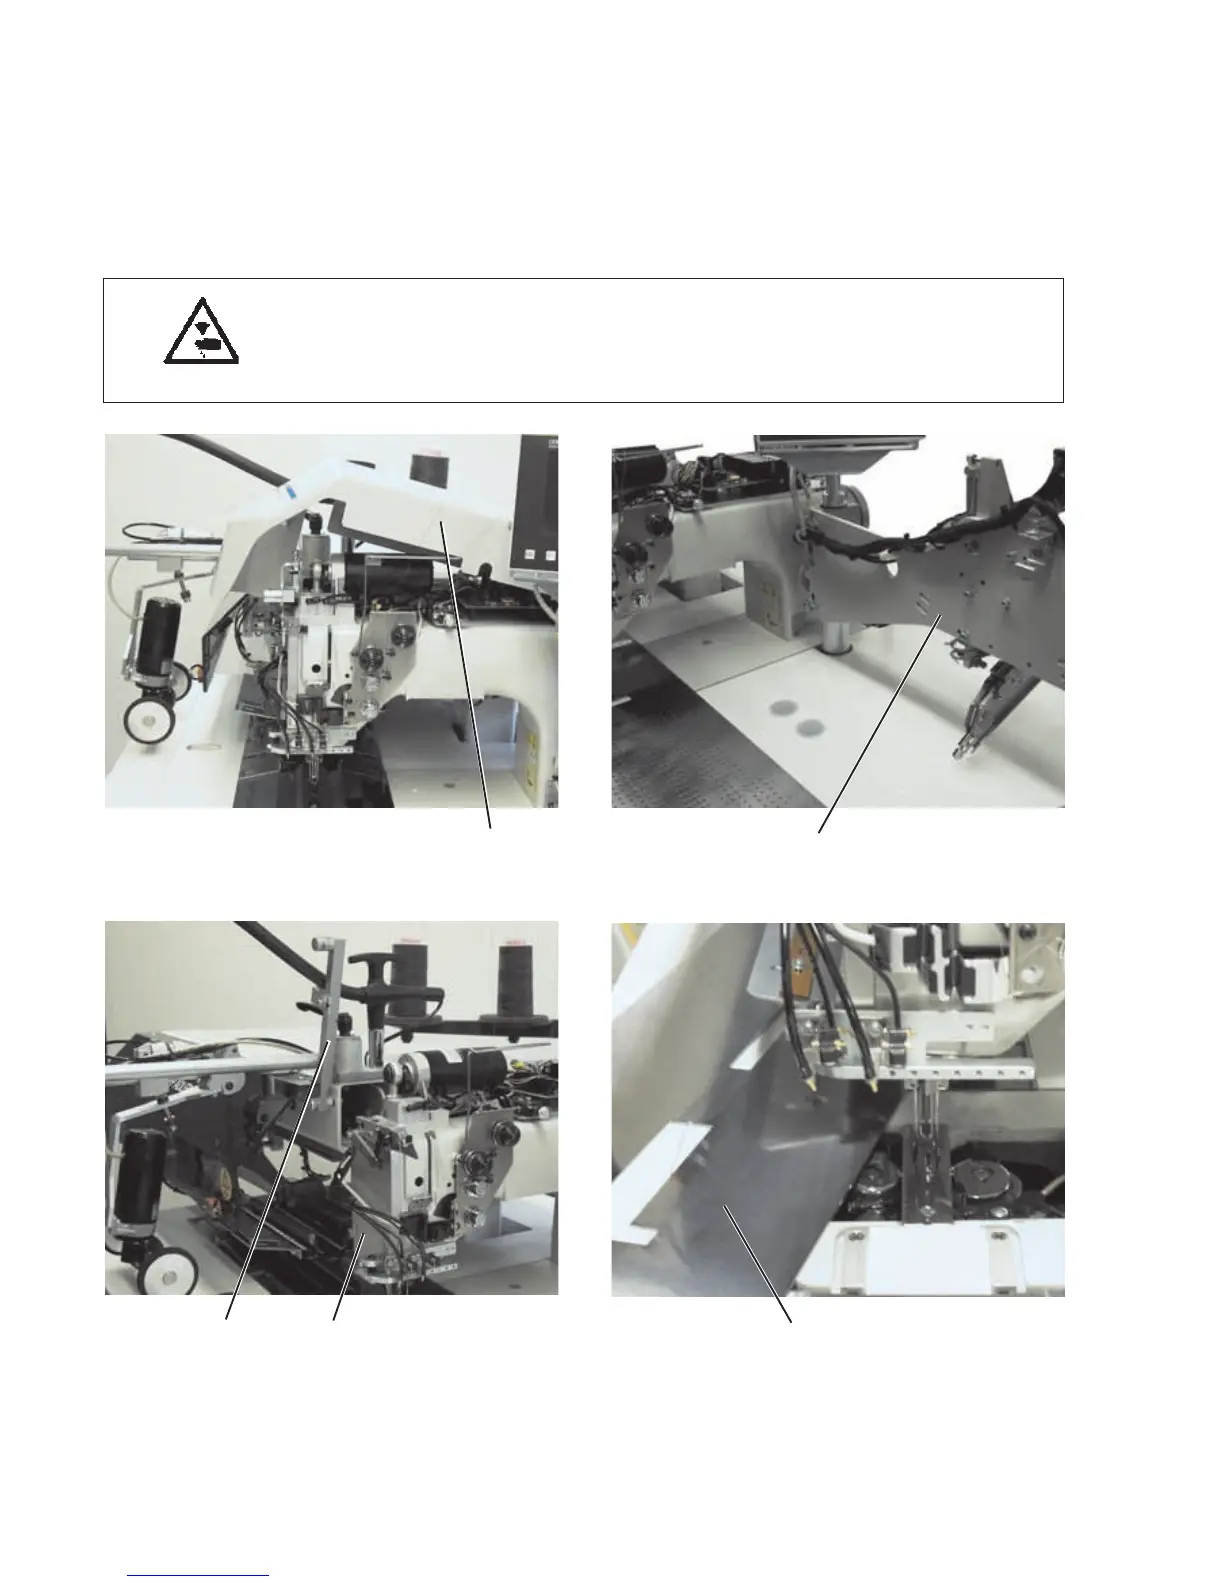
For
maintenance
work
the
machine
head
can
be
raised.
For
this
purpose
the
transport
carriage
must
be
in
its
rear
position.
Caution:
Danger
of
injury
!
Switch
off
the
main
switch.
Raise
the
machine
head
only
with
the
main
switch
switched
off.
8
1
45
3
6
11
13
Table of Contents
Default Chapter
1
Installation Instructions
1
Operating Instructions
1
Service Instructions
1
General Safety Instructions
4
Table of Contents
5
Part 3: Service Instructions
9
Gauges
10
Groove in the Arm Shaft Crank
11
Raising the Sewing Machine Head
12
1 General Notes
9
2 Sewing Machine Head
12
Removing / Installing the Sewing Machine Head
14
Crank Pin at the Arm Shaft
16
Needle Bar Linkage and Disconnectable Needle Bars
19
Removing the Needle Bar Linkage
19
Removing a Needle Bar from the Linkage
21
Assembly of the Needle Bar
22
Disassembly of the Needle Bar
22
Installation of the Needle Bars in the Needle Bar Linkage
23
Installation of the Needle Bar Linkage
25
Height of the Needle Bar Linkage
27
Switch Actuation Point of the Needle Bars
28
Aligning the Needle Bar Linkage to the Throat Plate 25
29
Exchanging the Needle Holder
30
Hook
31
Hook Shaft Height
31
Adjusting the Gear Clearance of the Hook Drive
32
Adjusting the Looping Stroke
33
Adjusting the Height of the Needle Holders
34
Adjusting the Distance between Hook Tips and Needles
36
Needle Protection
38
Exchanging the Hook
39
Adjusting the Bobbin Case Holding Wire
40
Aligning the Light Barriers of the Bobbin Thread Monitor
42
Center Knife
44
Removing / Installing the Driving Motor
44
Removing / Installing the Switching Cylinder
45
Adjusting the Knife
46
Thread Controller Spring
48
Function
49
Trimming and Clamping Device for the Needle Threads
49
Exchanging Knife and Thread Catcher
51
Trimming and Clamping Device for the Hook Threads
52
Thread Puller for the Needle Threads
55
Synchronizer
56
Oil Lubrication
57
Hook Lubrication
58
Rear End Position
59
3 Transport Carriage
59
Distance between Switching Screw and Limit Switch
61
Position of the Limit Switch in the Slotted Hole
61
Stop Guide for Transport Carriage
61
Changing the Toothed Belt
62
Adjusting the Belt Tension
64
4 Feeding Clamps
65
Measuring Line for Aligning the Feeding Clamps and the Folder
65
Aligning the Feeding Clamps as to the Auxiliary Line
66
Feeding Clamp Stroke
67
Distance between the Feeding Clamps and the Sole of the Folder
68
Front End Position of the Feeding Clamp
70
Device for Blowing the Piping Strip / Pocket Bag for 745-34-2 A/B/F
71
5 Knives for Corner Incision
72
Presetting
72
Belt Tension
73
Aligning the Corner Knife Station as to the Seams
74
Adjusting the Slant of the Corner Incisions
76
Corner Knife Adjustments
77
Exchanging the Corner Knives
78
6 Laser Markings
79
Aligning the Markings
80
7 Reflected Light Barriers for Flap Scanning
82
Swivel Arm
82
Aligning the Light Barriers
83
Aligning the Air Nozzles for Cleaning the Reflected Foil
84
8 Aligning the Folding Station Plate as to the Measuring Line
85
9 Positioning the Sewing Machine Head as to the Table Top
86
Adjusting the Height of the Vacuum Plate
87
10 Fabric Sliding Sheet and Vacuum Plate
87
Aligning the Fabric Sliding Sheet as to the Throat Plate
88
11 Folder (Working Method A)
89
Proper Fastening
89
Aligning the Folder as to the Middle of the Pocket Opening
90
Lifting Motion of the Folder
91
Position of the Folder to the Needles and to the Center Knife
93
Aligning the Guide Plates at the Folder
94
Recognition of the Folder
95
Proper Fastening
96
Aligning the Folder as to the Middle of the Pocket Opening
97
Lifting Motion and Suspension of the Folder
101
Presetting the Mounting Plate for the Pick-Up Folder
103
Aligning the Folder Sole as to the Middle of the Pocket Opening
104
Aligning the Pick-Up Folder
104
Adjusting the Height of the Pick-Up Folder as to the Folder
105
Position of the Pick-Up Folder in Sewing Direction
106
Adjusting the Guide Plates at the Pick-Up Folder
107
Stop Screw for the Pick-Up Folder
108
Smoother
157
Pressure Monitor
158
Other manuals for DURKOPP ADLER 745-34-2
Operating Instructions
94 pages
Programming Instructions
97 pages
User Manual
28 pages
4
Based on 1 rating
Ask a question
Give review
Questions and Answers:
Need help?
Do you have a question about the DURKOPP ADLER 745-34-2 and is the answer not in the manual?
Ask a question
DURKOPP ADLER 745-34-2 Specifications
General
Brand
DURKOPP ADLER
Model
745-34-2
Category
Sewing Machine
Language
English
Related product manuals
DURKOPP ADLER 745-34 Speedpocket
84 pages
DURKOPP ADLER 745-35-10 A
284 pages
DURKOPP ADLER 767
100 pages
DURKOPP ADLER 768
28 pages
DURKOPP ADLER 755 A
498 pages
DURKOPP ADLER 756 A
498 pages
DURKOPP ADLER 867
164 pages
DURKOPP ADLER 697
47 pages
DURKOPP ADLER 238
38 pages
DURKOPP ADLER 367
39 pages
DURKOPP ADLER 267
66 pages
DURKOPP ADLER 370
57 pages