3
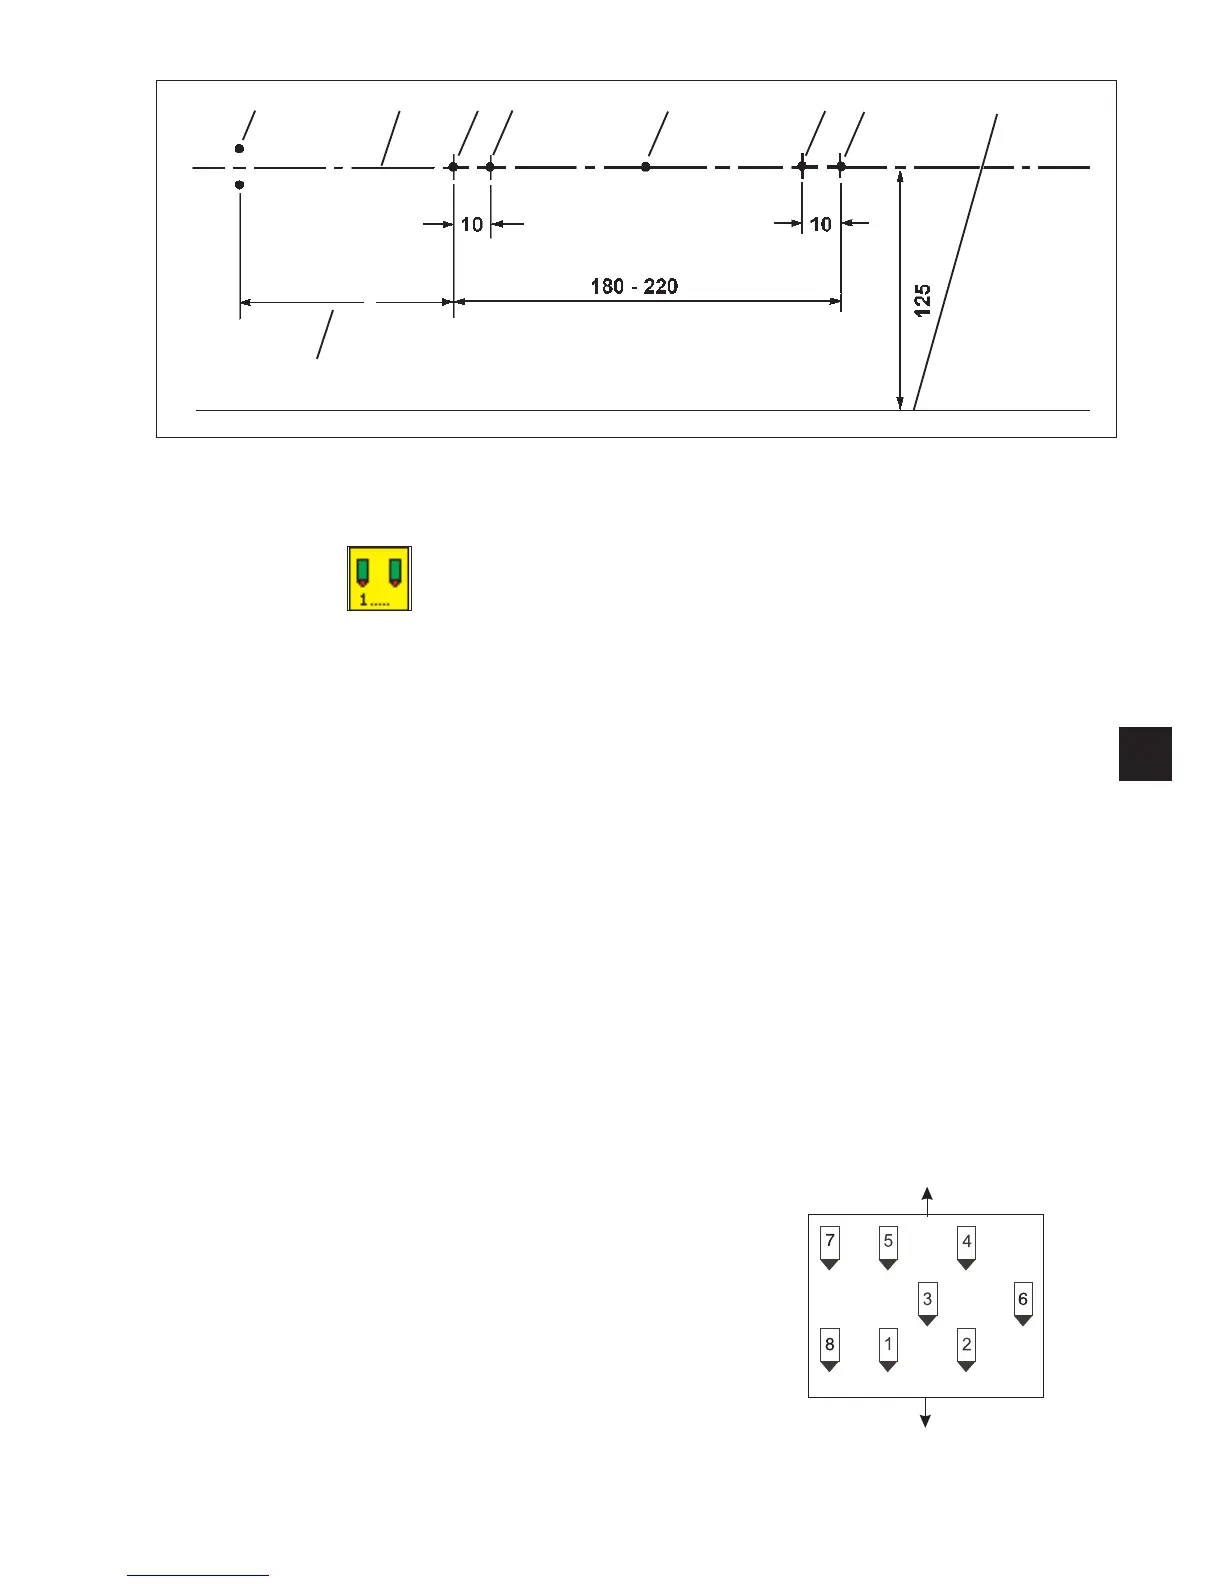
Spacing A
Checking the exact position of the markings
Light marking 1 and 2 respectively (seam beginning):
–
Press the function key F1 when the main screen is indicated.
The display changes to the screen “Pocket programs”.
–
Select the program for the laser markings with the cursor
keys “ï”or“ð”.
–
Switch on the front positioning point.
Providelaser1withanasterisk.
1=*
2=
3=
4=
5=
6=
7=
8=
Sew ing test:
–
Mark the desired seam beginning on the w orkpiece by a chalk line.
–
Position the workpiece (chalk line at marking 1).
–
Start the sewing operation. The seam must start at the chalk line.
–
For correction align the marking 1 anew after loosening its holders.
–
Proceed in the same way with marking 2.
Light marking 5 (seam end):
–
Switch on the rear positioning point at the control.
Providelaser5withanasterisk.
1=
2 = Sewing arm
3=
4=
5=*
6=
7=
8=
Repeat the sewing test as
described above.
Arrangement of the lasers
Operator
77
7812 3 456
 Loading...


