Setting the stitch length adjusting wheels
36
Service instructions 967 - 00.0 - 12/2014
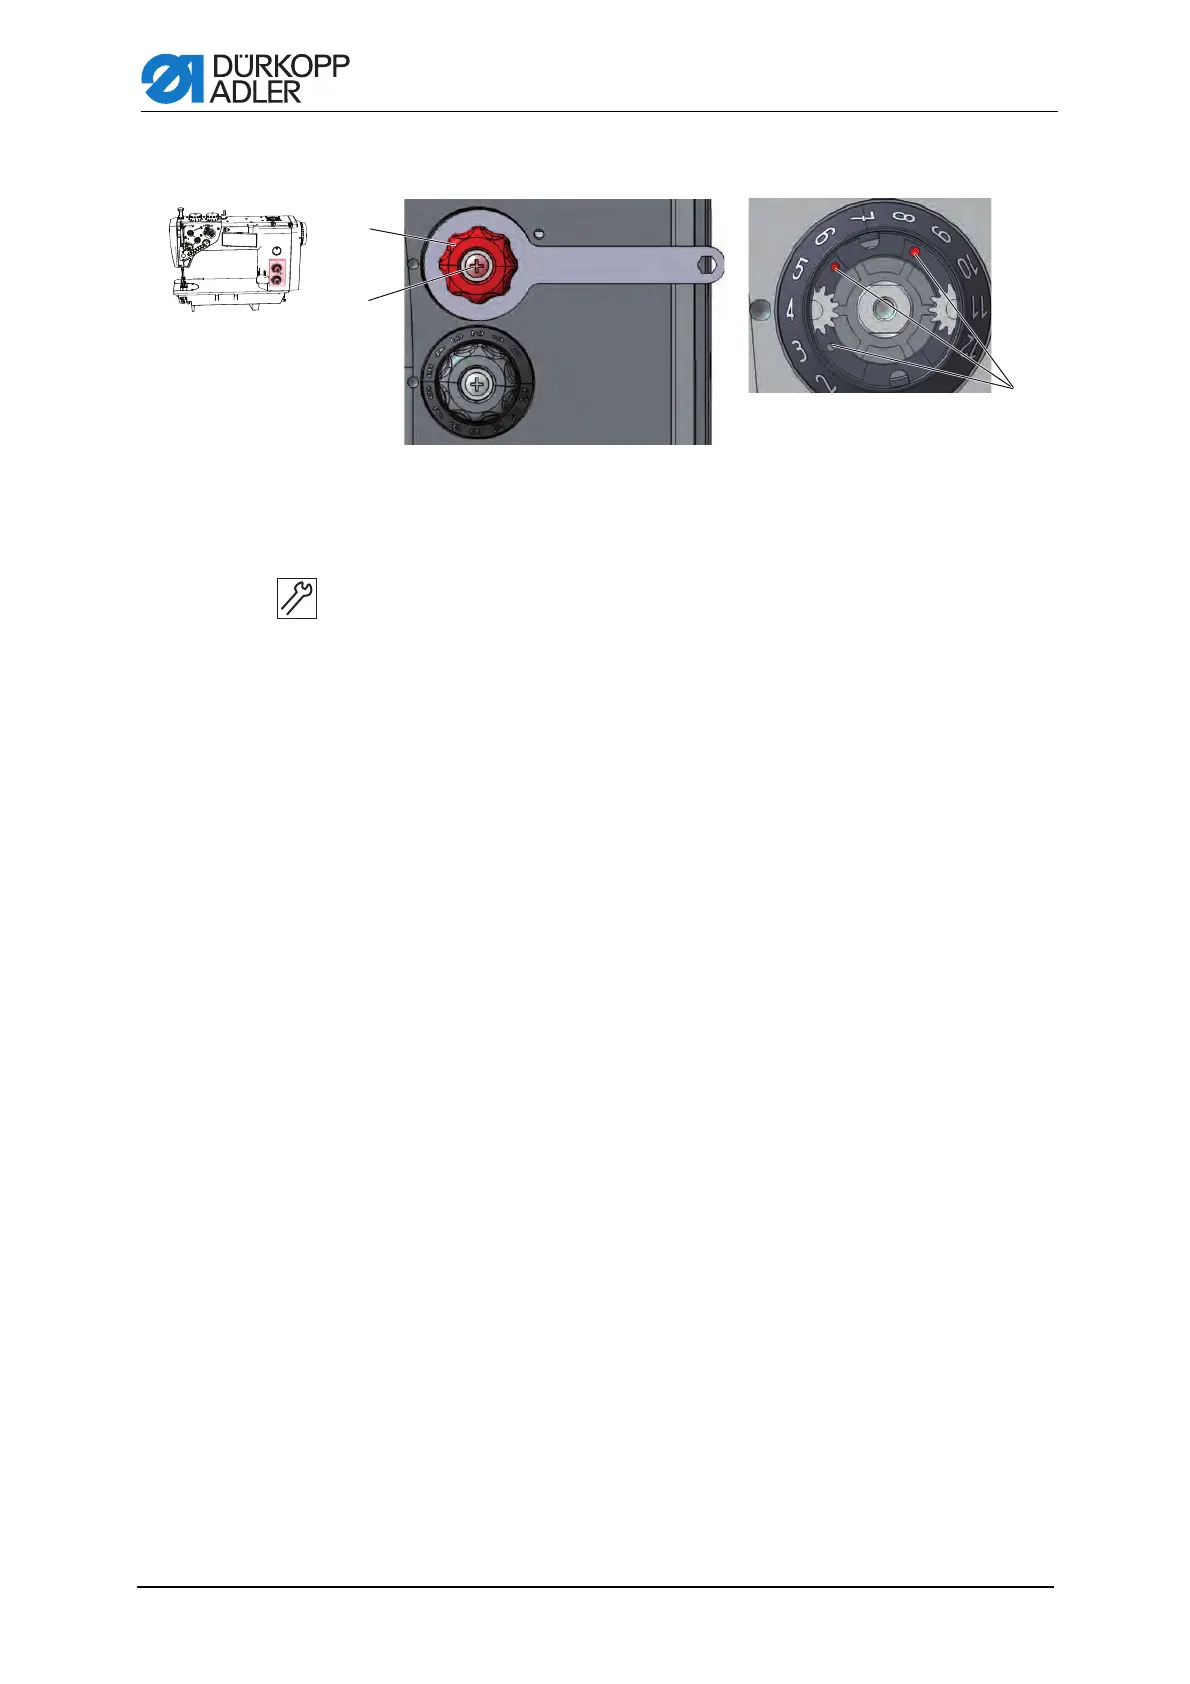
Figure 25: Setting the stitch length limit
Setting steps
1. Position the upper stitch length adjusting wheel (1) to 0.
2. Hold the upper stitch length adjusting wheel (1) using a wrench.
3. Loosen the screw (2).
4. Remove the upper stitch length adjusting wheel (1).
5. Remove the setscrew from one of the 3 mark-off openings (3).
6. Screw the setscrew into the mark-off opening for the required maximum
stitch length. The openings are given numbers for the stitch length:
7. Turn the scale such that the 0 is exactly next to the adjusting mark.
8. Fit the upper stitch length adjusting wheel (1) and hold it using a key.
9. Tighten the screw (2).
2
3
1
(1) - Upper stitch length adjusting wheel
(2) - Screw
(3) - Mark-off openings

 Loading...


