Setting the stitch length adjusting wheels
32
Service Instructions 967 - 02.0 - 12/2015
No play on the stitch regulator gear. The plates for the gear are paral-
lel, the frame cannot be moved.
Cover
• Tilt the machine head ( p. 10)
Setting steps
1. Switch off the machine at the main switch.
The machine switches over to the uppe
r stitch length adjusting wheel.
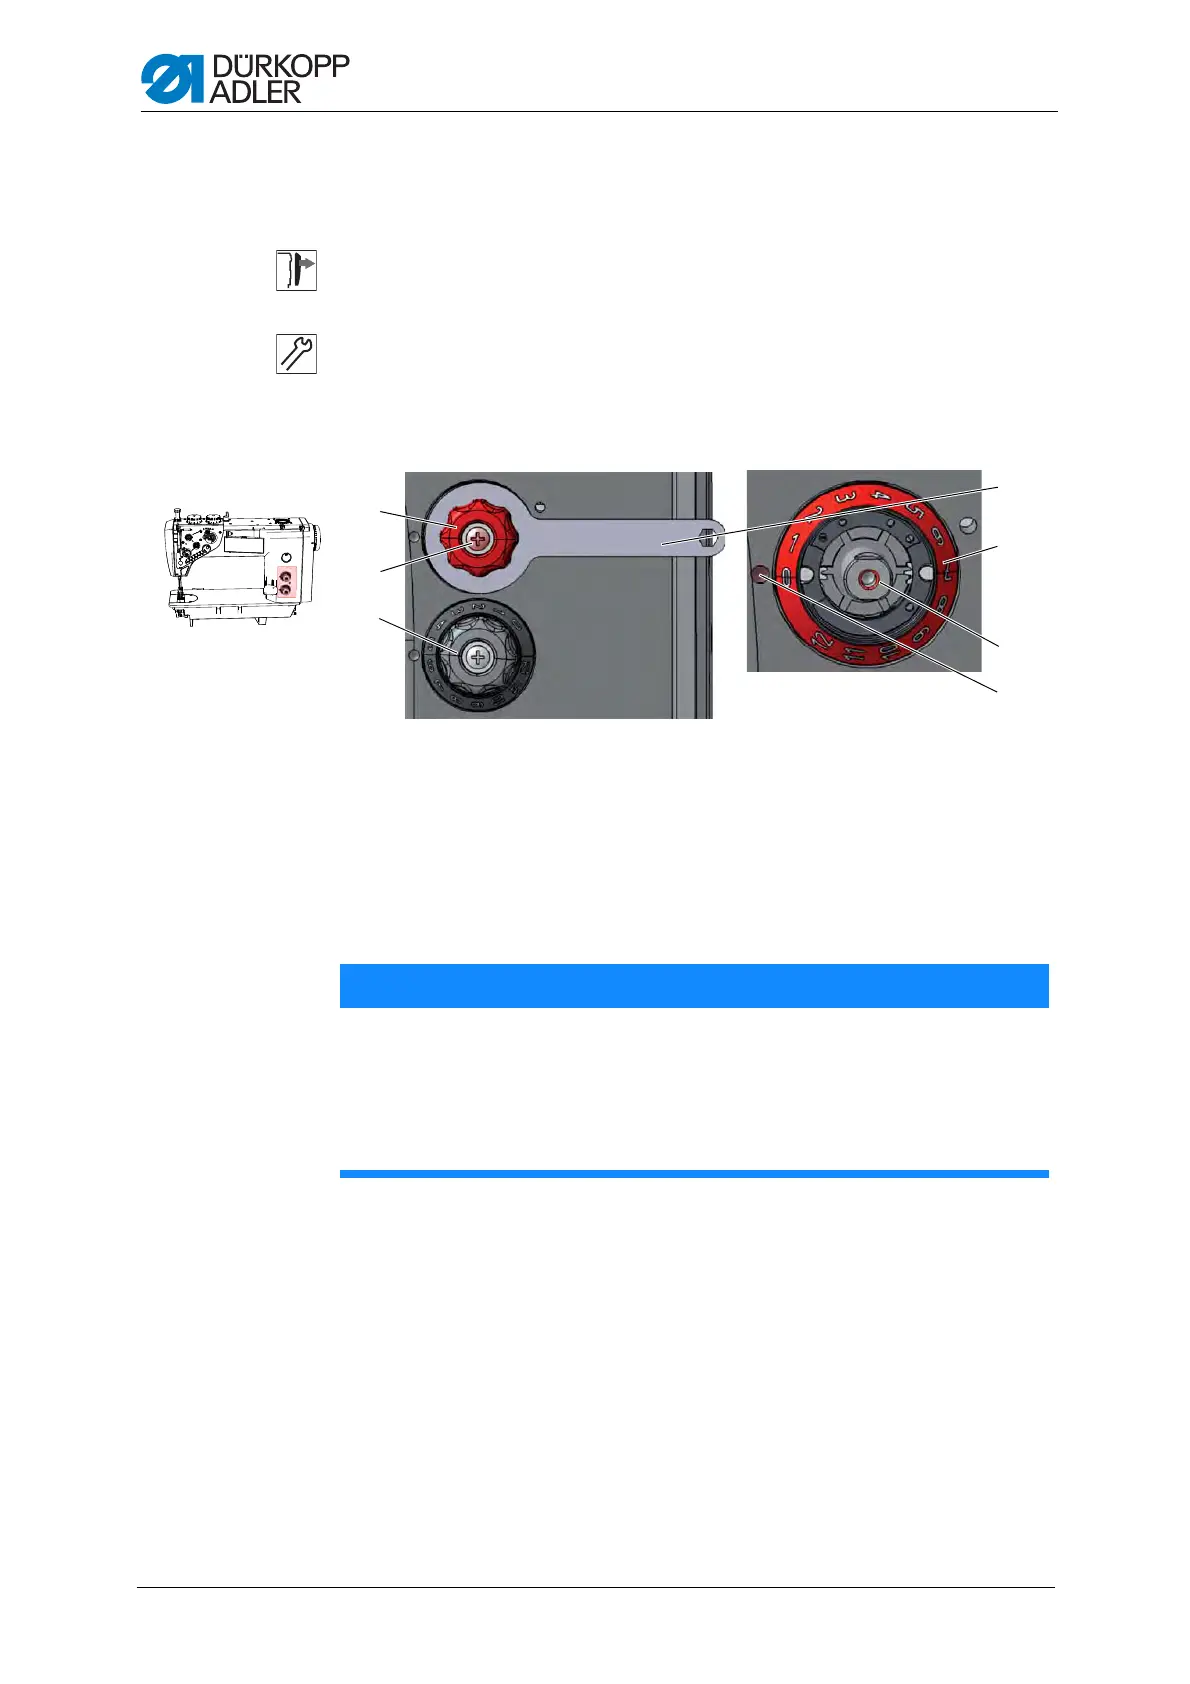
Fig. 21: Setting the upper stitch length adjusting wheel I
2. Hold the upper stitch length adjusting wheel (1) using a wrench (7).
3. Loosen the screw (2).
4. Remove the upper stitch length adjusting wheel (1) from the shaft (5).
5. Carefully turn the shaft (5) clockwise using a 10 mm wrench.
NOTICE
Machine damage possible if the shaft is turned too strongly.
If you turn the shaft too far, then parts on the stitch regulator gear
could ben
d or get stuck.
Turn the shaft carefully and stop as soon as you can feel slight
resistance.
(1) - Upper stitch length adjusting wheel
(2) - Screw
(3) - Lower stitch length adjusting wheel
(4) - Adjusting mark
(5) - Shaft
(6) - Scale
(7) - Wrench
②
①
④
③
⑤
⑥
⑦
 Loading...