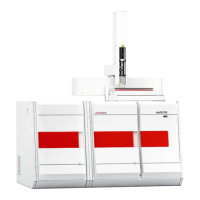
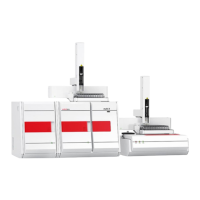
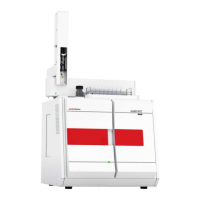
Carbon analysis with the TC module multi EA 5000
88
11.2 Installation
NOTICE
Connecting or disconnecting electrical contacts may damage the sensitive electronic
components of the basic module and of the detection module.
¡ Always connect the modules to power when they are switched off.
} Place the detection module to the left of the basic module. In the event of a series of
detection modules: place the detection module to the left or right of the others.
} Connect the supplied power cable to the power cable connection on the rear of the
module and to an earthed socket. Observe the permissible maximum voltage!
} Connect the detection module with the basic module via the interface:
"C-NDIR" interface on the rear of the detection module
"C-NDIR" on the rear of the basic module.
} Connect the measuring gas hose of the basic module to the "sample in" gas inlet on
the rear of the module.
} Leave the "sample out" outlet unconnected or connect it to the measuring gas inlet of
the next detection module.
ü Connection of the detection module is complete.
11.3 Operating the analysis system
} Switch on the basic module and the detection module.
ü The devices boot up. The status LED on the front of the basic module light up in
green after approx. 30 s
.
ü The LED on the front of the detection module flashes during the run-in period.
Depending on the detector, the run-in period can take up to 30 min
. After this,
the LED will light up continuously. Starting a measurement is only then possible.
} Open the gas supply and set the required gas pressure.
} Switch on the PC.
} Start the control and analysis software and login with your username and password.
} Initialize the analysis system by clicking on
[Initialize analyzer]
.
ü The initialization and automatic detection of all connected components will be
carried out.
} Ready the samples.
} Activate a pre-existing method via the
Method
|
Method - activate
menu item.
} Alternatively: Create a new method in the
Method
|
Method - new
menu. Select the
measurement parameter in the method. Release and activate the method.
} Select
Start
|
Start - Analysis
in the menu.
} Select an analysis group or create a new one and confirm via
[OK]
.
} Create an analysis sequence.
} Enter the sample ID for all sample in the
Name
field.
} Release all sequence lines
} Confirm the entries with
[OK]
.