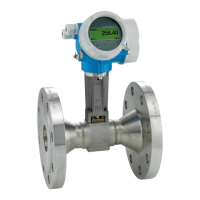
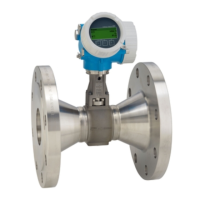
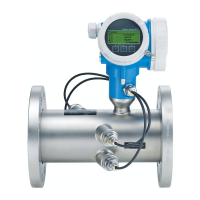
Proline Prowirl F 200 PROFIBUS PA Technical data
Endress+Hauser 197
Mass flow of superheated steam and gas (single gas, gas mixture, air: NEL40; natural
gas: ISO 12213-2 contains AGA8-DC92, AGA NX-19, ISO 12213-3 contains SGERG-88
and AGA8 Gross Method 1)
• Re > 20 000 and process pressure < 40 bar abs. (580 psi abs.): 1.7 % o.r.
• Re between 5 000 to 20 000 and process pressure < 40 bar abs. (580 psi abs.): 10 % o.r.
• Re > 20 000 and process pressure < 120 bar abs. (1 740 psi abs.): 2.6 % o.r.
• Re between 5 000 to 20 000 and process pressure < 120 bar abs. (1 740 psi abs.): 10 %
o.r.
abs. = absolute
Mass flow (water)
• Re 20 000: < 0.85 % o.r.
• Re between 5 000 to 20 000: < 10 % o.r.
Mass flow (user-defined liquids)
To specify the system accuracy, Endress+Hauser requires information about the type of
liquid and its operating temperature or information in table form about the dependency
between the liquid density and the temperature.
Example
• Acetone is to be measured at fluid temperatures from +70 to +90 °C (+158 to +194 °F).
• For this purpose, the Reference temperature parameter (7703) (here 80 °C (176 °F)),
Reference density parameter (7700) (here 720.00 kg/m
3
) and Linear expansion
coefficient parameter (7621) (here 18.0298 × 10
-4
1/°C) must be entered in the
transmitter.
• The overall system uncertainty, which is less than 0.9 % for the example above, is
comprised of the following measurement uncertainties: uncertainty of volume flow
measurement, uncertainty of temperature measurement, uncertainty of the density-
temperature correlation used (incl. the resulting uncertainty of density).
Mass flow (other media)
Depends on the selected fluid and the pressure value, which is specified in the parameters.
Individual error analysis must be performed.
Diameter mismatch correction
Prowirl 200 can correct shifts in the calibration factor which are caused, for example, by
diameter mismatch between the device flange (e.g. ASME B16.5/Sch. 80, DN 50 (2")) and
the mating pipe (e.g. ASME B16.5/Sch. 40, DN 50 (2")). Only apply diameter mismatch
correction within the following limit values (listed below) for which test measurements
have also been performed.
Flange connection:
• DN 15 (½"): ±20 % of the internal diameter
• DN 25 (1"): ±15 % of the internal diameter
• DN 40 (1½"): ±12 % of the internal diameter
• DN ≥ 50 (2"): ±10 % of the internal diameter
If the standard internal diameter of the ordered process connection differs from the
internal diameter of the mating pipe, an additional measuring uncertainty of approx. 2 %
o.r. must be expected.
Example
Influence of the diameter mismatch without using the correction function:
• Mating pipe DN 100 (4"), schedule 80
• Device flange DN 100 (4"), schedule 40
• This installation position results in a diameter mismatch of 5 mm (0.2 in). If the
correction function is not used, an additional measuring uncertainty of approx. 2 % o.r.
must be expected.
Accuracy of outputs
The outputs have the following base accuracy specifications.
 Loading...


