EasyManuals Logo

Epson LX-810 User Guide

Epson LX-810
129 pages
To Next Page IconTo Next Page
To Previous Page IconTo Previous Page
Page #75 background imageLoading...
Page #75 background image
Interface Boards
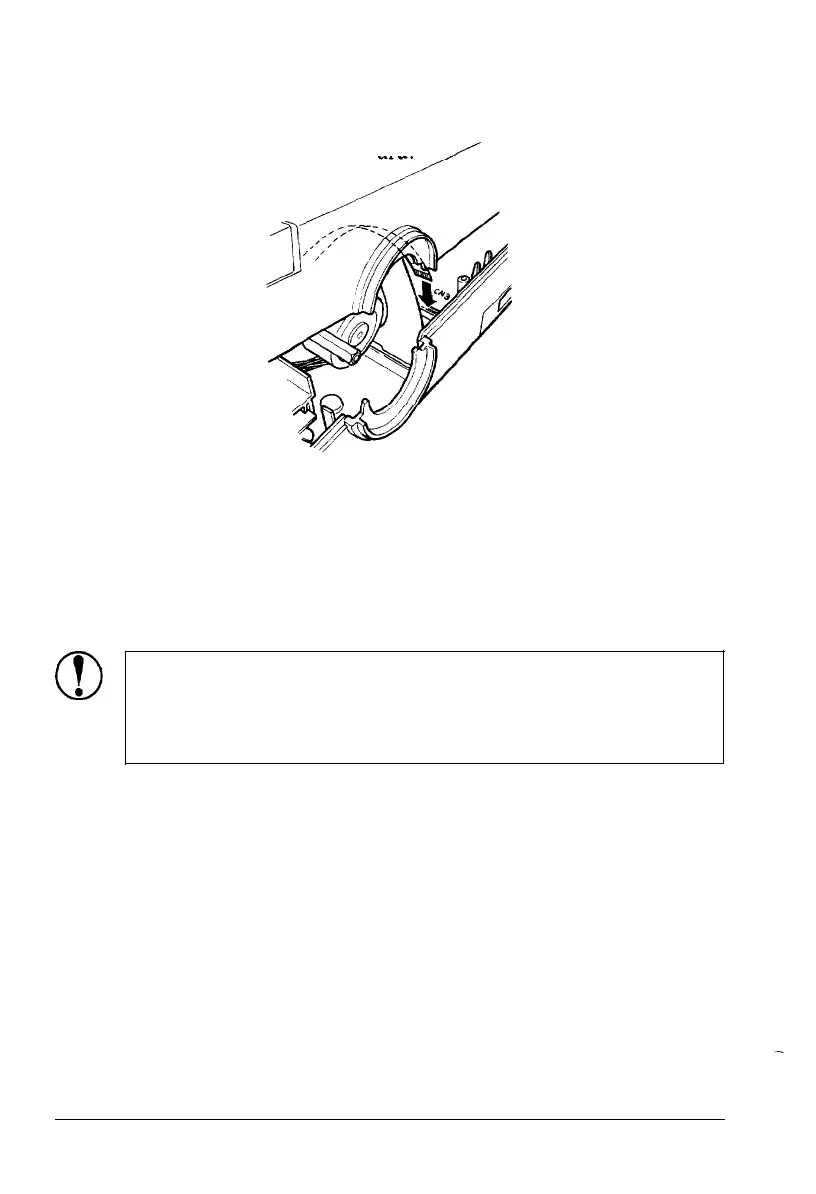
2. Carefully insert the control panel cable into the connector
labelled CN3 on the main board.
3.
Close the upper case. Press down on the front of the case until
it locks into place.
4. Reattach the push feed tractor.
5. Reattach the ribbon cartridge, paper tension unit cover, and
platen knob.
CAUTION: When you install an optional interface
board, be sure to disconnect the printer cable from the
printer’s built-in parallel interface. You must not connect
two interface cables to the printer at the same time.
4-24 Using the Printer Options

Table of Contents

Other manuals for Epson LX-810

Questions and Answers:

Question and Answer IconNeed help?

Do you have a question about the Epson LX-810 and is the answer not in the manual?

Epson LX-810 Specifications

General IconGeneral
Print MethodImpact dot matrix
Number of Pins9
Character Sets96 characters (USASCII)
Line Spacing1/6 inch
Paper PathRear
InterfaceCentronics parallel
Noise Level55 dB (A)

Related product manuals