Pull Tractor
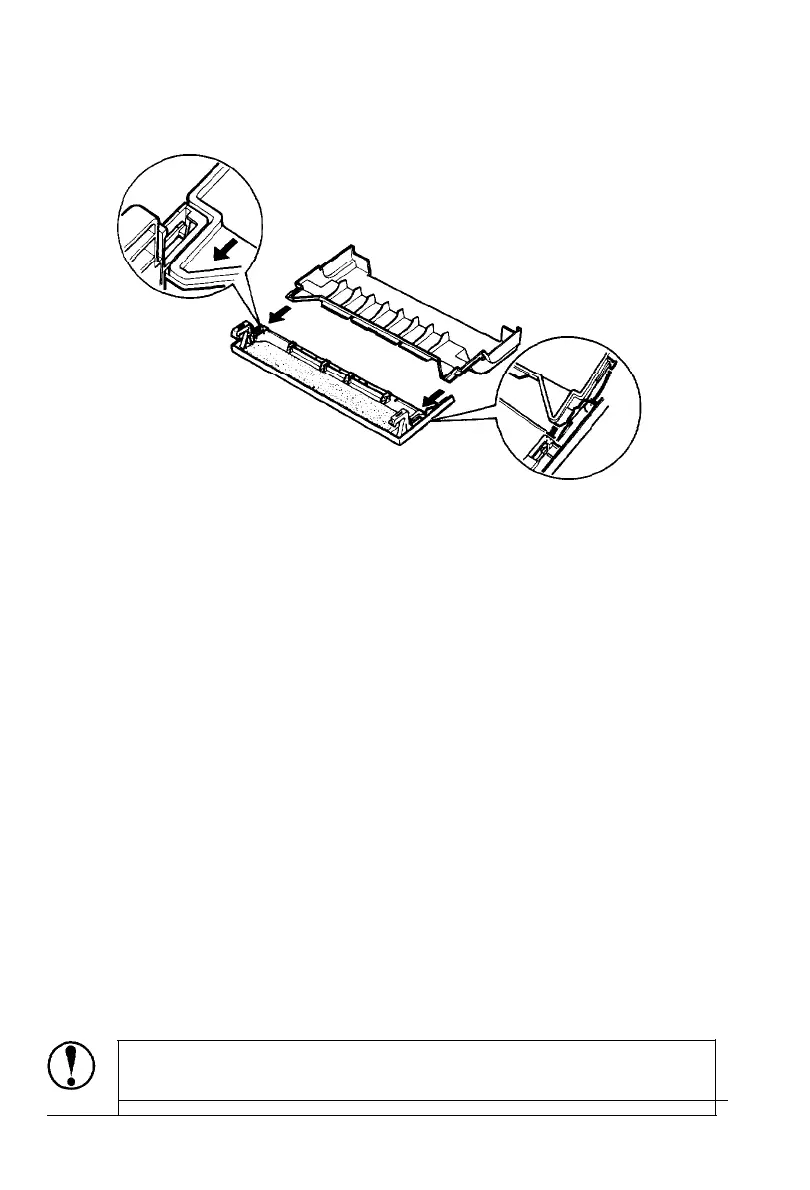
10. Attach the tractor cover to the front half of the printer cover.
11. Install the paper guide; then slide the edge guides together so
that they meet at about the center of the paper’s width.
12. Install the pull tractor cover and press the ON LINE button to set
the printer on line.
While the pull tractor can be used in combination with the built-in
push tractor as described above, the pull tractor can also be used
by itself. Instead of setting the paper on the pins of the push
tractor, simply insert it through the same paper path as you would
use with single-sheet paper.
Removing the pull tractor
1.
If you have a printed document in the printer, set the printer
off line and press the FORM FEED button to feed the paper
forward. Then tear off the document at the perforation.
2.
Press the ON LINE button to set the printer off line. Then press
the LOAD/EJECT button until the continuous paper feeds
backward out of the printer to the standby position. (The
PAPER OUT light comes on.)
CAUTION: Never feed labels backward through the
printer.
4-12 Using the Printer Options

 Loading...


