Installation 2. Installation
54 RC700 Series Rev.3
2.8 Saving Default Status
The Controller is already setup with the purchased robot(s) at shipment. However, just in
case, we recommend saving the default Controller status. A USB memory is necessary to
save the Controller status.
For the procedure of Controller status storage, refer to Robot Controller: 8. Memory Port.
2.9 Adding Information of the Additional System
Adding of information of the new system is required only for customers who purchased the
Drive Unit singly.
Install the Control Unit and Drive Unit, and then turn ON the robot system. After turning
ON the system, add information of the additional system.
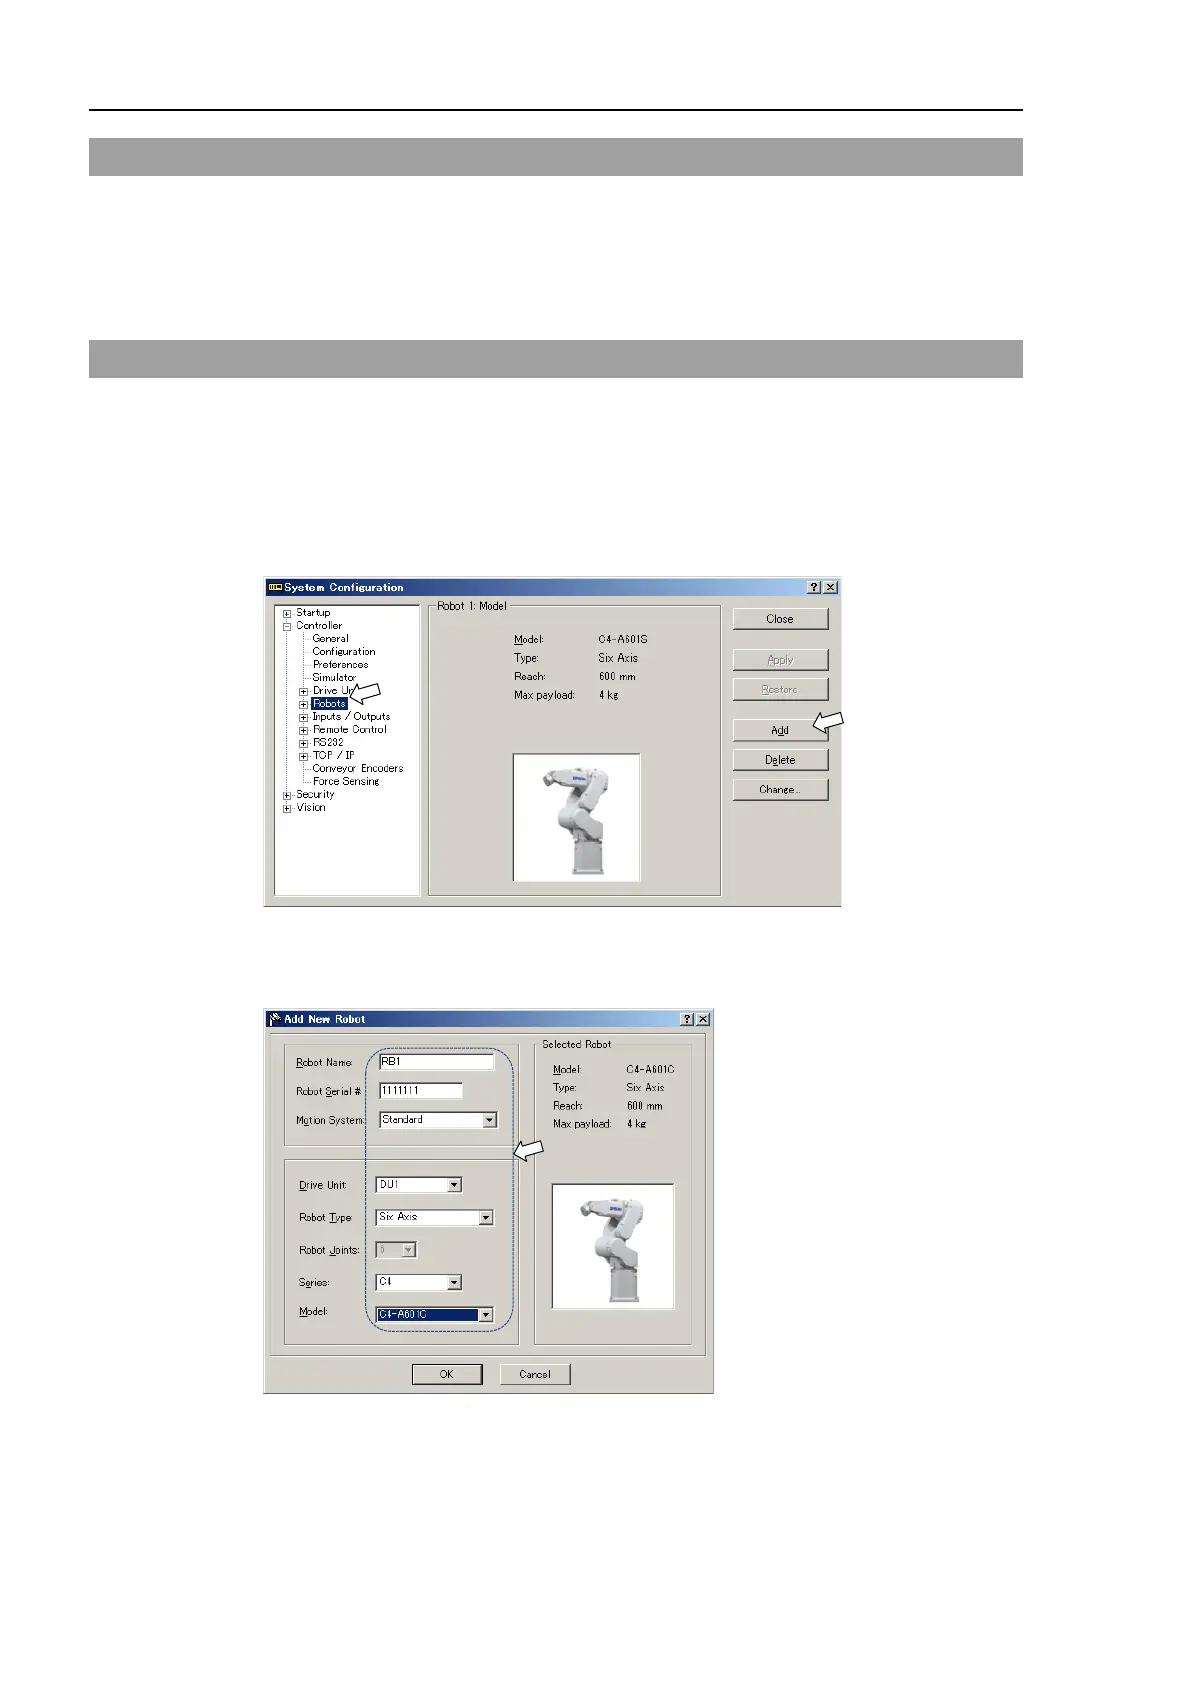
(1) Select the EPSON RC+ 7.0-[Setup]-[System Configuration].
[System Configuration] dialog box will appear.
(2) Click [Controller]-[Robots] in the tree on the left.
(3) Click <Add> button.
[Add New Robot] dialog box will appear.
 Loading...


