Installation 4. First Step
RC700 Series Rev.3 63
4.2.3 Software Setup and Connection Check
The following is the steps of connecting the development PC and the Controller.
(1) Make sure that EPSON RC+ 7.0 is installed on the Controller connected to the
development PC.
(Install the software when it is not installed.)
(2) Connect the development PC and the Controller by the USB cable.
(3) Turn ON the Controller.
(4) Start the software EPSON RC+ 7.0.
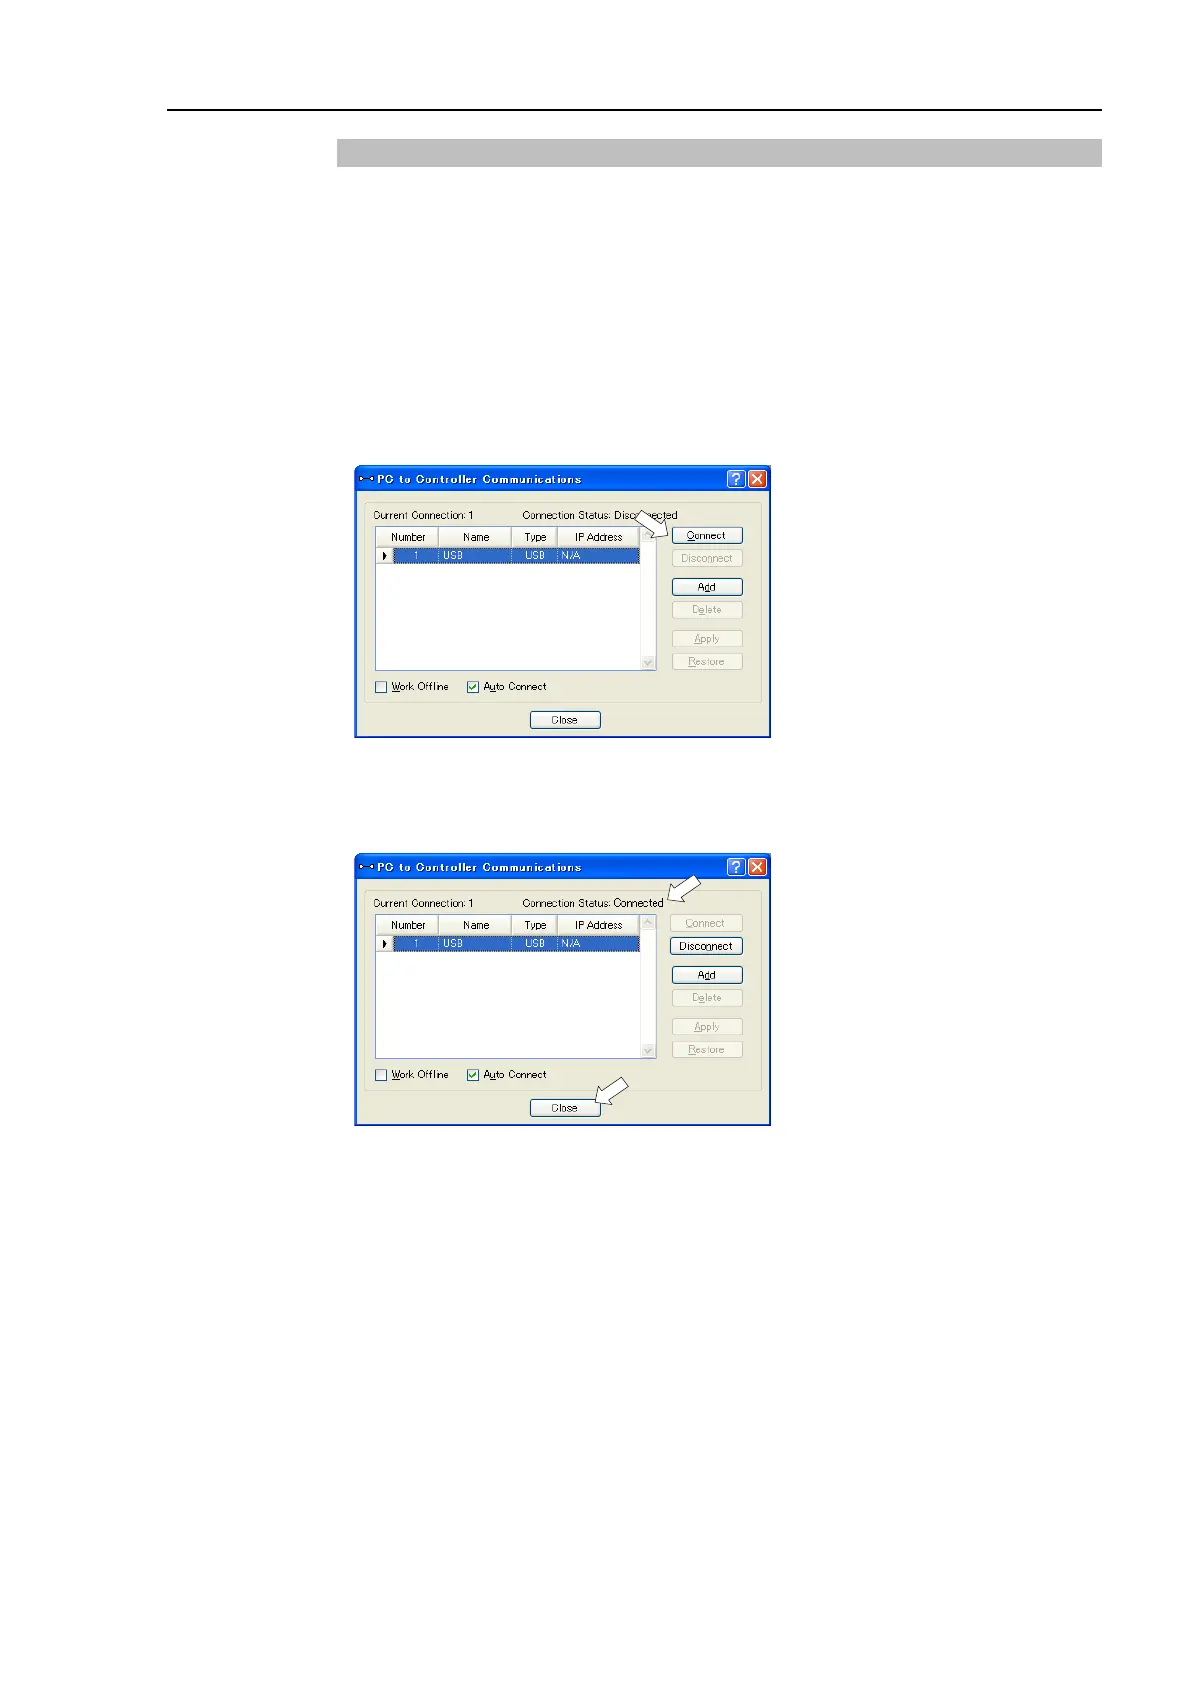
(5) Select the EPSON RC+ 7.0 menu-[Setup]-[PC to Controller Communications] to
display the [PC to Controller Communications] dialog box.
(6) Select the “No.1 USB” and click the <Connect> button.
(7) After development PC and the Controller connection is completed, “Connected” is
displayed in the [Connection status:]. Make sure that “Connected” is displayed and
click the <Close> button to close the [PC to Controller Communications] dialog box.
Connection of the development PC and the Controller is completed. Now robot system can be used
from EPSON RC+ 7.0.

 Loading...


