Disassembly and Assembly 2-6 Rev. A
Confidential
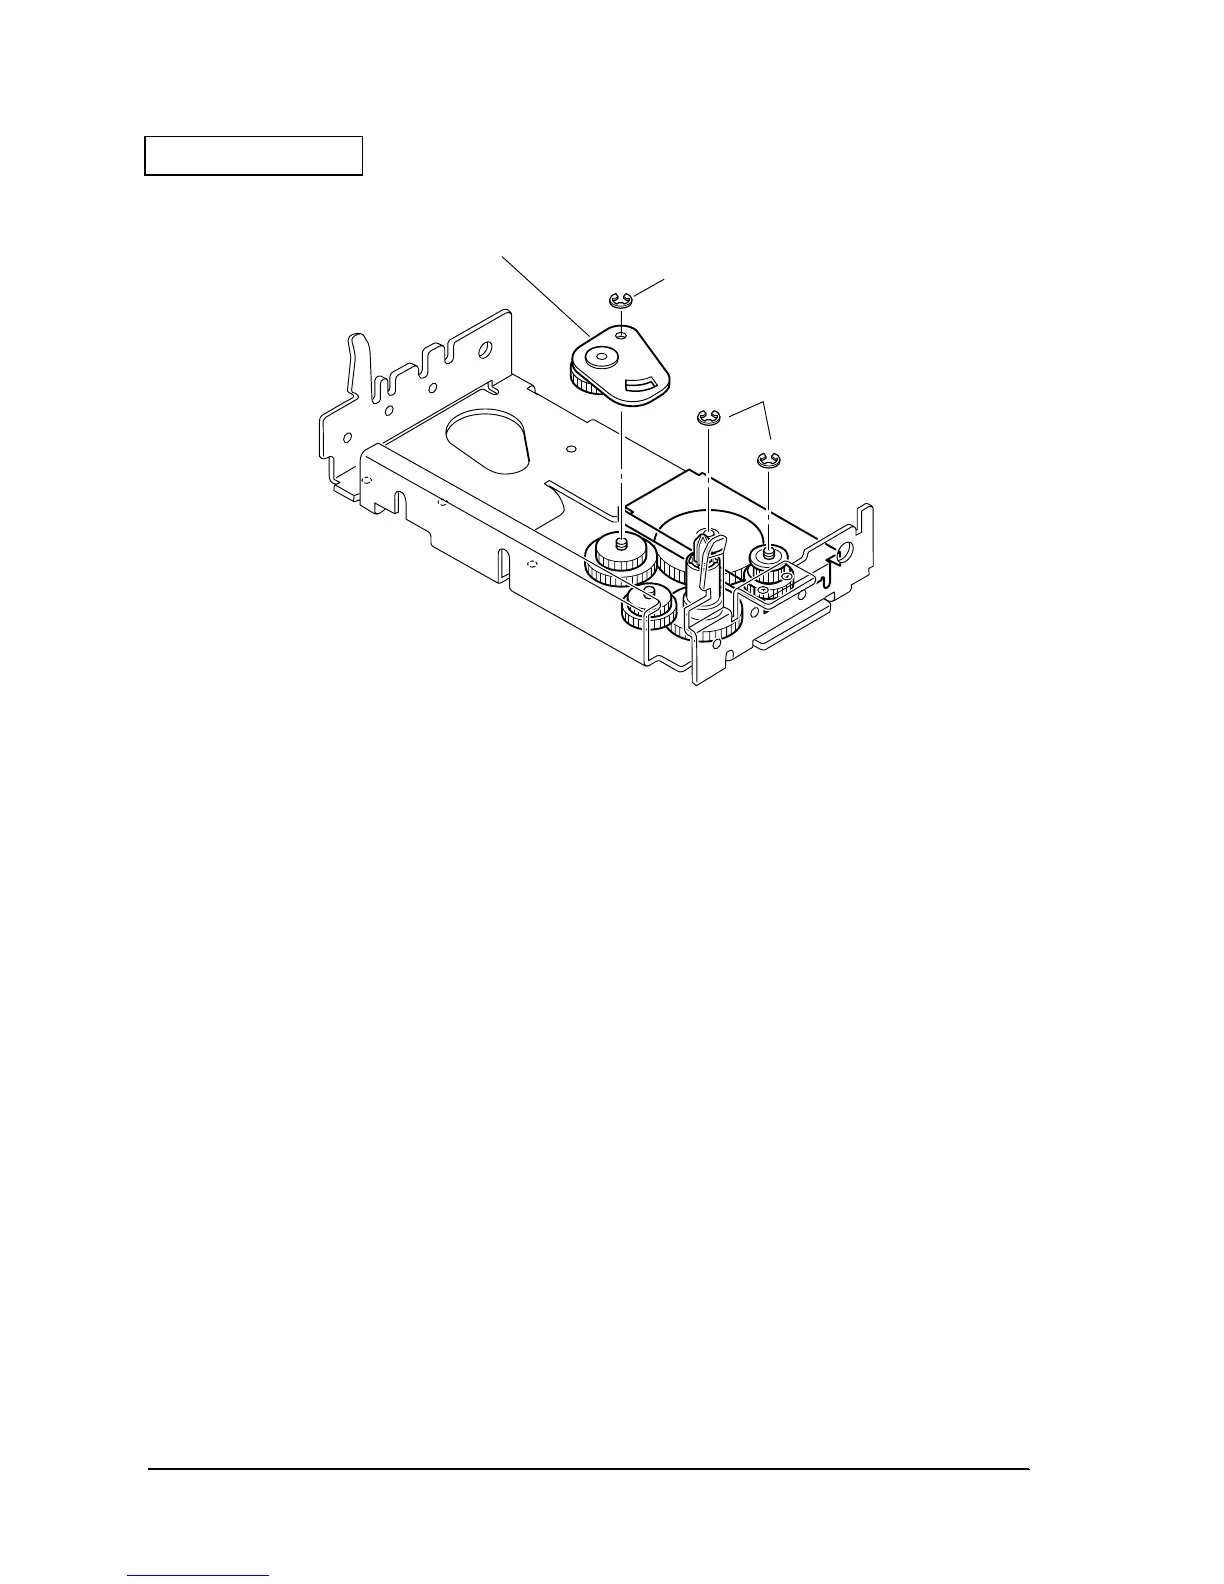
Figure 2-6
Pre-assembly of the Carriage Motor
1. Lubricate the carriage drive pulley shaft. See Appendix G for a lubrication diagram.
2. Attach the carriage drive pulley to the carriage drive pulley shaft.
3. Lubricate the inside of the carriage drive pulley. See Appendix G for a lubrication diagram.
4. Attach the belt drive cap to the carriage drive pulley using one E-ring. Insert the flat surface
of the belt drive cap face up to install it.
5. Fix the carriage motor to the carriage sub assembly nib frame assembly with one screw.
Tighten the lead wire side screw.
6. Loosen the carriage motor stopper screw. (Rotate a maximum of one turn.)
685 E-ring(2)
674 Ribbon drive plate assembly
685 E-ring(2)
 Loading...