100i / 200i / 300i / 400i
Manual PN: 0560956430 INSTALLATION 75
7. Connect the pilot lead to the Torch Head. Press the two ends of the connector firmly together. Thread the plastic lead
cover/connector onto the mating Torch Head connector.
8. Press the Torch Head Assembly upward to connect to the Mounting Tube. Pull the leads back as needed to ensure a proper
fit through the Mounting Tube and Torch Leads End Cap. Hold the Torch Head Assembly stationary; rotate the Mounting
Tube to thread it onto the Torch Head.
CAUTION
Ensure that the leads do not twist within the mounting tube. Leads must lie as shown in the
installation sketch.
9. The lower end of the Mounting Tube includes four threaded holes. Install an Allen set screw in any of the threaded holes
to secure the Torch Head Assembly to the Mounting Tube.
10. Install the appropriate consumable parts as shown on the following pages. The torch manual includes diagrams showing
the correct parts to install, depending on the metal to be cut and the gases in use.
3.25 Install Consumable Torch Parts
Install the consumable parts as follows to ensure proper operation. These steps will help ensure that parts are seated correctly.
Art # A-03887
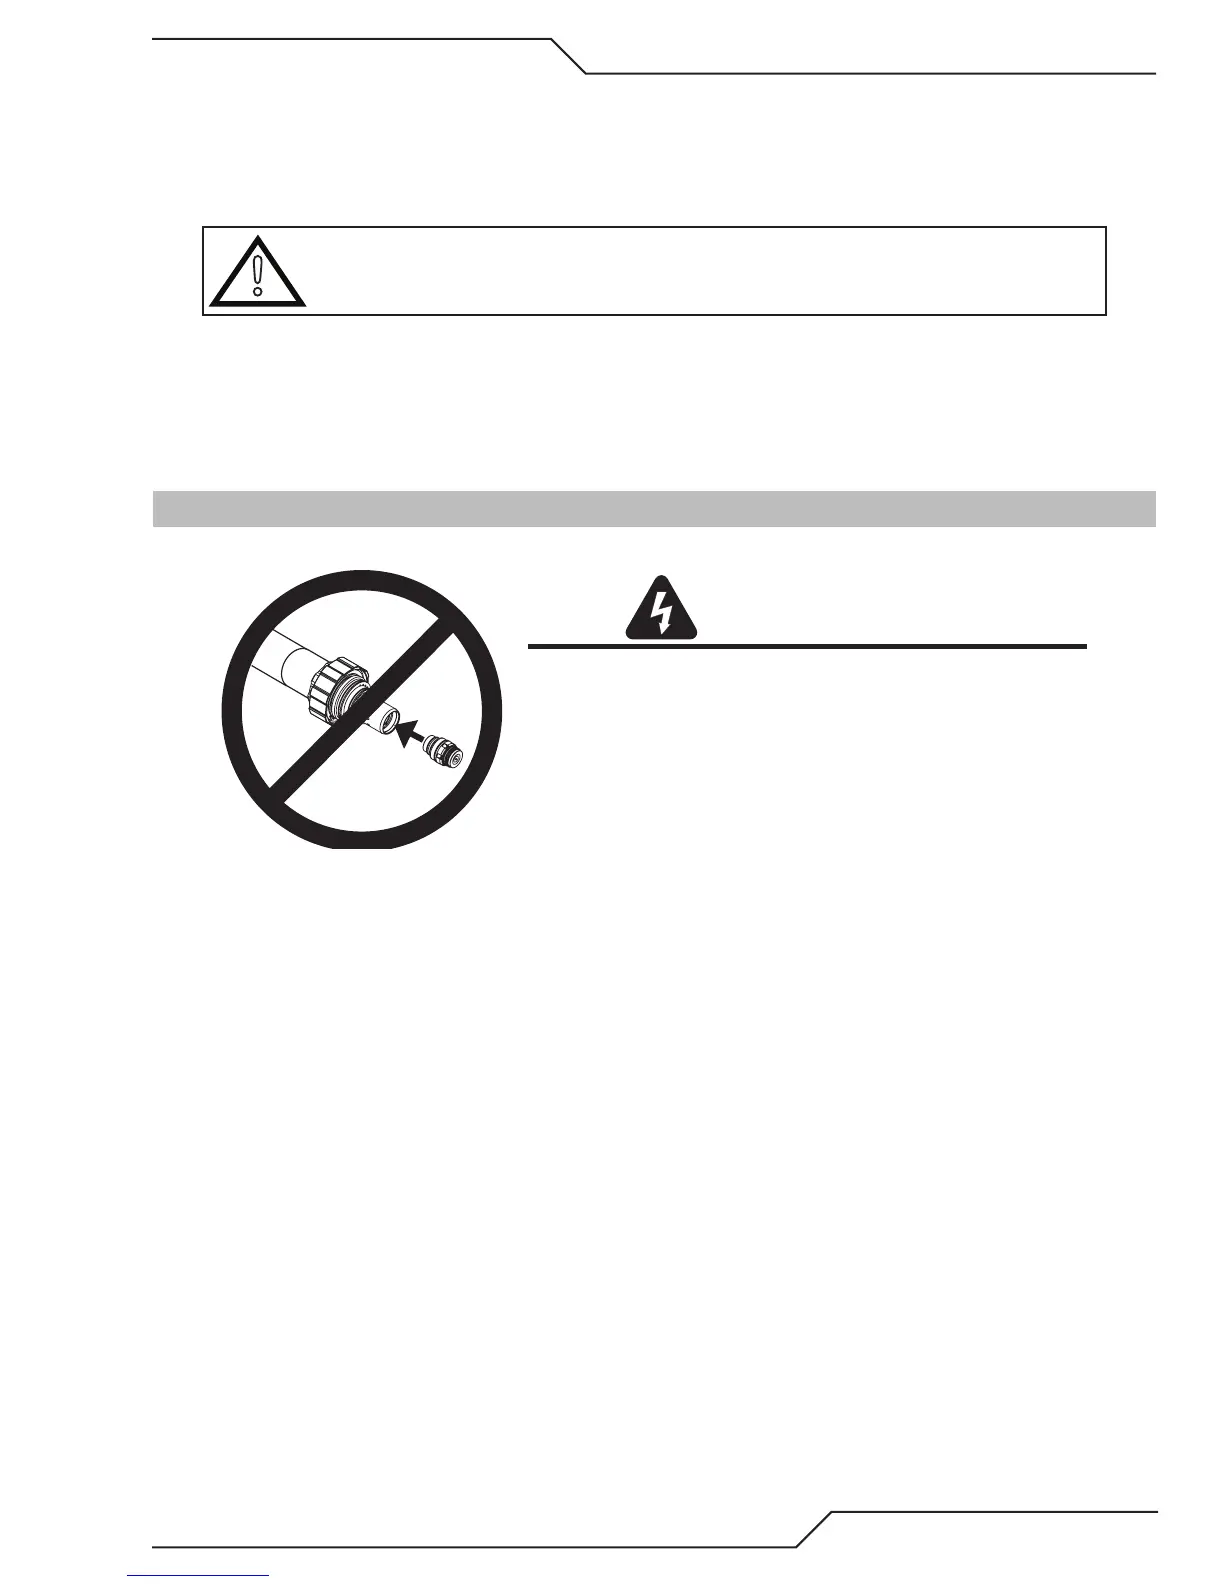
WARNINGS
Do not install consumables into the Cartridge
while the Cartridge is attached to the Torch Head.
Keep foreign materials out of the consumables and Cartridge.
Handle all parts carefully to avoid damage,
which may affect torch performance.
1. Check the appropriate cut chart for the right combination of parts for the cutting application.
2. For 200 Amp parts only, thread the Shield Retainer onto the Shield Cup.
3. Stack the consumable parts together.