4-23
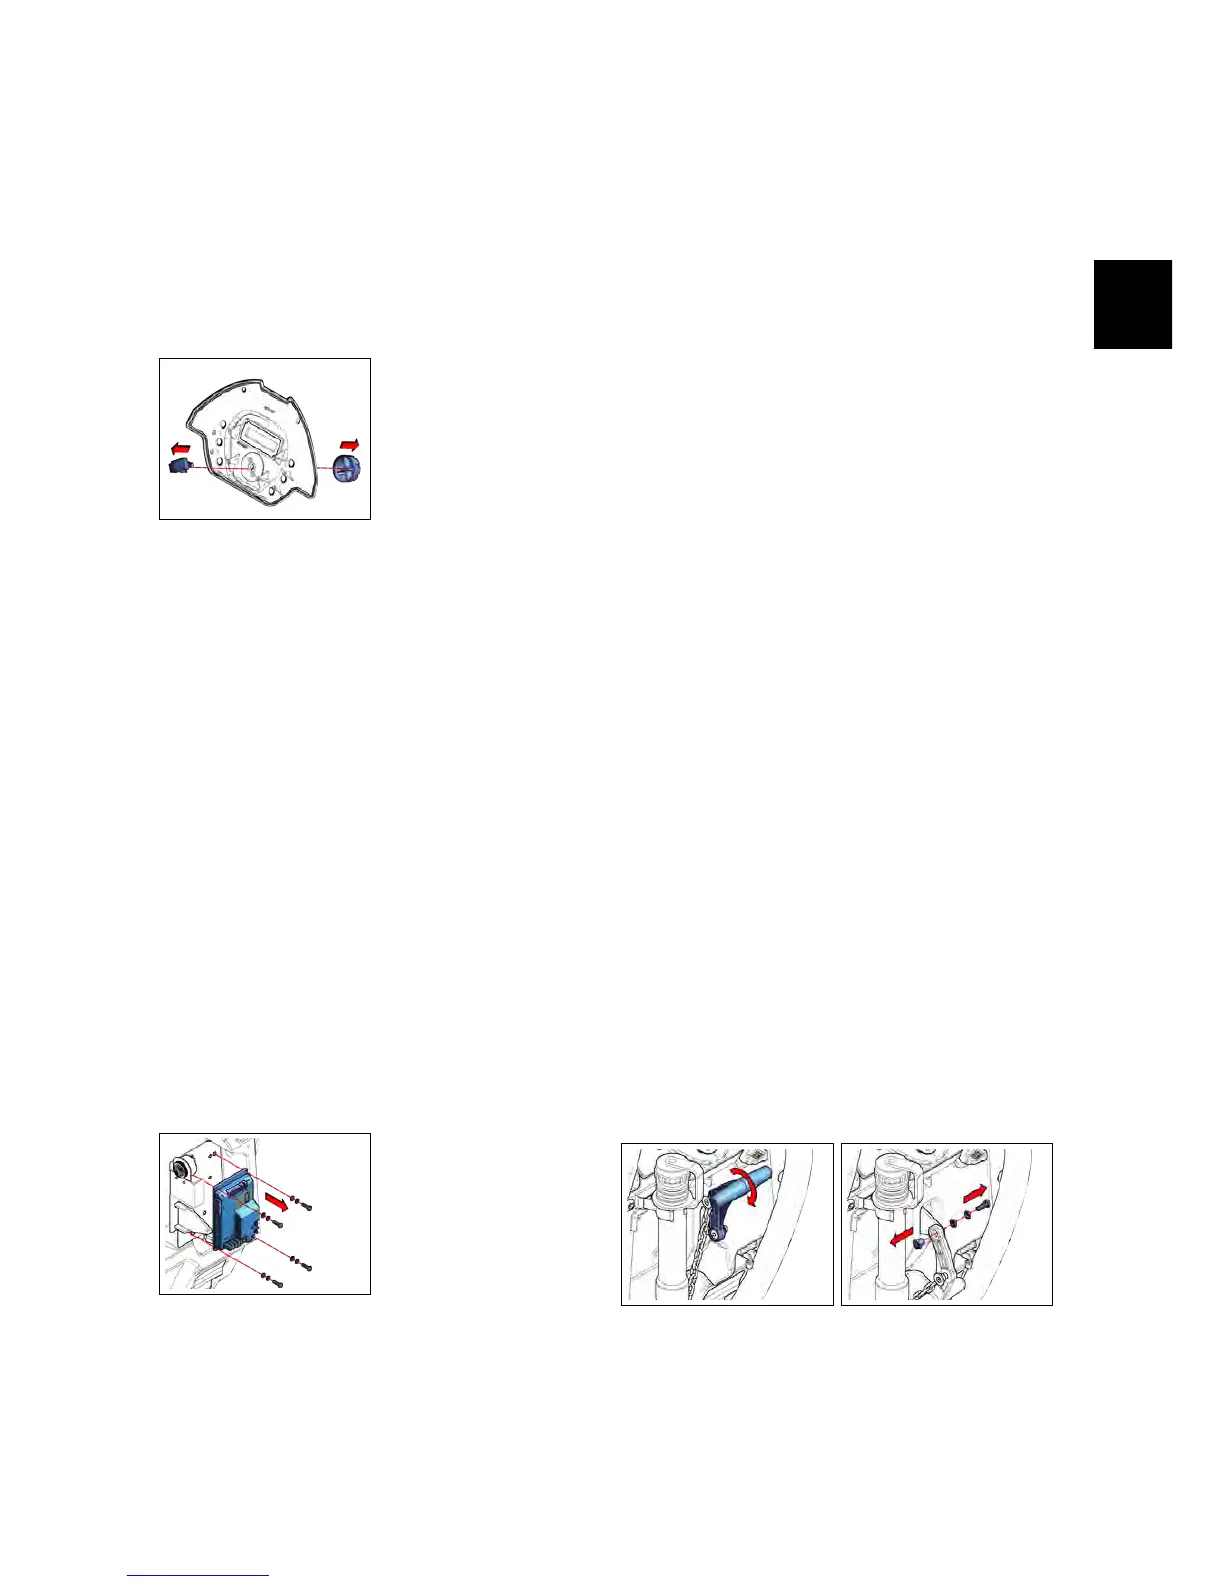
• Loose the nut that blocks the Func-
tion Dashboard.
• Remove the Potentiometer. (see fig.
4.1.4-4).
• Proceed at reverse to refit the part.
4.1.4-4
4.1.5 Power Card IMx B/BT
• Put the machine in safe conditions.
• Remove the Function Dashboard (see
section 4.1.2 at page 17)
• Remove the Rear Dashboard (see section
4.1.6 at page 18)
• Unplug all the wires and cables con-
nected to the Power Card.
• Loose the screws that block the
Power Card on the Machine (see fig.
4.1.5-5).
• Proceed at reverse to refit the part.
4.1.5-5
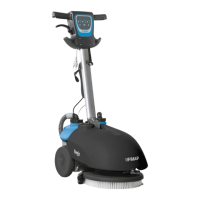
4.1.6 Rear Dashboard IMx
B/BT
• Put the machine in safe conditions.
• Tilt the machine to let the brush
deck to touch the floor.
• Low the Squeegee on the floor (see fig.
4.1.6-6)
• Remove the Squeegee Command
Lever (see fig. 4.1.6-7), (see section 4.3.12 at page
31).
• Unplug the Vacuum Hose (see fig. 4.1.6-8)
• Unhook the Drain Hose from its Clip
(see fig. 4.1.6-8).
• Remove the Function Dashboard (see
fig. ??).
• Loose the screws that block the Rear
Dashboard to the machine (see fig. 4.1.6-
9) (see fig. 4.1.6-10).
• Unplug all the wires and cables that
connect the electrical devices on the
Rear Dashboard.
• Remove the Rear Dashboard (see fig.
4.1.6-11).
• Proceed at reverse to refit the part.
4.1.6-6 4.1.6-7