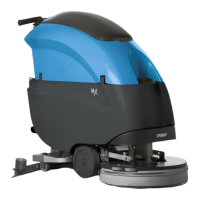
4-31
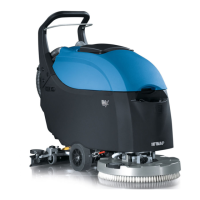
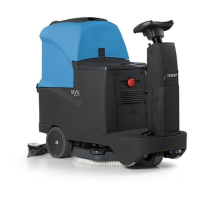
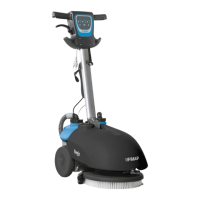
4.3 Drying System
4.3.1 Squeegee
• Put the machine in safe conditions.
• Lower the Squeegee in working con-
ditions.
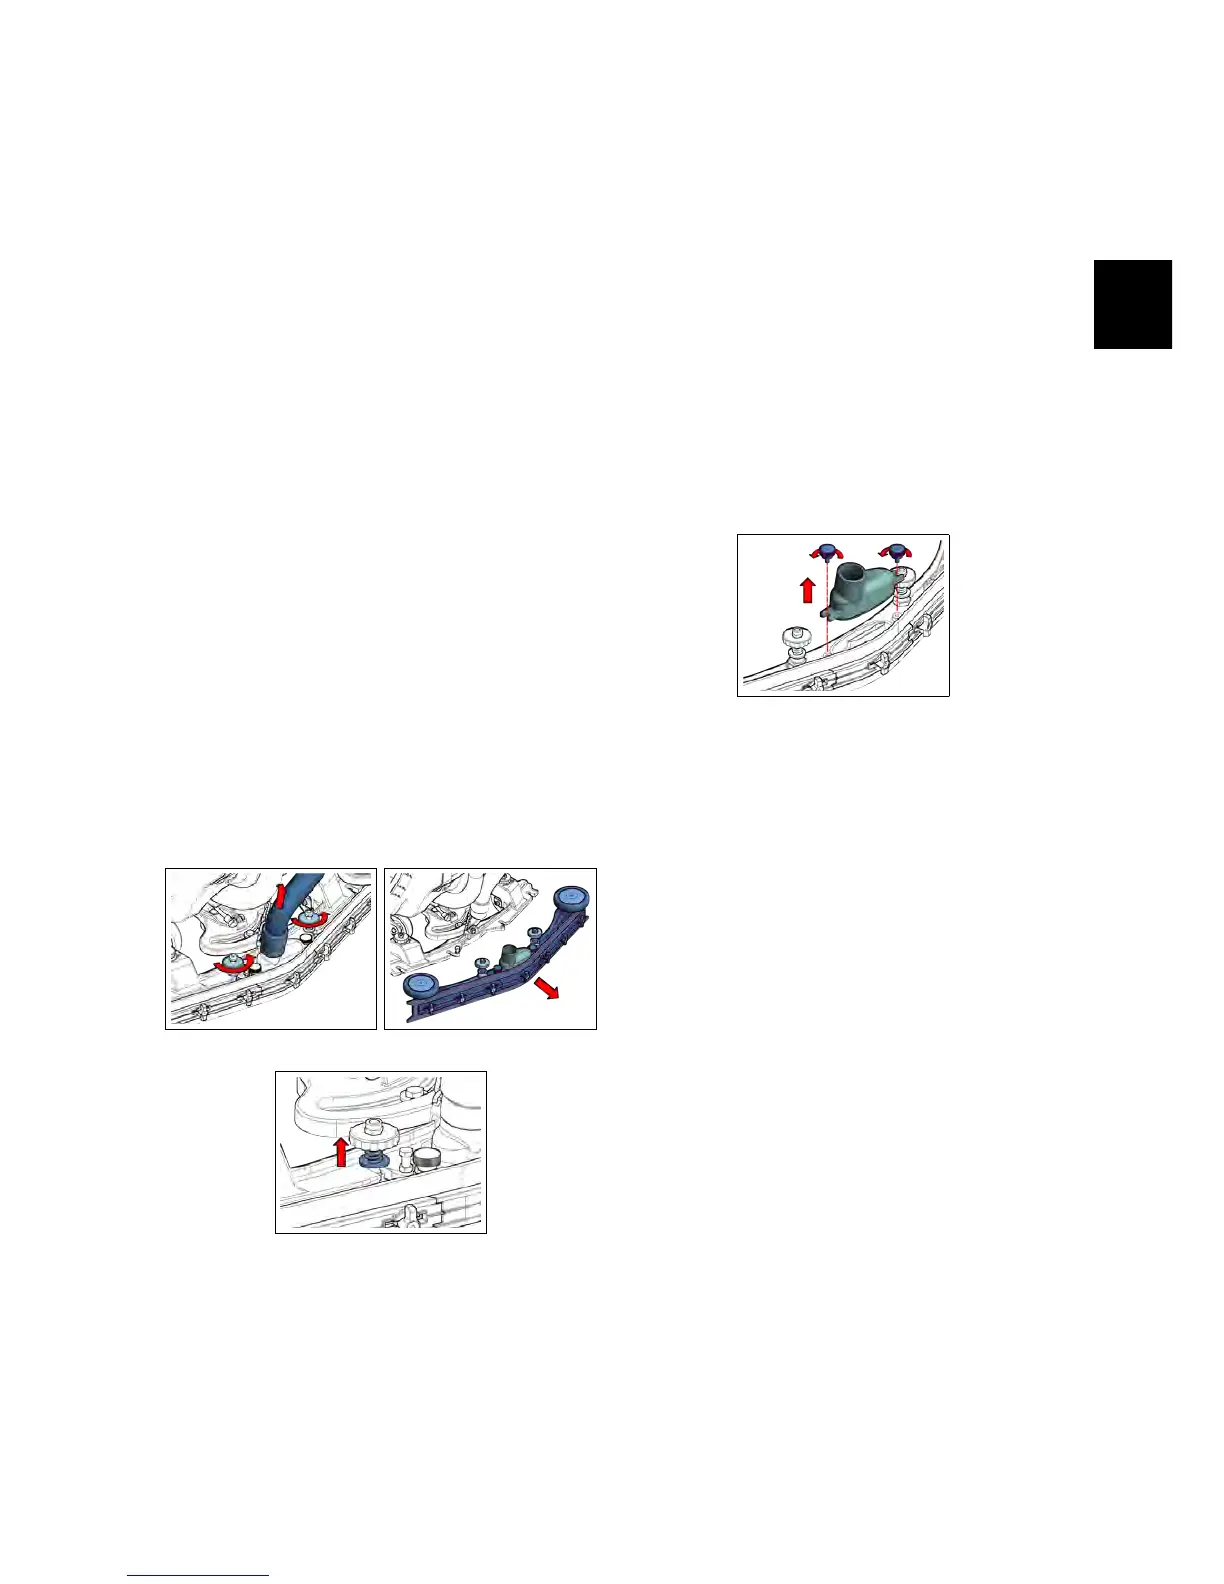
• Unplug the Vacuum Hose (see fig. 4.3.1-
43).
• Loose the knobs that block the
Squeegee to the Squeegee Support
(see fig. 4.3.1-43).
• Remove the Squeegee from the
Squeegee Support (see fig. 4.3.1-44).
• Proceed at reverse to refit the part.
• Perform the adjustment procedure
for the Squeegee (see section 7.3.1 at page 68).
Note: The Squeegee has to be refit on the
machine with the washers on the upper
part of the Squeegee Support(see fig. 4.3.1-
45).
4.3.1-43 4.3.1-44
4.3.1-45
4.3.2 Squeegee Adapter
• Put the machine in safe conditions.
• Disassemble the Squeegee from the
Machine (see section 4.3.1 at page 26).
• Loose the knobs that block the
Squeegee to the Squeegee Support
(see fig. 4.3.2-46).
• Remove the Squeegee Adapter.
• Proceed at reverse to refit the part.
4.3.2-46
4.3.3 Squeegee Support
• Put the machine in safe conditions.
• Disassemble the Squeegee from the
Machine (see section 4.3.1 at page 26).
• Be sure that the Squeegee Com-
mand Lever is in lower position.
• Unscrew the screw that fix the chain
to the Squeegee Command Lever and
let it lie behind the Squeegee Sup-
port (see fig. 4.3.12-75).
• Loose the nuts that block the Gas
Spring to the Squeegee Support and
Remove the Gas Spring (see fig. 4.3.3-49).
• Loose the screws that block the
Squeegee Support to the Squeegee
Rotation Arm (see fig. 4.3.3-50).
• Remove the Squeegee Support (see fig.
4.3.3-51).