10-90
10.3 Onboard Charger Kit
- 223232
10.3.1 Description
The machine is available in ”CB” ver-
sion which is the version with the built
in charger. Anyway, in a standard ma-
chine, the battery charger can be fitted
acting as follow.
10.3.2 Tools needed for the in-
stallation
• Phillips Screw Driver.
10.3.3 Machine Preparation
Before to start the kit installation is
mandatory to put the machine in safe
condition. Release the brush, switch off
the machine and unplug the batteries.
10.3.3-13 Brush release 10.3.3-14 Machine switch-
ing off
10.3.3-15 Disconnection
of the batteries
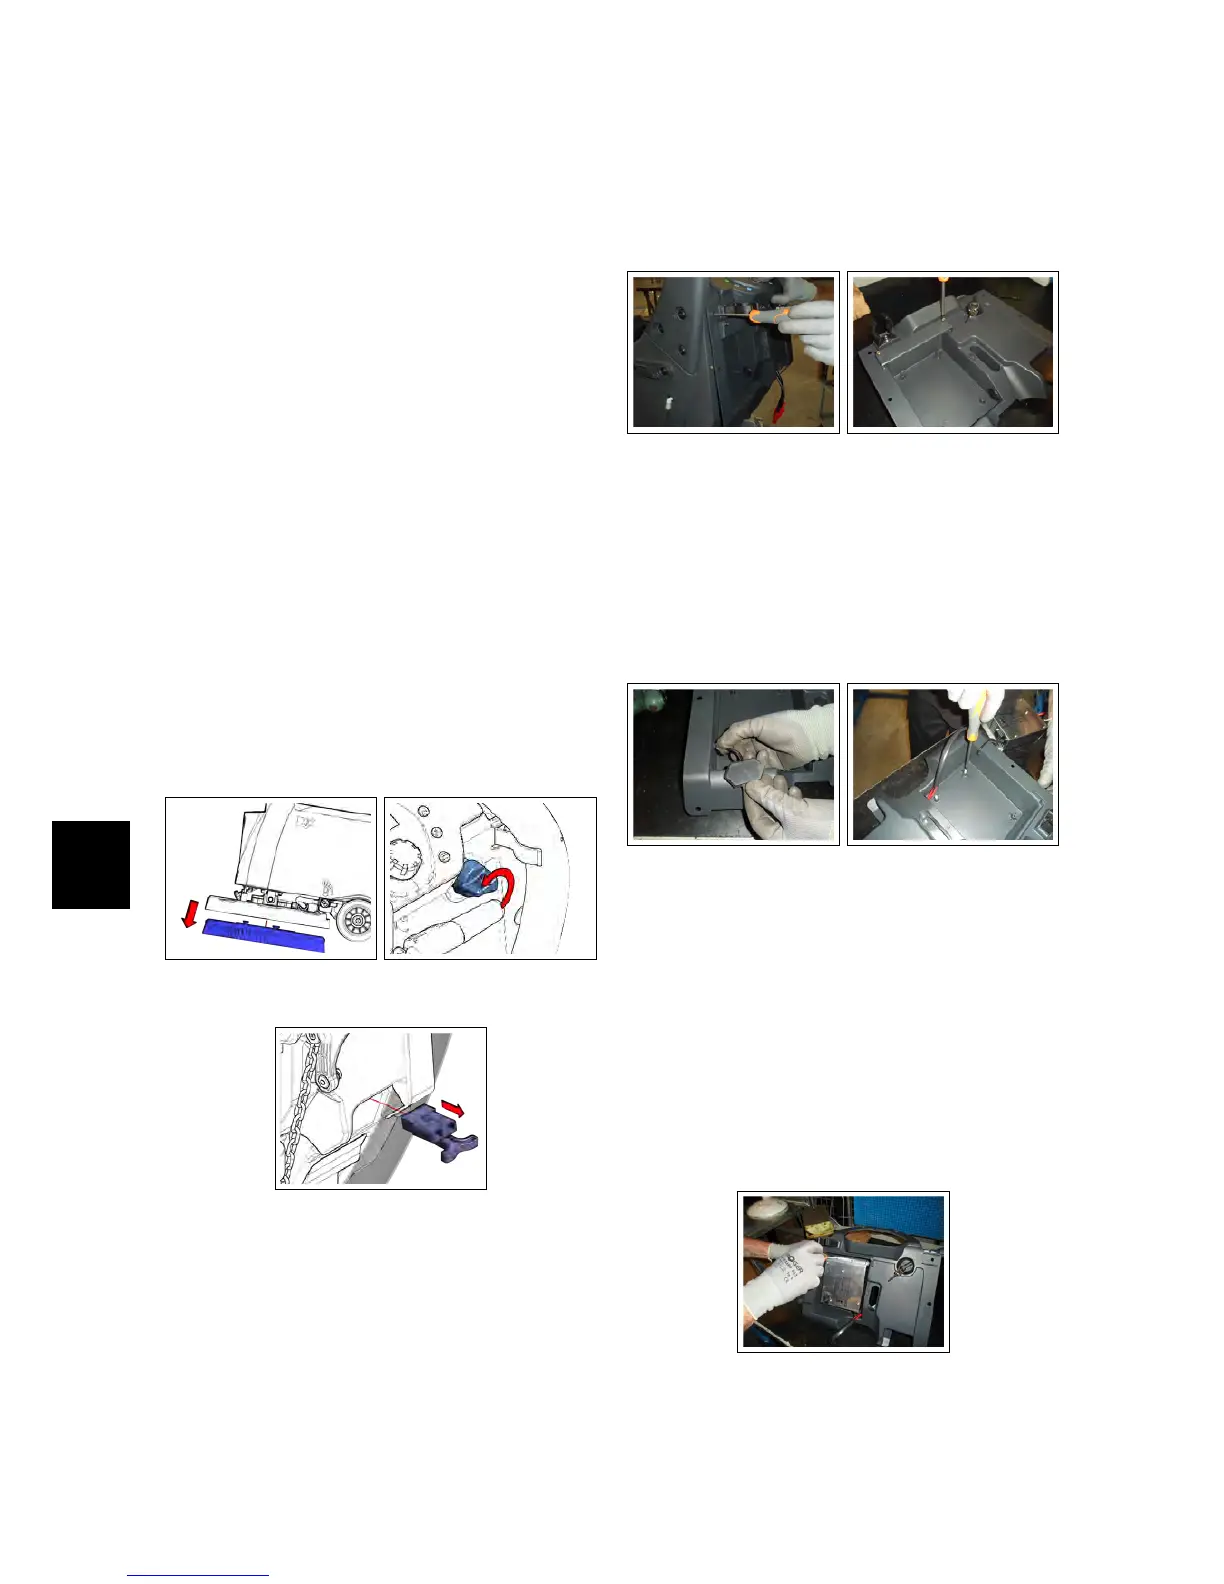
10.3.4 Installing instructions
• Remove the squeegee lifting lever.
• Remove the Dashboard.
• Remove the rear dashboard and put
it on a table.
• Remove the battery charger cover
10.3.4-16 Rear Dashboard
removal
10.3.4-17 Charger cover
removal
• Install the battery charger plug cap.
• Cut with an ”X” sign the hole cap
and pass the wires through it.
10.3.4-18 Plug cover in-
stallation
10.3.4-19 Fixing screws
pre-installation
• Screw up a couple of threads the
lower fixing screws.
• Put the battery charger on the fixing
lugs.
• Block the lower screws and fix the
upper screws.
10.3.4-20 Battery Charger
fixing