flexfactory ag Quick Setup Guide and User’s anyfeed SX Series 23
The anyfeed SX is equipped with fuses to protect the internal
components. The motor power 24 VDC input is protected with a
10 Amp fuse, and the parallel I/O 24 VDC lines are protected
with a 3 Amp fuse. These fuses can be replaced in the field.
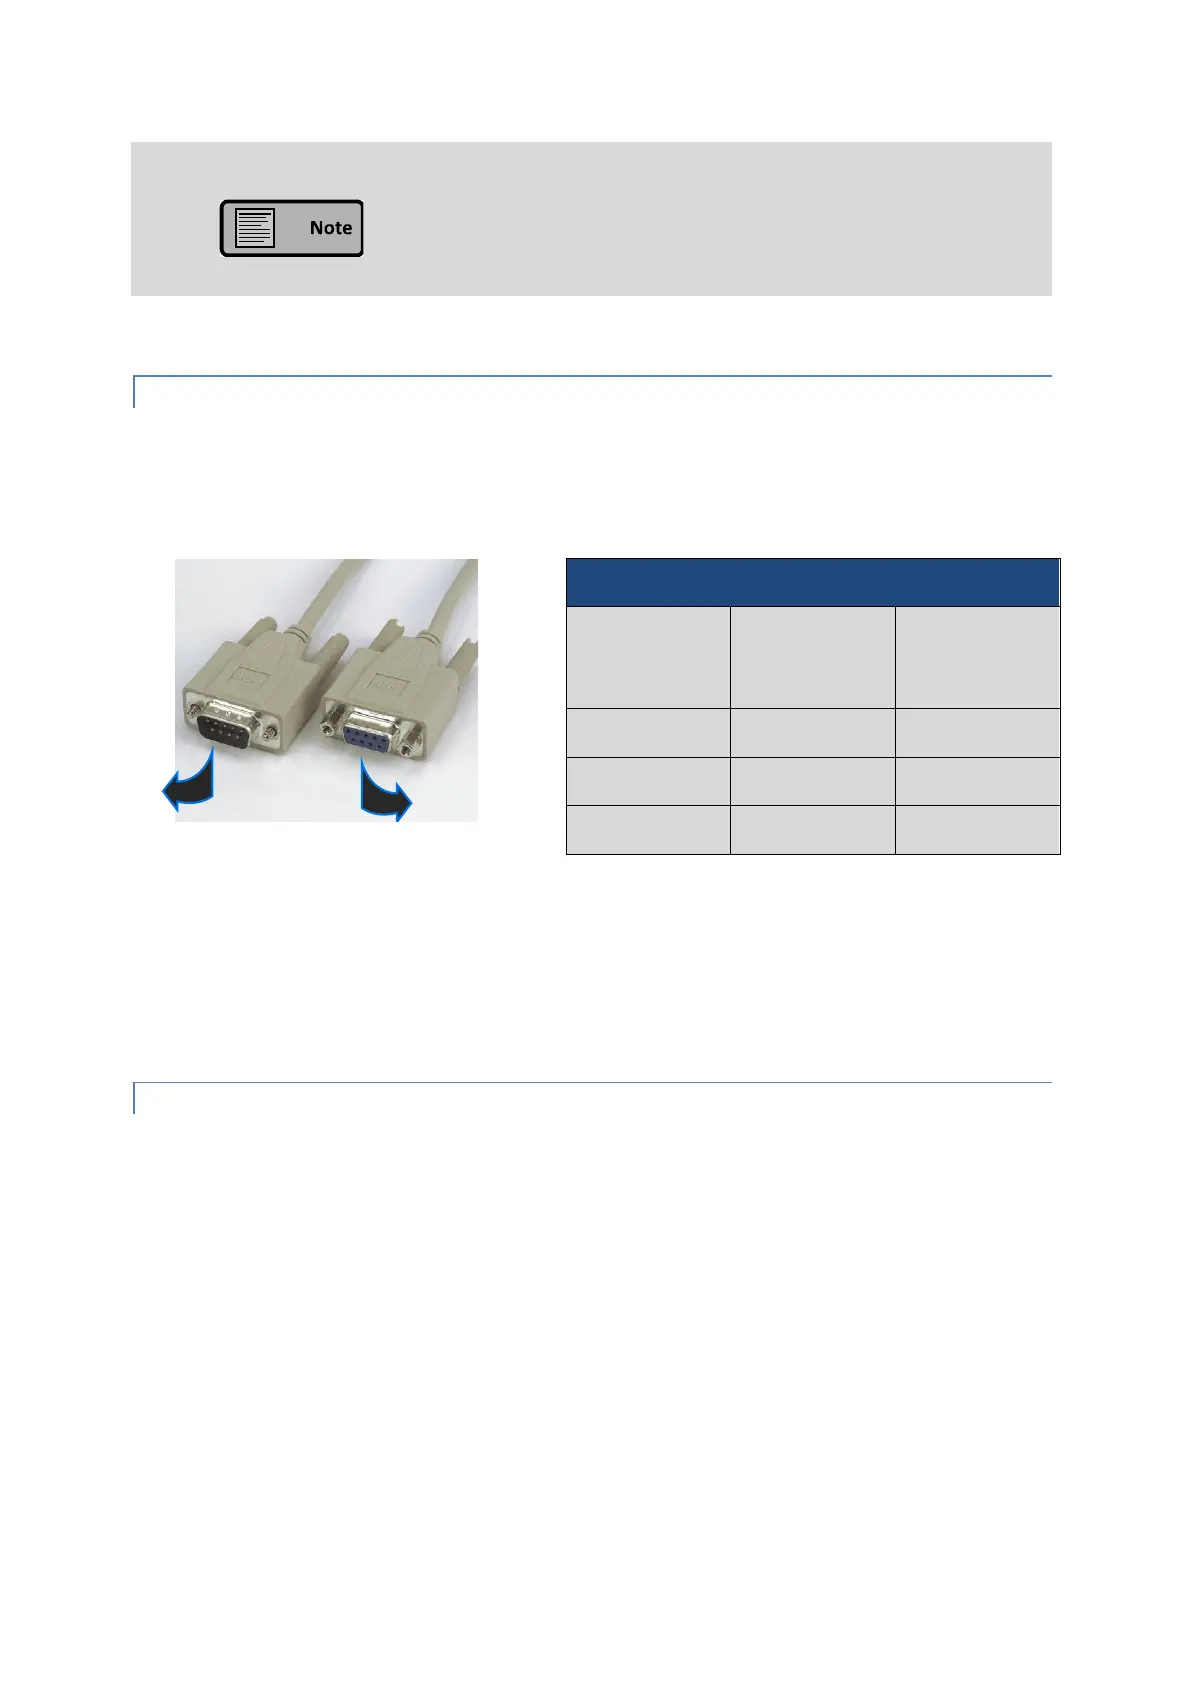
3.4.1 RS232 CABLE PINOUT
This cable is supplied with the anyfeed SX. Connect the male end of the cable to the RS232
(J2) port on the Interface Panel of the anyfeed SX. Connect the female end of the cable to
the serial port of the feeder master.
3.4.2 PARALLEL I/O CABLE
This cable is available as an option for parallel I/O communication between anyfeed SX and
the feeder master. If used, the SX Logic Power Cable is not needed.
Connect the female end of the cable to the Parallel I/O 24 VDC in I/O Pwr (J3) port on the
anyfeed SX Interface panel.
Connect the flying leads on the other end of the cable according to table 5-1 on page 35.
Serial Cable Wiring Assignments
Pin # DSUB 9
male (to
anyfeed SX)
Pin # DSUB 9
female (to
controller)
Connects to
serial port on
anyfeed SX
Connects to serial
port of feeder
master (e.g. robot
controller, PC,
vision system)
Table 3-3 Serial Cable Wiring Assignment
 Loading...