You can view the airspace file in FlyChart if you change the file extension from .faf to .txt
• In FlyChart open Flight instrument Options, in the Extras menu
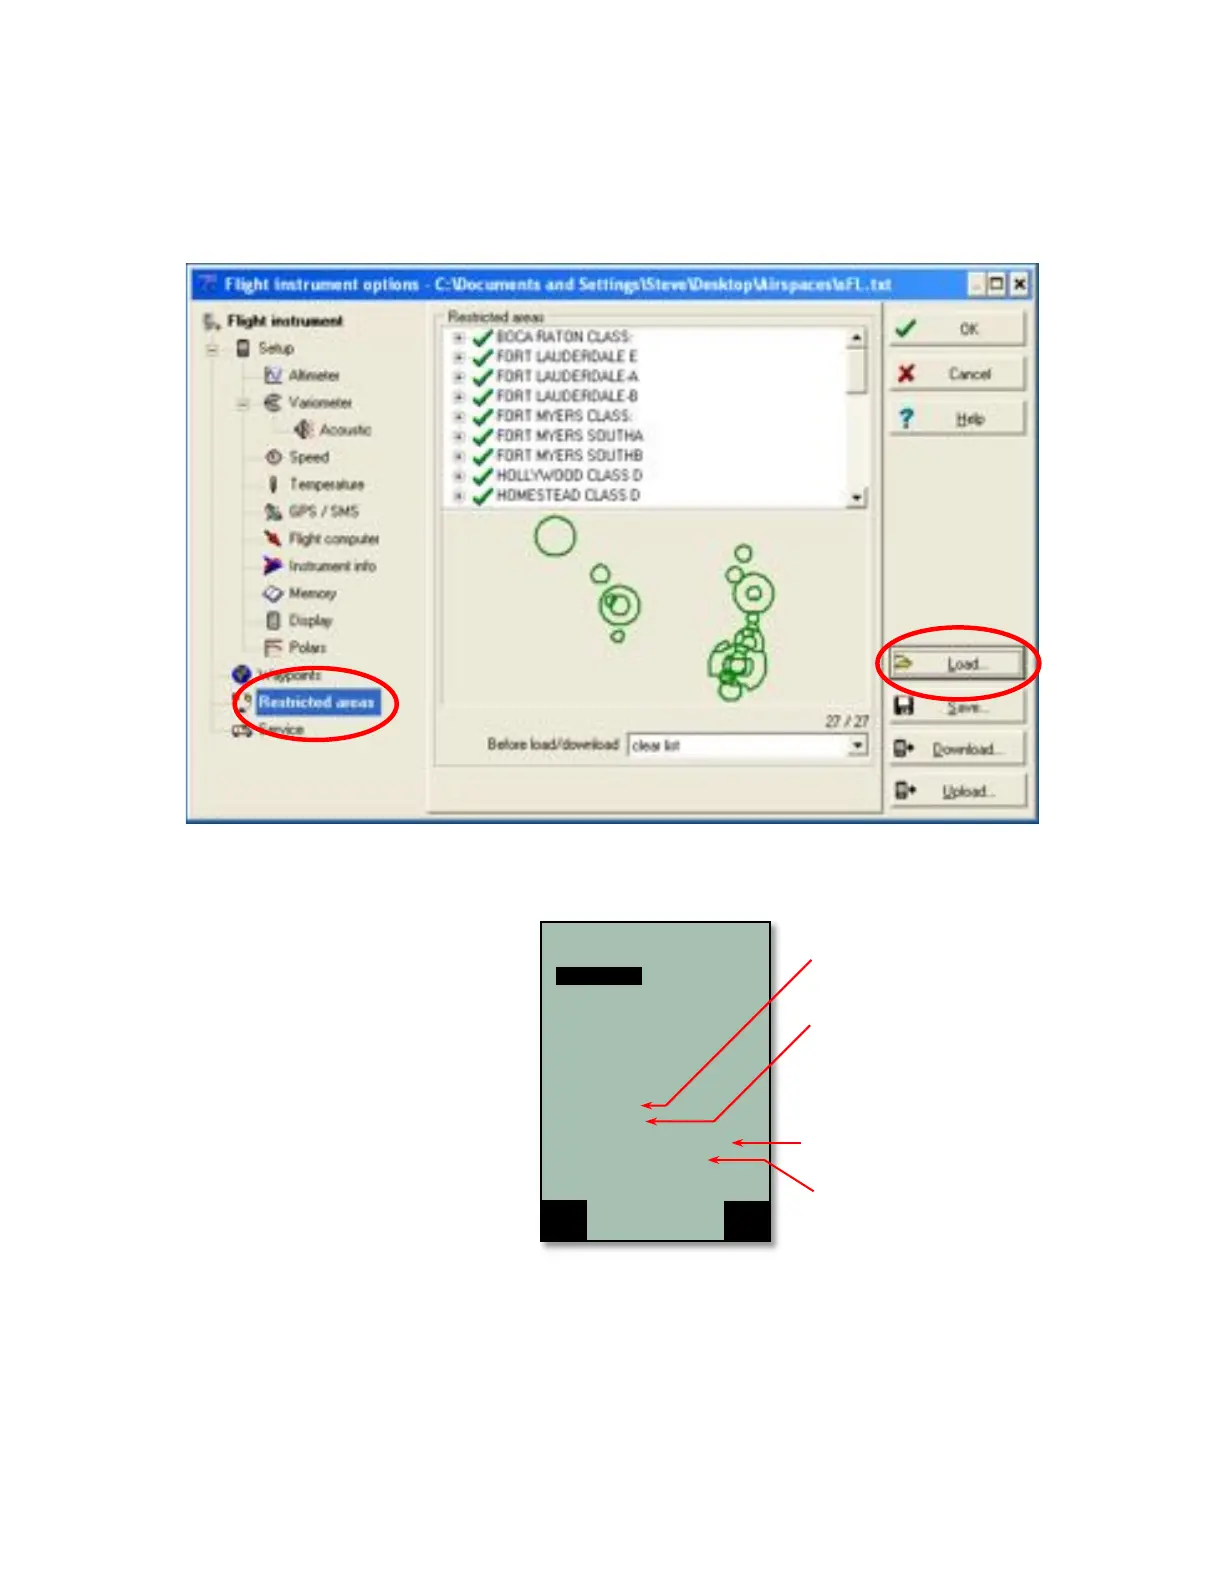
• Click Restricted areas in left pane
• Click Load and browse to the file created above (with the .txt extension). The individual airspaces
contained in the file are shown in a scrollable list and graphically in the center of the window.
7.3 Entering Flight Airspace Manually
While it is possible to enter airspaces into the
instrument manually using Menu>Airspaces, it
is far easier using FlyChart or similar flight
software (e.g., GPS dump). The procedure for
editing/entering/deleting an airspace with the
6030 keypad is given below; the procedure for
using FlyChart can be found in Section 8.4.
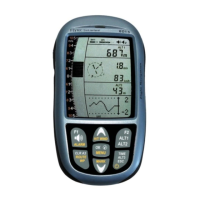
Stored airspaces can be viewed in the
Airspaces menu within the Main menu. The
6030 comes with the Innsbruck airspace
loaded, as shown at right. The names of any
loaded airspaces are shown in the upper half
of the display and the details (name,
17-character comment, warning distance and
the number of elements to define the shape of
the area) for the highlighted airspace are
shown in the lower half. The preloaded
Innsbruck airspace can be edited to define a
airspace in your flying area.
To enter an airspace, bring up the Airspace list from the Main Menu, press the F1 key (Ins. CTR) and then
follow the instructions below for editing an airspace. To edit an airspace, highlight the desired airspace as
described above and press the OK key. The cursor will now blink on the first character of the airspace name
and it can be changed with the !" keys. With the F1 key you can switch between capital letters and symbols,
and lower case letters and numbers. Pressing the$ arrow key acknowledges a character and moves the cursor