E-mail
261
Scan
5
E-mail
This section describes the features you can select on the [E-mail] screen. The E-mail service
allows you to scan a document and send the scanned data as an e-mail attachment. The
following shows the reference section for each feature.
Address Book (Specifying an E-mail Address).......................................................................................................................262
Add New Address (Registering a Recipient on the Address Book) ...................................................................................267
Specifying a Destination Using a One Touch Button ..........................................................................................................269
New Recipient (Entering an Address)......................................................................................................................................270
Add Me (Adding the Sender’s Address) ..................................................................................................................................271
Recipient(s) (Editing a Recipient).............................................................................................................................................272
From (Setting the Sender’s Address) .......................................................................................................................................273
Subject (Setting the Subject).....................................................................................................................................................274
Message (Entering the E-mail Body).......................................................................................................................................274
Preview (Previewing the Scanned Images during a Scan Job)..........................................................................................274
Color Scanning (Selecting an Output Color)..........................................................................................................................275
2 Sided Scanning (Scanning Both Sides of a Document)...................................................................................................275
Original Type (Selecting the Document Type) ......................................................................................................................277
File Format (Selecting a File Format for Output Data) .......................................................................................................277
Note •You can encrypt e-mail or send it with a digital signature by S/MIME. To use this feature, you need to
register certificates of the machine and the recipient’s device in advance. For information on
certificates, refer to "13 Encryption and Digital Signature Settings" > "Configuration of E-mail
Encryption/Digital Signature" in the Administrator Guide.
You can customize the layout of the features displayed on the [E-mail] screen. For more information, refer to "5 Tools" >
"Scan Service Settings" > "Screen Defaults" > "1st Tab - Features Allocation" in the Administrator Guide.
You can set [First Tab] or [Address Book] for the screen displayed when you select [E-mail] on the [Service Home] screen. For
more information, refer to "5 Tool" > "Scan Service Settings" > "Screen Defaults" > "Email Screen Default" in the
Administrator Guide.
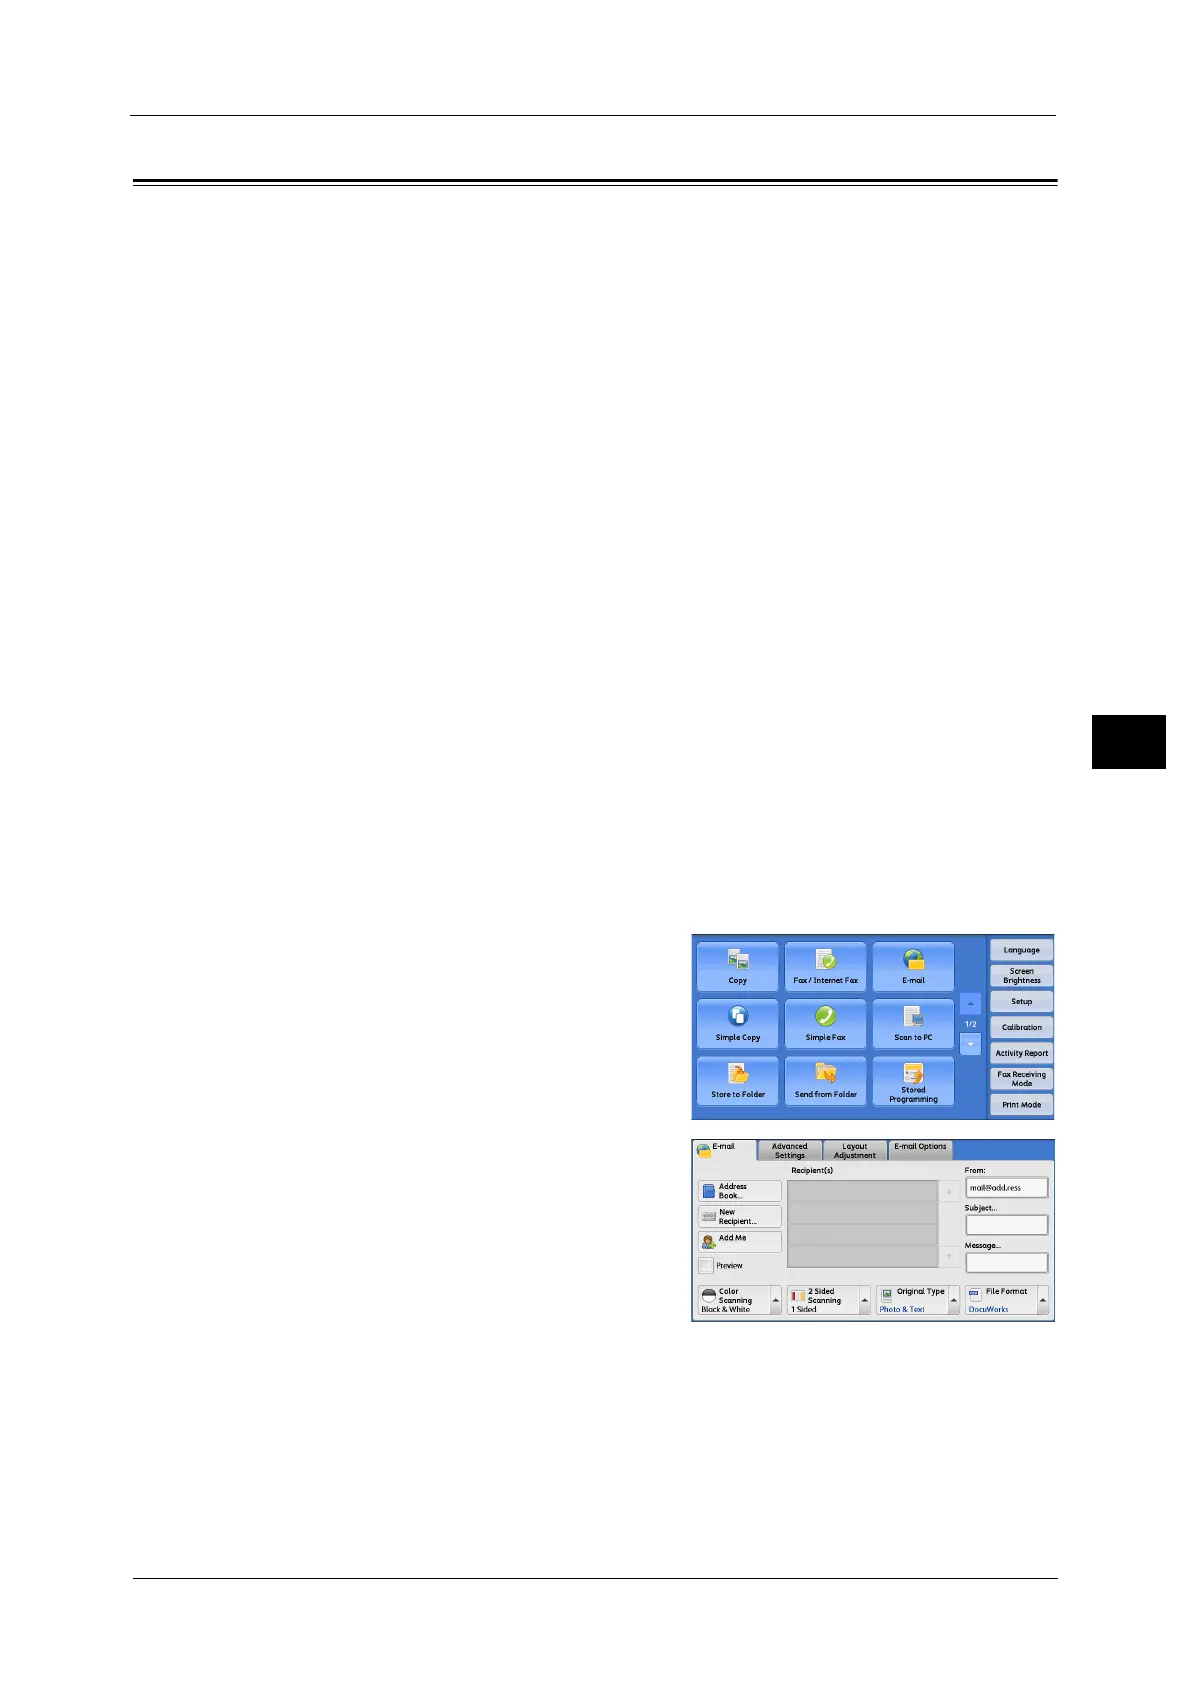
1 Select [E-mail] on the [Services Home] screen.
2 Select a feature on the [E-mail] screen.
Important • You can only specify recipients registered for
e-mail, but not for faxes.
• You cannot use address numbers using the
numeric keypad, one touch buttons, or group
numbers to specify recipients.
• The [New Recipient] and [Add Me] buttons
may not be displayed depending on the
settings in the System Administration mode.
• Depending on the settings for [Email Screen Default] in the System Administration mode, the [E-
mail Address Book] screen is displayed. For more information, refer to "5 Tools" > "Scan Service
Settings" > "Screen Defaults" > "Email Screen Default" in the Administrator Guide.

 Loading...
