E-mail Options/Filing Options
333
Scan
5
File Name (Specifying a Name for the File to be Sent)
When using the E-mail, Scan to PC, Network Scanning, or Store & Send Link service, you can
specify a name for the file to be sent.
Auto Name
The file name is "img-xxx-yyy.zzz" (where xxx is the date and time, yyy is the page number,
and zzz is the extension).
The extension depends on the setting in [File Format].
z
When [TIFF] is selected in [File Format]: tif
z
When [JEPG] is selected in [File Format]: jpeg
z
When [PDF] is selected in [File Format]: pdf
z
When [XPS] is selected in [File Format]: xps
z
When [DocuWorks] is selected in [File Format]: xdw
To set the file name
1 Select [File Name].
2 Enter a file name using the displayed keyboard.
For information on how to enter characters, refer to "Entering Text" (P.70).
Note •When each page is saved as one file, the page number is added to the end of each file name.
• Up to 128 characters can be entered as a file name for the Scan to PC service.
• Up to 28 characters can be entered as a file name for the E-mail service.
• Up to 28 characters can be entered as a file name for the Store & Send Link service.
• Up to 40 characters can be entered as a file name for the Network Scanning service.
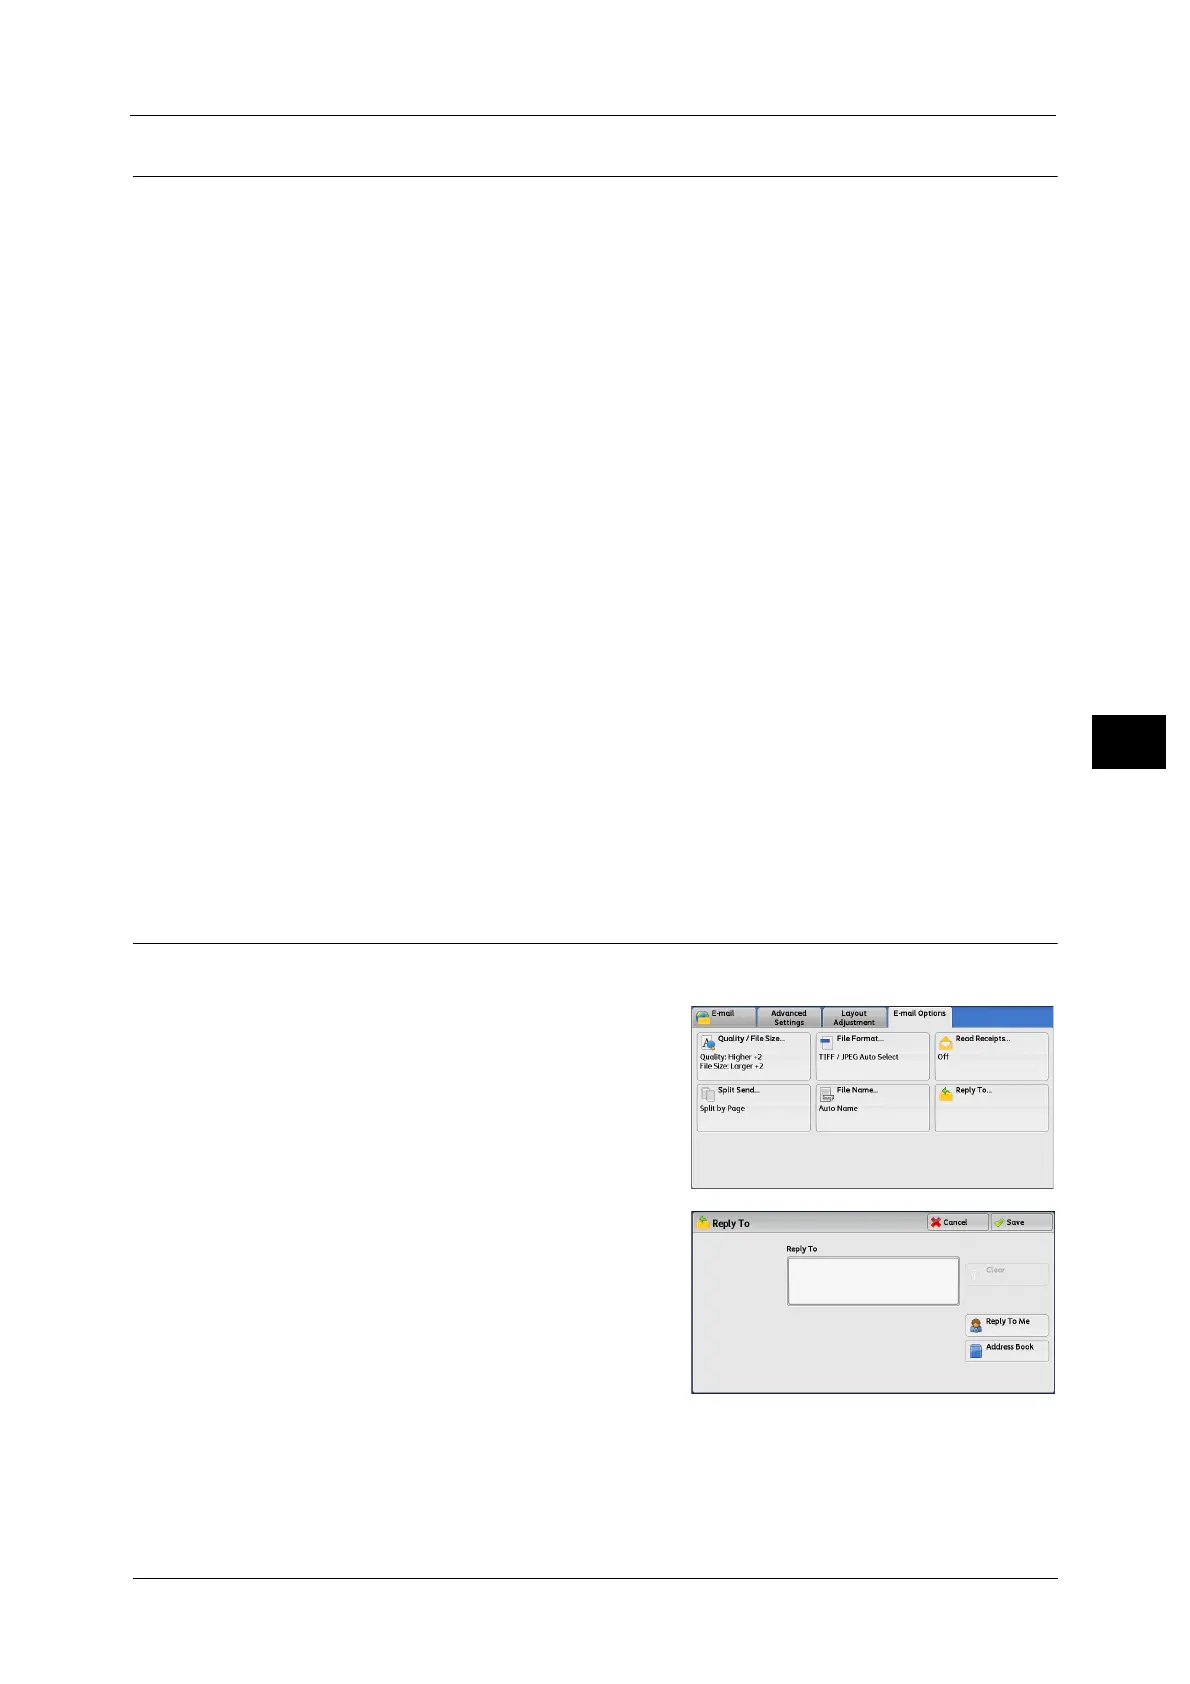
Reply To (Specifying a Reply Address)
When using the E-mail service, you can specify the address for reply.
1 Select [Reply To].
2 Enter an address for reply.
Reply To
Select the [Reply To] box to display the keyboard screen on which you can enter an address
for reply.

 Loading...
