242
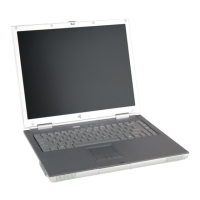
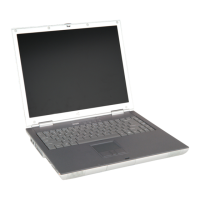
Chapter 15: Upgrading Your Gateway 450
www.gateway.com
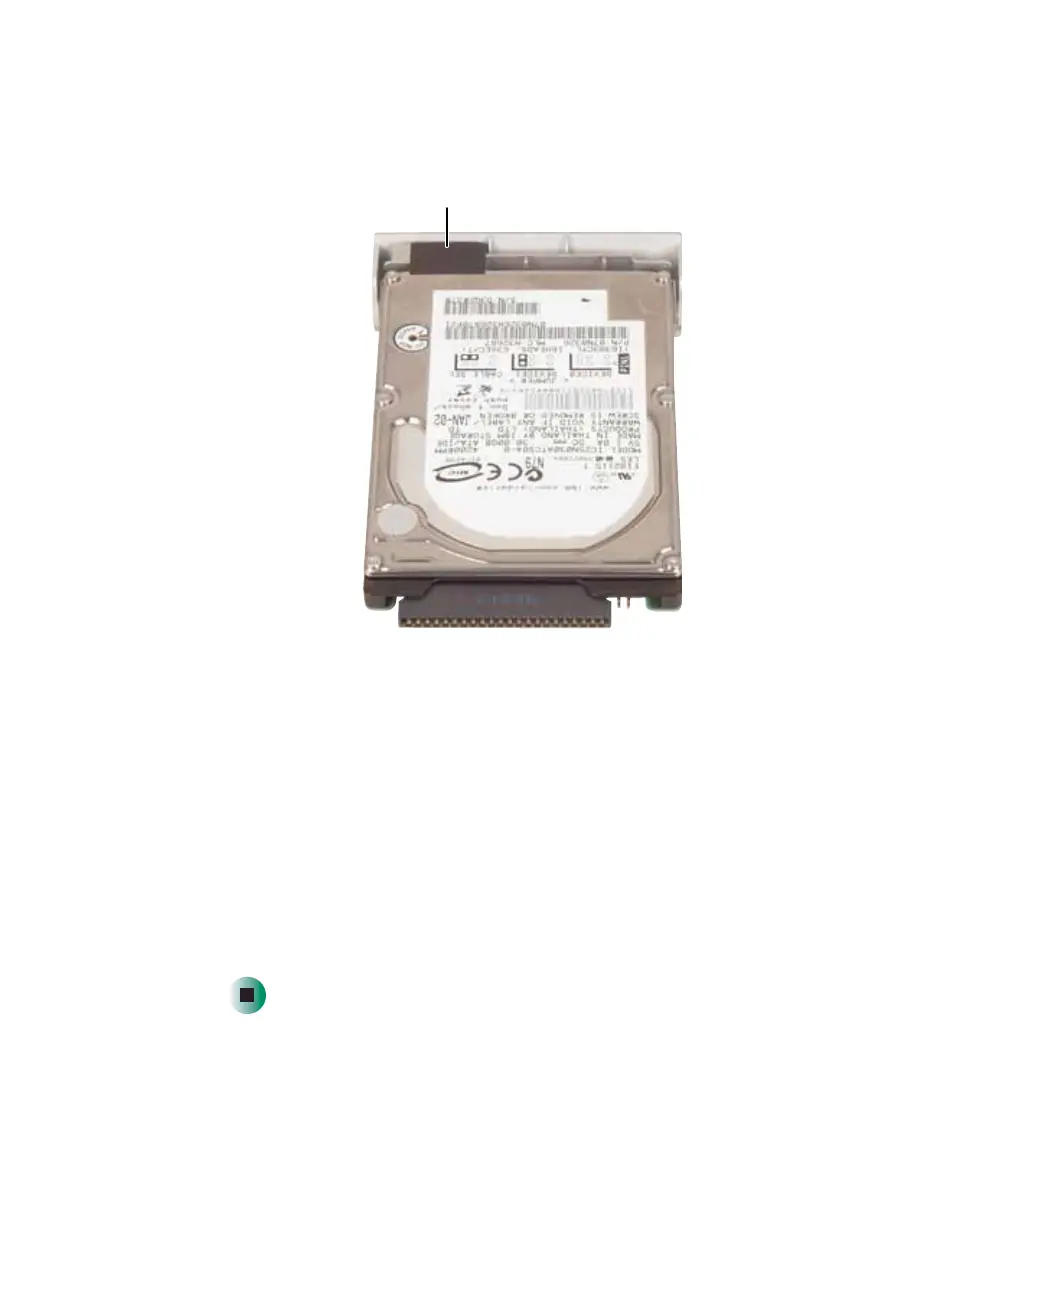
12 Insert the new drive into the bracket so the screw holes line up and the
plastic strip on the top of the bracket is positioned as shown.
13 Replace the two screws that secure the bracket to the drive.
14 Slide the new hard drive kit into your notebook.
15 Replace the screw that secures the hard drive kit to your notebook.
16 Insert the batteries and turn your notebook over.
17 Reconnect the optional port replicator.
18 Connect the power adapter and modem and network cables, then turn on
your notebook.
19 See “Reinstalling Windows” on page 229 for instructions on installing
Windows, your drivers, and your applications.
Plastic strip