GE Energy
D20/D200
Installation and Operations Guide
General 994-0078-2.00-7
Full
89
Power-up and Test
Power-up and
test the
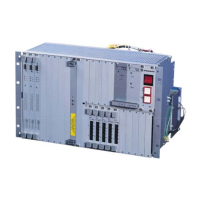
D20/D200
Once you have made all field wiring and communication connections and have
completed the necessary hardware configuration, the next step is to power-up the
D20/D200 and verify that it is functioning properly.
Use this section of the guide to prepare for powering-up and learn how to correctly
perform the power-up and other tests:
• What is needed to test: WESMAINT II+ facility, 68K Monitor and Config Pro
• How to power-up the D20/D200 and conduct the BOOT Test: Power On Self-
Test
• How to carry out a redundant system test
Note
Before any of the tests and procedures in this section can be performed, a valid
configuration file must be loaded into the D20/D200’s NVRAM.
If you have replaced the main board of the D20/D200, then you will need to restore
the configuration file so that diagnostic tests can be performed.
If this power-up and test procedure reveals that your D20/D200 is not functioning
properly due to software malfunction, then you need to download code and
configuration files.
See “D20/D200 Software Configuration”, page 99 and refer to the Config Pro On
Line Help.
Required for
Testing
The system components that are required for configuring and testing the D20/D200
are:
• WESMAINT II+ facility
• 68K Monitor
• Config Pro system
!
Important
Checks
To prevent burning out
the main processor board, make two important checks before
switching on the D20 or D200:
• Check that the external power supply input level is correct for the Power Supply
fitted to the chassis. See “Standard Power Supplies”, page 27
• If you
have 125VDC or 110VAC input, then jumpers Z22 and Z23 on the
WESTERM D20M+: 517 – 0225 or 517 – 0224 must be jumpered 2 – 3.