2.
Place shims under the machine if the floor is uneven.
3.
If the machine has adjustment screws, tighten the locking nuts after levelling
them.
4.
Remove the oxidation protective layer from all open machine parts.
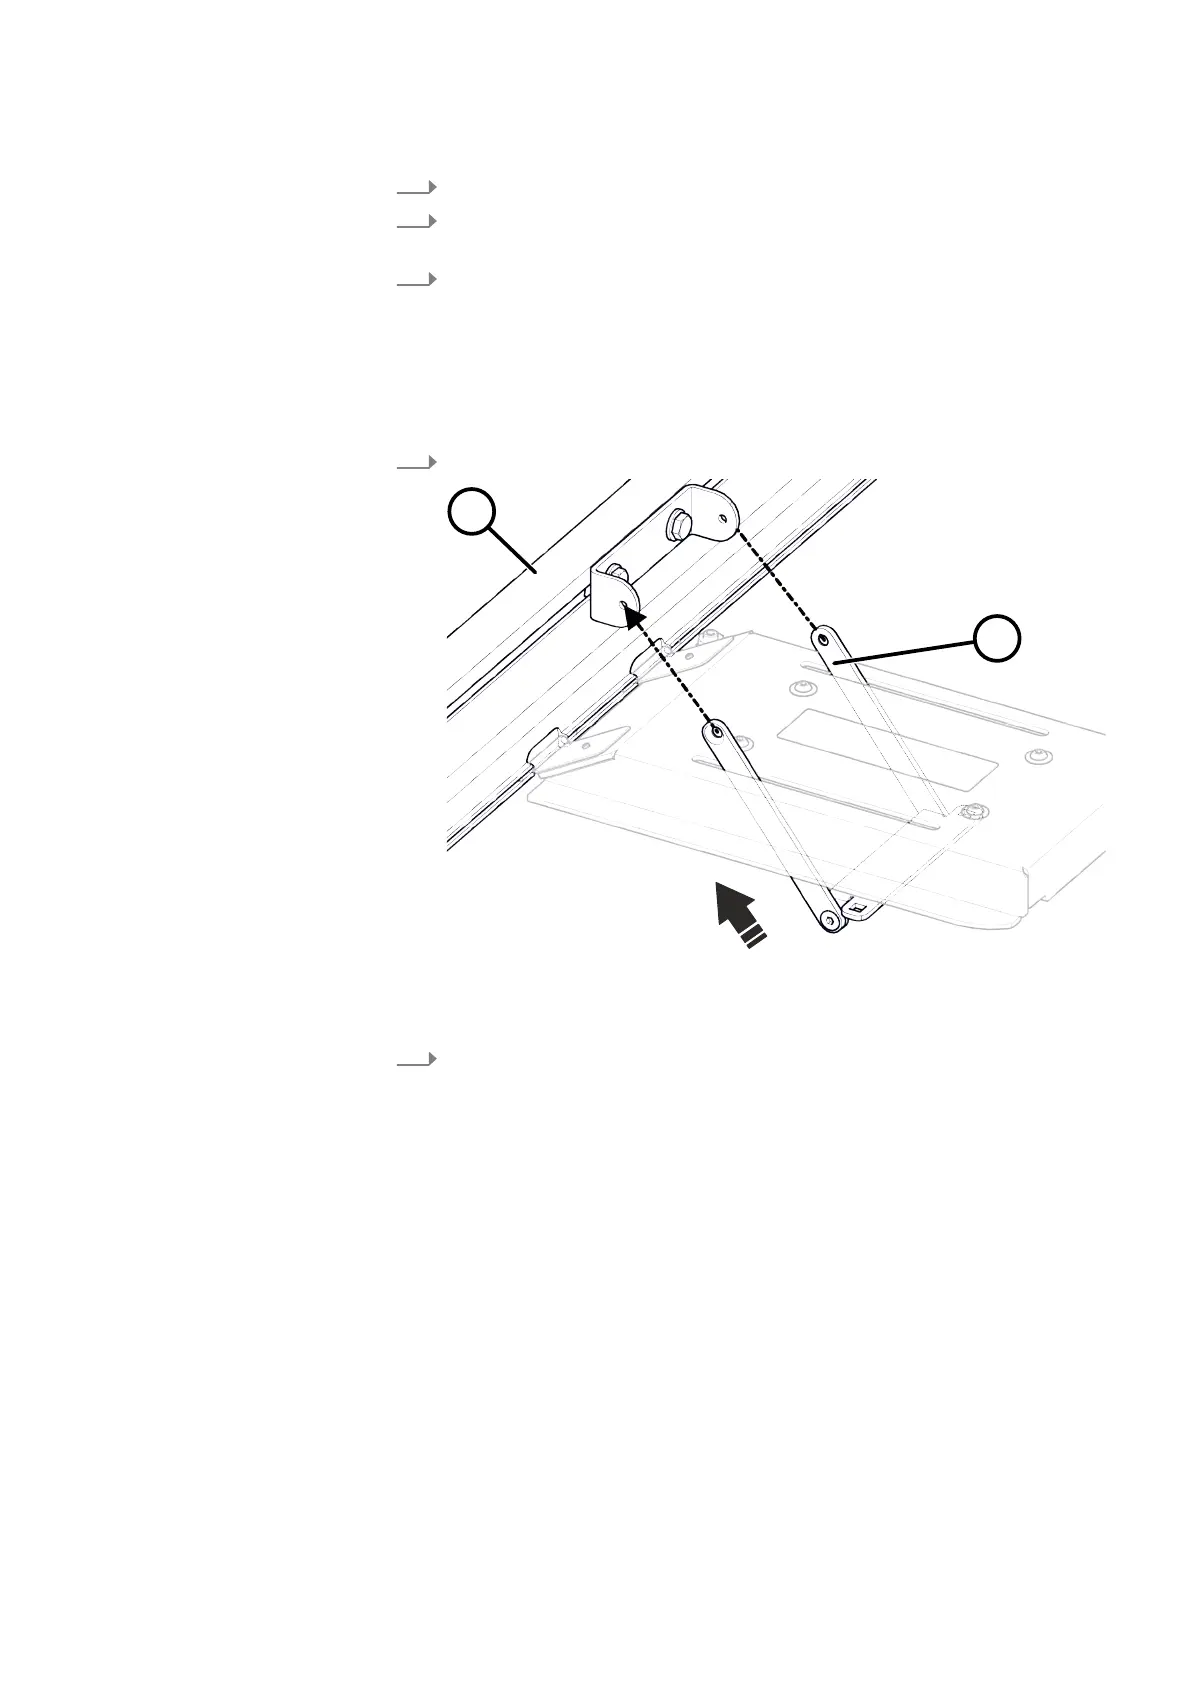
7.3 Install
7.3.1 Assemble the planer fence
T
he planer fence is delivered partly assembled and must be completed.
1.
Thread in the adjustment struts into the planer fence from below
Fig. 23: Thread in the adjustment struts
1 Planer fence
2 Adjustment struts
2.
Fix the adjustment struts to the fence plate. Assemble the components so that
the
y can be moved slightly but have no play.