C
Christopher LittleJul 27, 2025
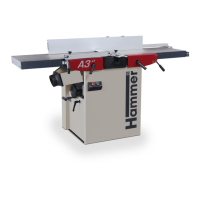
What to do if the red stop button on my Hammer Planer doesn't work?
- JJohn WhiteJul 28, 2025
If the red stop button on your Hammer Planer isn't immediately stopping the machine, it indicates a fault in the electrical system. If your machine has one, switch off the main switch to the "O" or "OFF" position and disconnect the machine from the power supply. After that, contact Felder Group service.