5.
Adjust planing fence angle.⮫
Chapter 8.1.5 ‘Adjusting the planer fence’
on page 50
6.
Check settings with a test workpiece.
11.5 Tighten/replace the drive belt
NOTICE
Do not over-tension the drive belt
An over-tightened drive belt can tear or cause bearing damage.
− Only tighten the belt-tensioning screw as far as is needed to
r
each the specified value.
− The belt tension is specified as an oscillation frequency in
her
tz (Hz).
− The correct belt tension can only be checked with a measuring
de
vice.
If any rips or tears are discovered during the monthly tests, the belt must be
c
hanged.
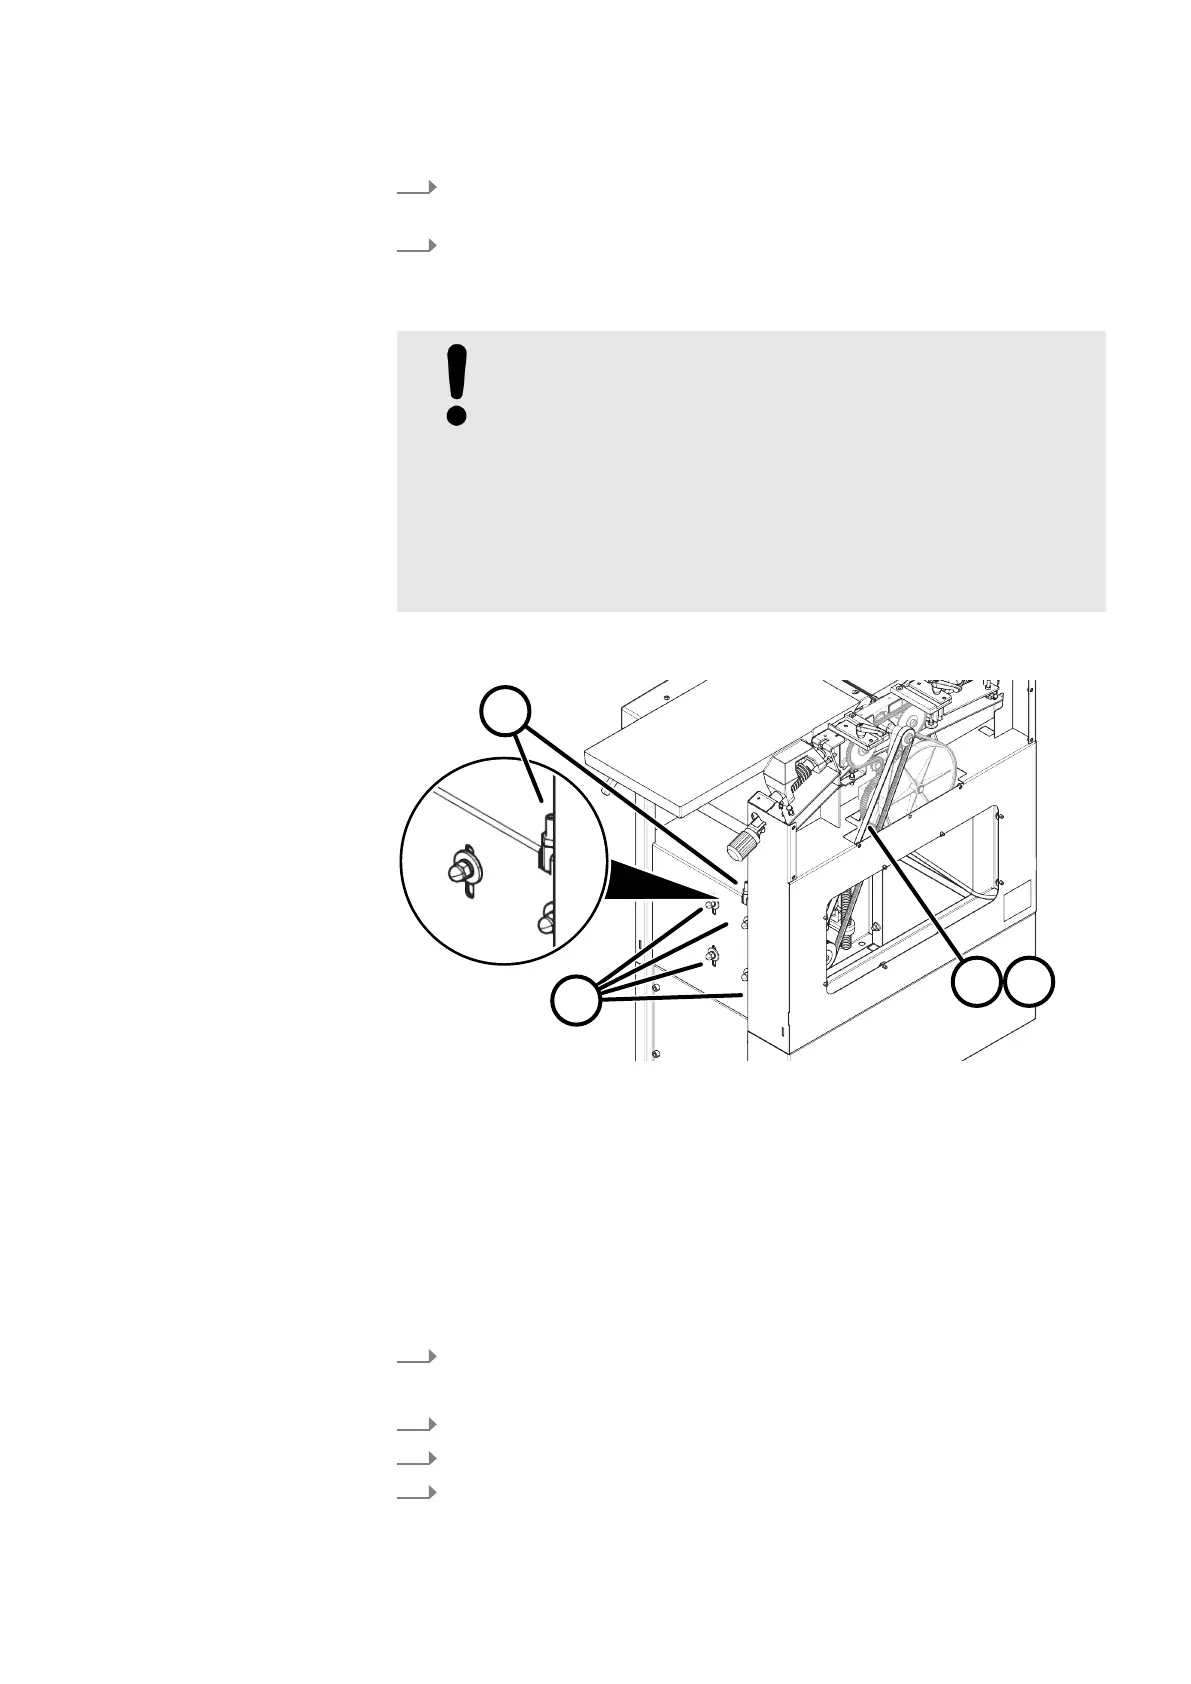
Fig. 60: Adjust the drive belt tension
1 Motor clamping nut
2 Tightening screw
3 Belt tension during operation 74 - 80 Hz
4 Belt tension during installation 85 - 90 Hz
Re-tensioning the drive belt
T
ool:
● Combination wrench set
● Hex key
1.
Switch off the machine and secure it against being switched on again.
Disconnect the machine from the mains power supply.
2.
Loosen the motor clamping nuts (4x).
3.
Tighten the belt tensioning screw clockwise.
4.
Tighten the motor clamping nuts (4x).