Adjustments and tool changes
8.1.4 Check the setting of the planer table on the outfeed side
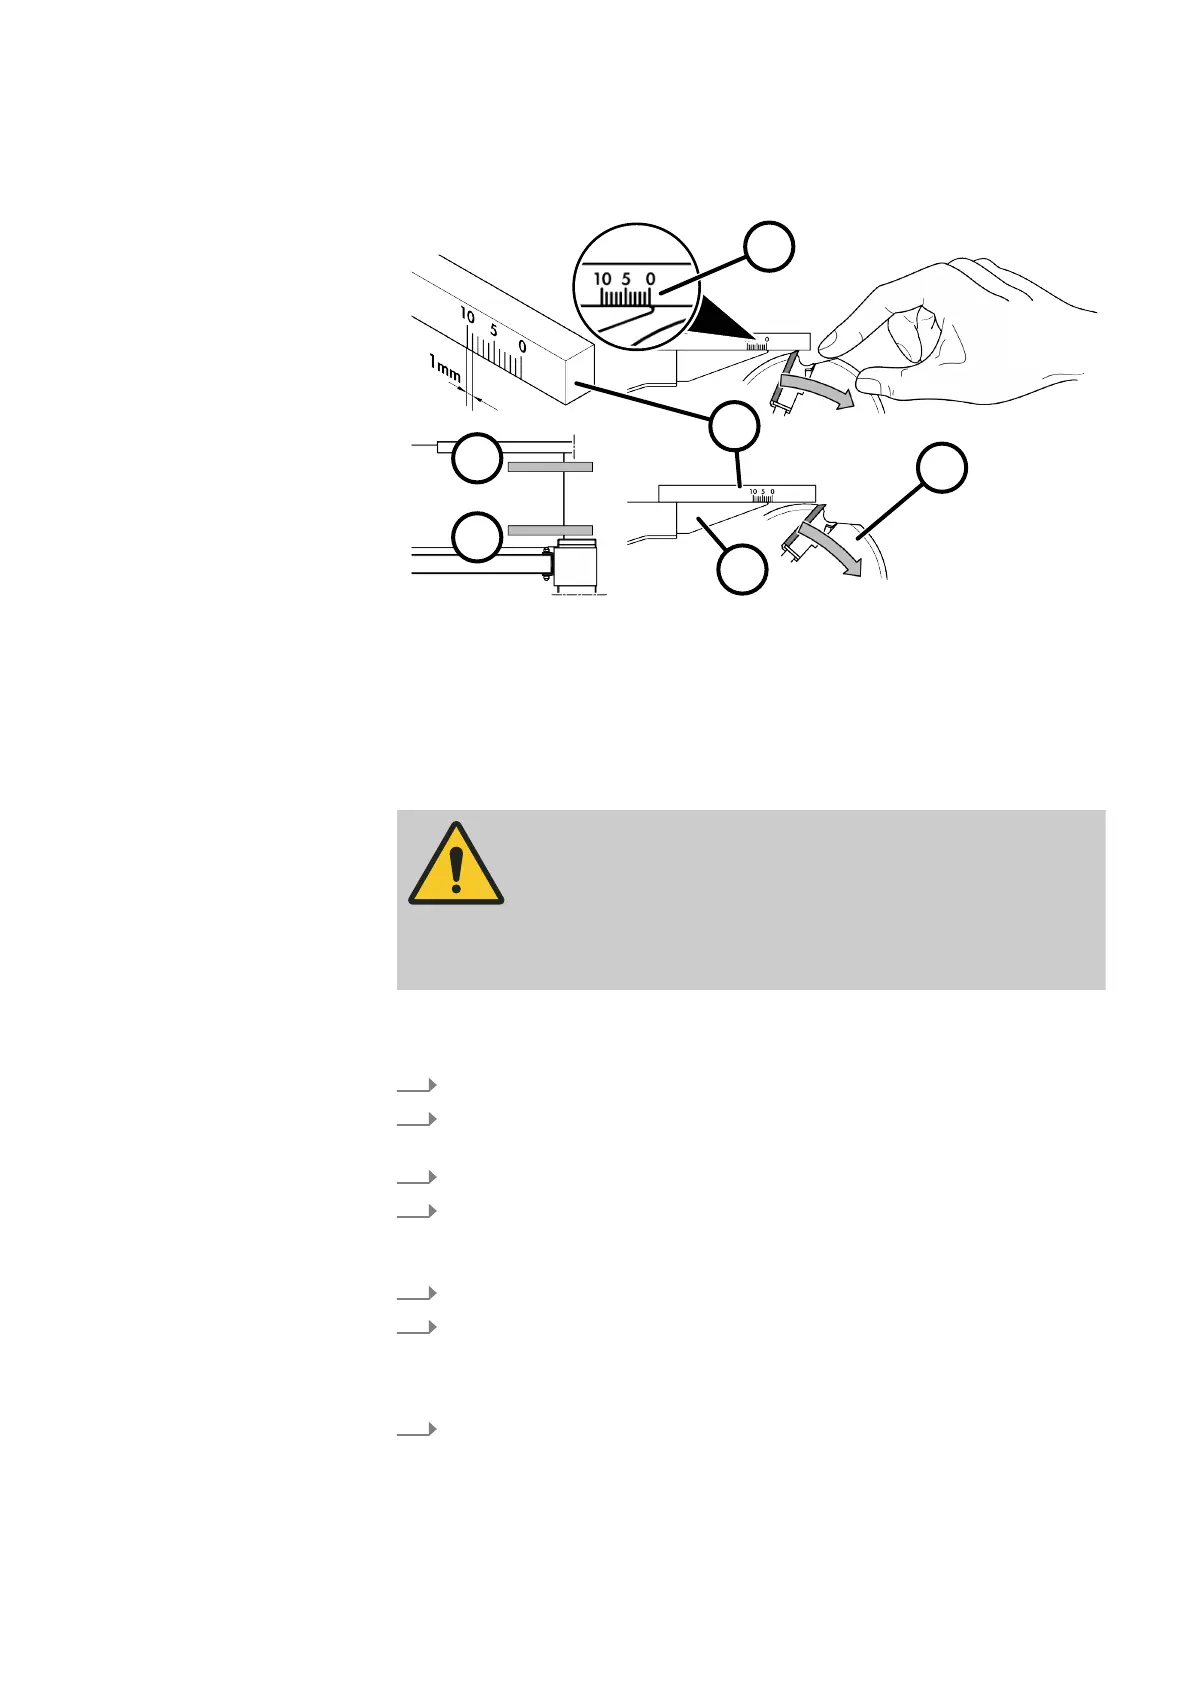
Fig. 33: Check settings
1 Gauge
2 Set to "0" on the planer table edge
3 Outfeed side of the planer table
4 Turn the cutterblock
5 Front side - protective guard
6 Rear side - planer fence
WARNING
Extremely sharp planer knife cutters
Cut in
juries to hands and fingers
− Wear protective gloves.
− Be particularly careful when working with the cutterblock.
Tool:
● Gauge with millimetre markings
1.
Switch off the machine and secure it against being switched on again.
2.
Slide the planer fence all the way to the back, move the protective guard all
the w
ay to the front.
3.
Prepare the gauge as shown in the illustration.
4.
Check of the settings at the front, outfeed planer table edge (front side -
pr
otective guard): Set the gauge to "0" on the front, outfeed side planer
table edge.
5.
Turn the cutterblock manually.
6.
Turn the cutterblock until the gauge is no longer lifted.
🡆
The planer knife should carry the gauge for 2-3 mm (factory setting).
Knif
e projection of 0.01 mm - 0.05 mm above the outfeed planer table.
7.
Repeat the check of the settings on the rear, outfeed side planer table edge
(r
ear side - planer fence).