3.
Attach the jig to the planer fence.
4.
Place the protective guard all the way down and let it rest against the jig.
5.
Additional procedures as described in the chapter "Planing narrow edges".
⮫
Chapter 9.3.2 ‘Planing the narrow edge’ on page 60
9.4 Thickness planing
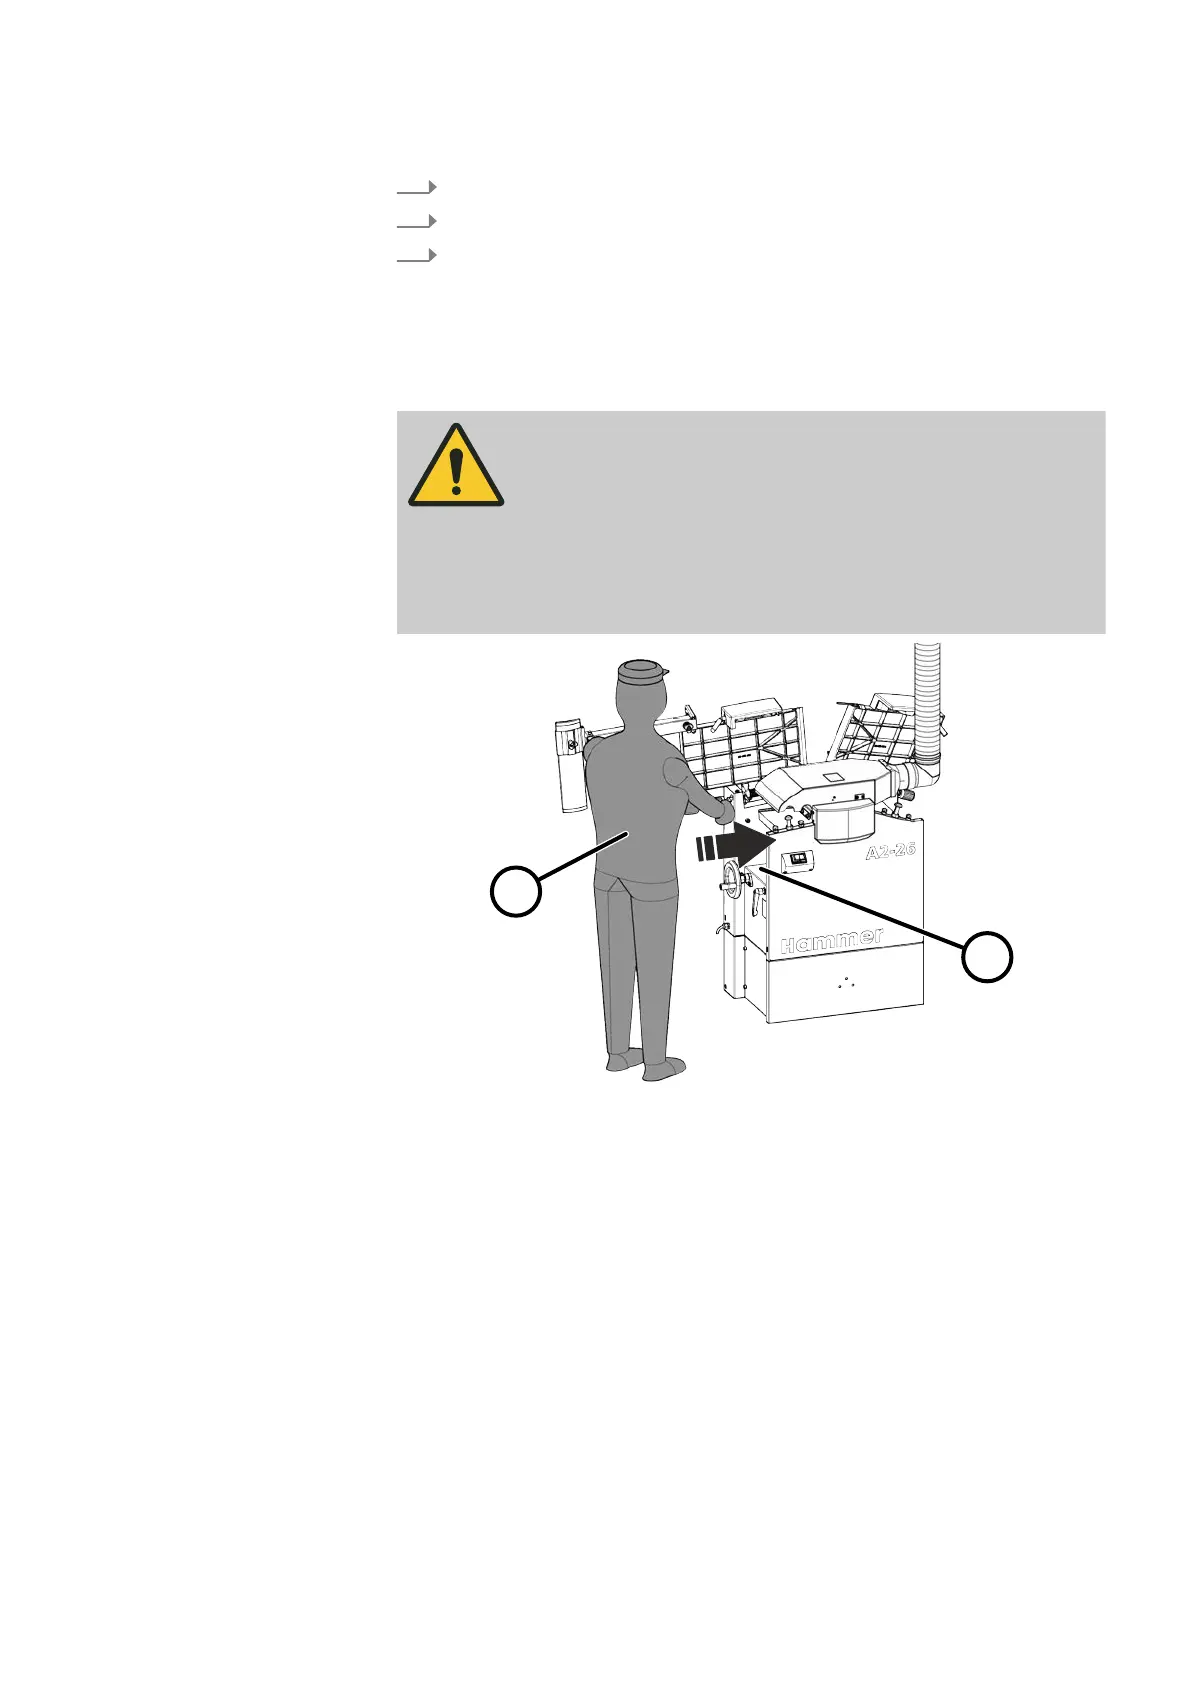
9.4.1 Working positions - thickness planing
CAUTION
Wedging of drive fed workpieces when thicknessing
Injuries and material damage. Insufficient distance to adjacent
machines, walls etc. can lead to wedging or splintering of the
workpieces.
− Ensure sufficient distance to neighbouring machines, to walls
or o
ther solid objects.
Fig. 49: Working position - thickness planing
1 Working position - thickness planing
2 Processing direction
9.4.2 Authorised thickness planing working methods
Dur
ing thickness planing, workpieces with an already planed surface are planed
thinner in parallel. Precise parallel thicknesses can only be obtained if the work-
piece was precisely surface-planed beforehand to ensure that it can lie flat on the
thicknesser table.
Only the following working techniques are permitted with the thickness unit,
depending on the configuration:
● Infeed roller - standard:
○ A maximum of 2 workpieces can be thickness-planed simultaneously.