31Manual Split
Hammond XK-2 Quick Features Guide
Select
EDIT PARAMETER
}34 SPLIT1
SPLIT POINT 2B
Select
SPLIT POINT 2B
Advanced Features - Manual Split
Ë Split Point
This Advanced Feature allows you to select the Split Point.
NOTE: The Split Touch Button must be “ON” (red LED lit) in order to hear the effect of this feature.
Changing the Split Point using the Value Touch Buttons
TRY THIS:
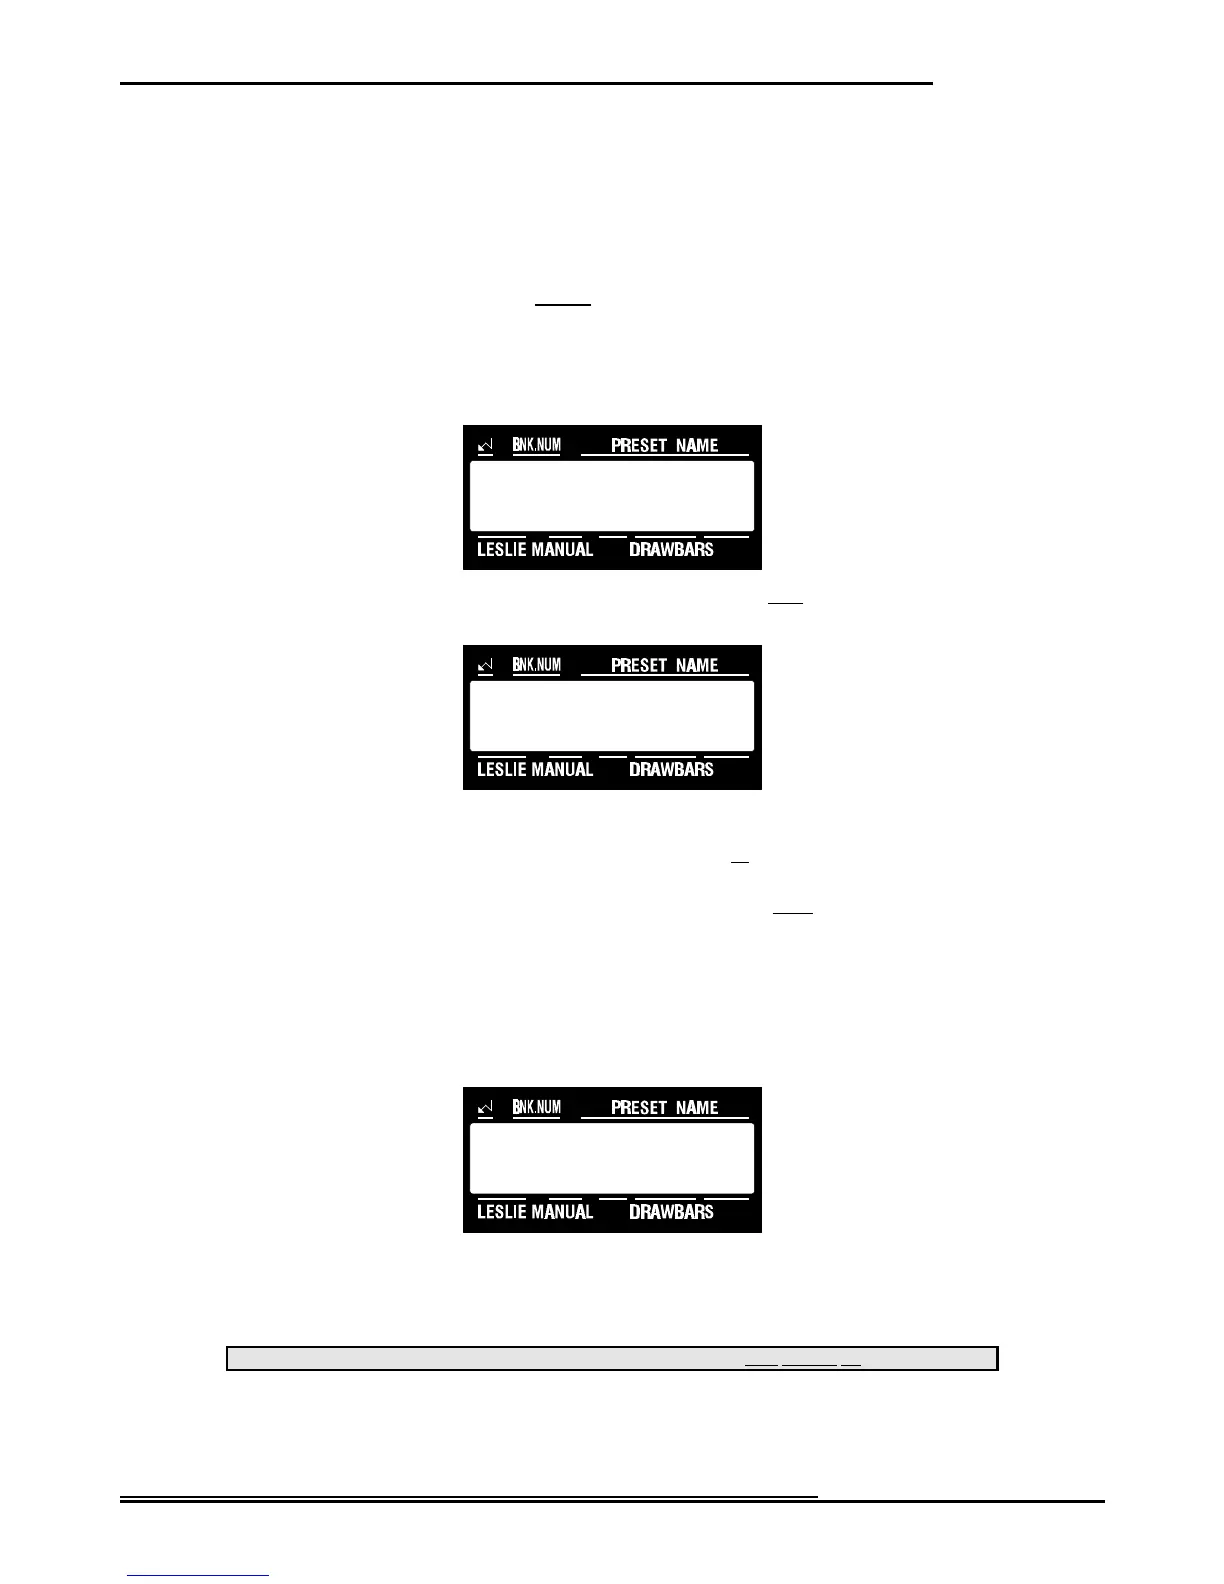
1. Touch the EDIT Select Touch Button. The red LED will light, and the Information Center Display
should look like this:
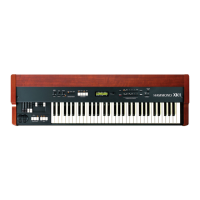
2. Touch the INT.CONT./EXT.ZONE Select Touch Button once. The Information Center Display should
look like this:
3. Now select the option you wish by doing the following:
Use the VALUE ">" Select Touch Button to move the Split Point up. The upper limit is “6C” (the highest note on the
manual).
Use the VALUE "?" Select Touch Button to move the Split Point scroll down. The lower limit is “1C” (the lowest note
on the manual).
Changing the Split Point by Key Input
TRY THIS:
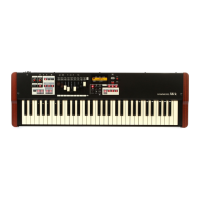
1. Touch and hold the SPLIT Touch Button. The red LED will flash repeatedly, and the Information Center
Display should look like this:
2. Touch the note on the manual that represents the Split Point you wish. The note you touch will become
the top note of the Lower Manual. All notes to the right of the note you touch will be assigned to the
Upper Manual. When you touch the note that represents your chosen Split Point, the SPLIT Touch
Button LED will stop flashing and your Split Point setting will be stored.
This data CAN be stored to a Preset. To see a total listing of all Preset Parameters, see the Preset Parameter List.
NOTE: You can exit by touching the EDIT Select Touch Button.