4 Wizard Description
26 User Guide
MENU BAR
The menu bar is located at the top of the window, offering a number of menu utilities.
INFO SECTION
The info block gives information about the hardware condition and the progress or
status of the current exposure setup.
PANEL
The panel is located below the info section. This panel changes according to the
tasks that the system has to perform. In figure 13 the panel’s name is Setup Job
panel. Inside the panel are buttons and frames.
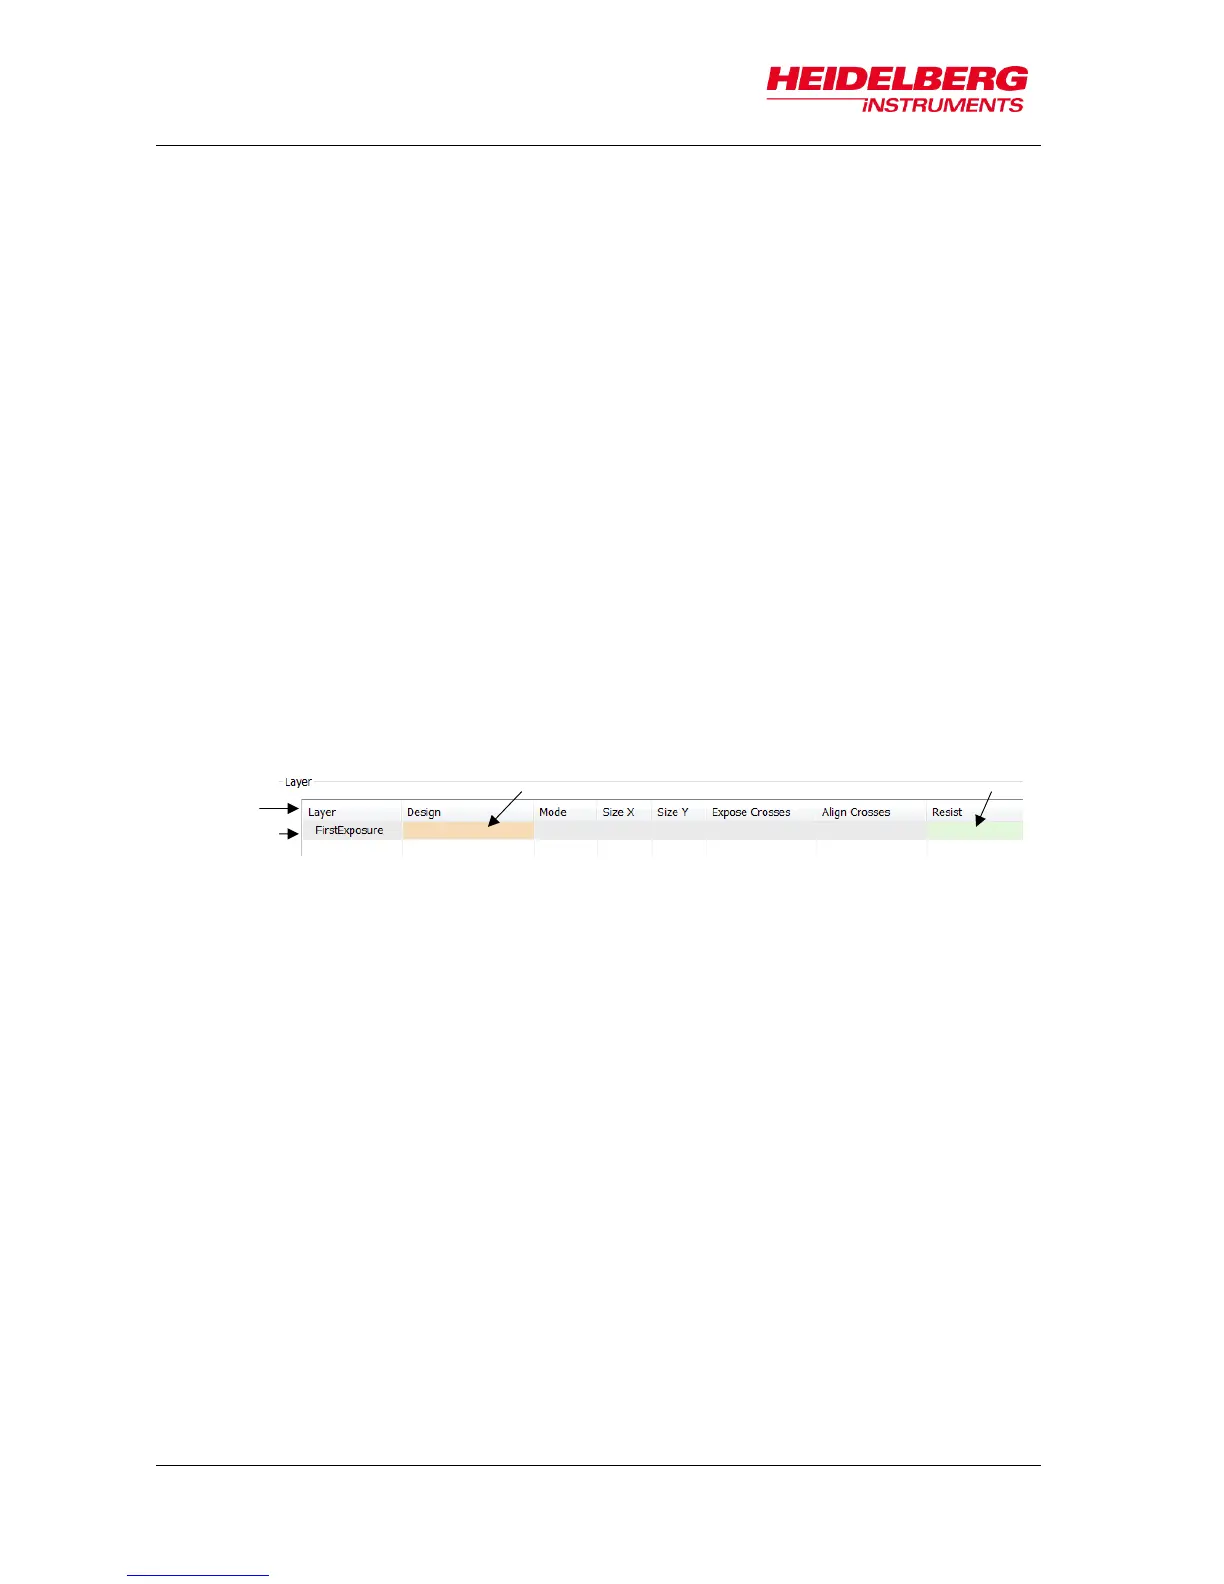
FRAME
The panel contains frames e.g., the Layer frame, where the design file and other
options are selected. The frame has mandatory fields that have to be filled with
values, and fields that can be filled optionally. The mandatory fields are highlighted
in orange and turn green once a value has been entered. The optional fields are
highlighted in green before and after the entry of values.
Throughout this manual you find instructions like "double-click Design". In this case,
you are instructed to double-click the value field with the title Design not the word
Design.
BUTTONS
A click on these buttons usually opens another window where you can select items
or set options
NAVIGATION BUTTONS
At the bottom of the wizard window, you find navigation buttons e.g., Load
Substrate or Continue. The functions and names of the buttons depend on the
selected exposure mode. These buttons can stay disabled until certain tasks are
finished.
INFO BOX
Every panel contains a yellow text box, giving information and instructions on the
current task.
TAB SECTION
A block with two tabs is located below the menu bar. In one tap (Exposure Setup) a
tree view shows the procedure steps the system has to execute. The other tab (Info)
shows a list of startup messages (refer 4.2 Static Wizard Elements for more details).
In the following subchapter, you find detailed information about the Exposure Wizard
elements.