GX-Series Control Panel Installation and Setup Guide
6-24
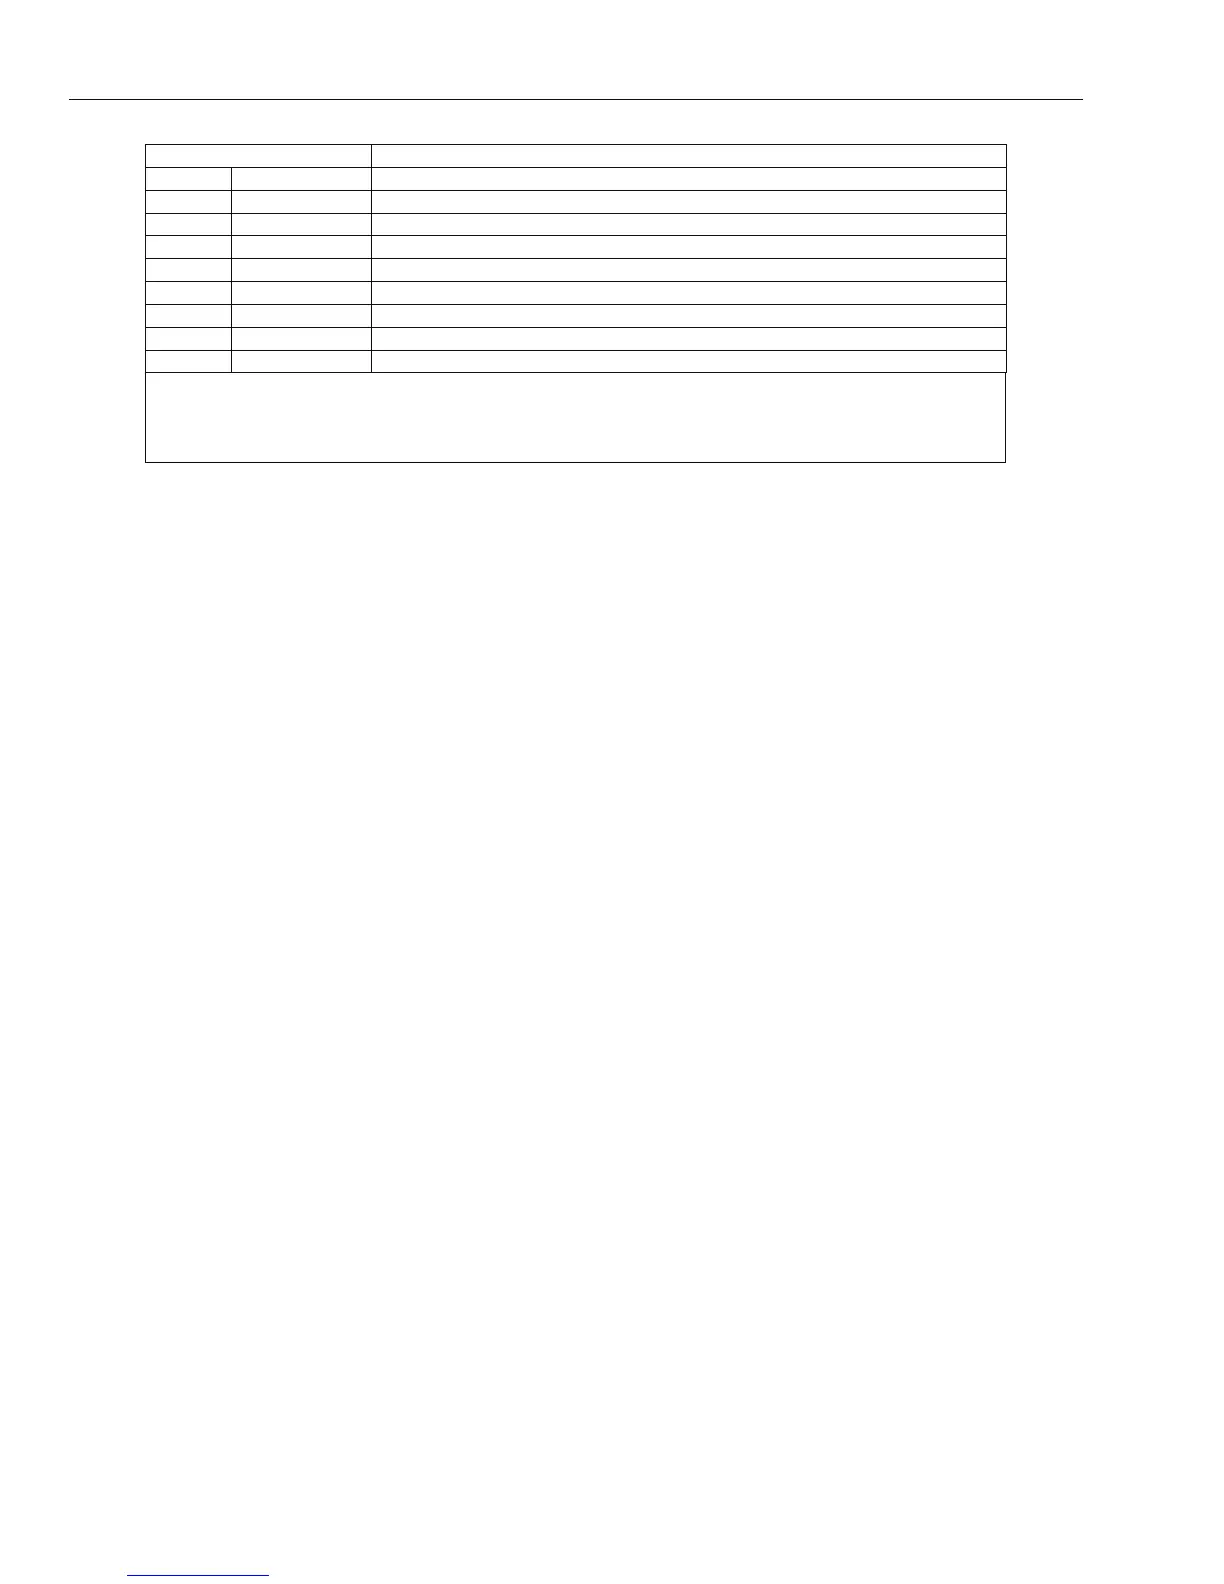
Level Access Availability
1.0† Guard Entered into event memory – no other option
2.1† Cleaner Can only set (arm) the system and change own PIN
2.2† Caretaker Can only set (arm) and unset (disarm) the system and change own PIN
2.3 Users Menu options 11 - 19
2.4 Users Menu options 11 - 25
2.5 Users Menu options 11 - 32
3.6‡ Manager Menu options 11 - 48
3.7‡ Engineer Menu options 11 - 71
3.8‡ Remote Menu options 11 - 71
† No access to menu functions
‡ The manager, engineer and remote codes (the last three codes on the system) have fixed types which cannot be
reprogrammed.
NOTE: All levels except guard can change their own PIN.
Table 6-6. User Access Levels
Duress Code
If the # key is pressed while the Modify Level option is accessed, then the current user code is assigned
as a Duress Code. Entry of a Duress Code at any time activates any output programmed as Duress
(refer to option 53 = OUTPUTS). There is no limit to the number of codes that can be assigned as
Duress Codes. Entry of any valid user code followed by ## is also a duress code.
Quick Menu
All of the user codes default to the quick menu. This menu is made up of a selection of ten options (0 – 9)
from the full menu options 11 – 68. Access to the quick menu is controlled by the user type. Any user can
be upgraded from the quick menu to the full menu by assigning a * to the user while the Modify Type
option is accessed. Therefore a user with type * 2.5 would have access to the full menu from options 11 –
42. No code can access both menus.
The engineer can reprogram the options contained in the quick menu (refer to option 59 = QUICK
MENU).
NOTE: The master manager code defaults to the full menu.
The engineer can determine the menu option access type (refer to option 68 = MENU ACCESS); this
allows users to access menu options that their code types are not, by default, authorized to access.
3 = Modify Name
This option allows a name to be assigned to the user (maximum 6 characters). Each of the user codes
default to the name USER. The engineer (ENG) and manager (MGR) are fixed and cannot be
reprogrammed. On selecting the Modify Name option, a section of the alpha-numeric characters that
can be assigned to the user name is displayed on the bottom line of the keypad; the cursor flashes on the
letter L. Press the * key to erase the characters of the default or previous name. When the previous
name has been erased, use the A> or <B keys to move the cursor to the first character of the name and
press the ent key; the selected character appears on the top line. Continue this process until the name is
completed.
The # key moves between upper and lower case characters and the system library. The alpha-numeric
characters and library words can be selected by entering the character or word reference number (refer
to Appendix A — Library) or by pressing the A> or <B keys.
When the user name is completed, press the esc key to accept the programming and return to the
previous menu level.
 Loading...