Portable
PLUS
Computer
Troubleshooting
8.39
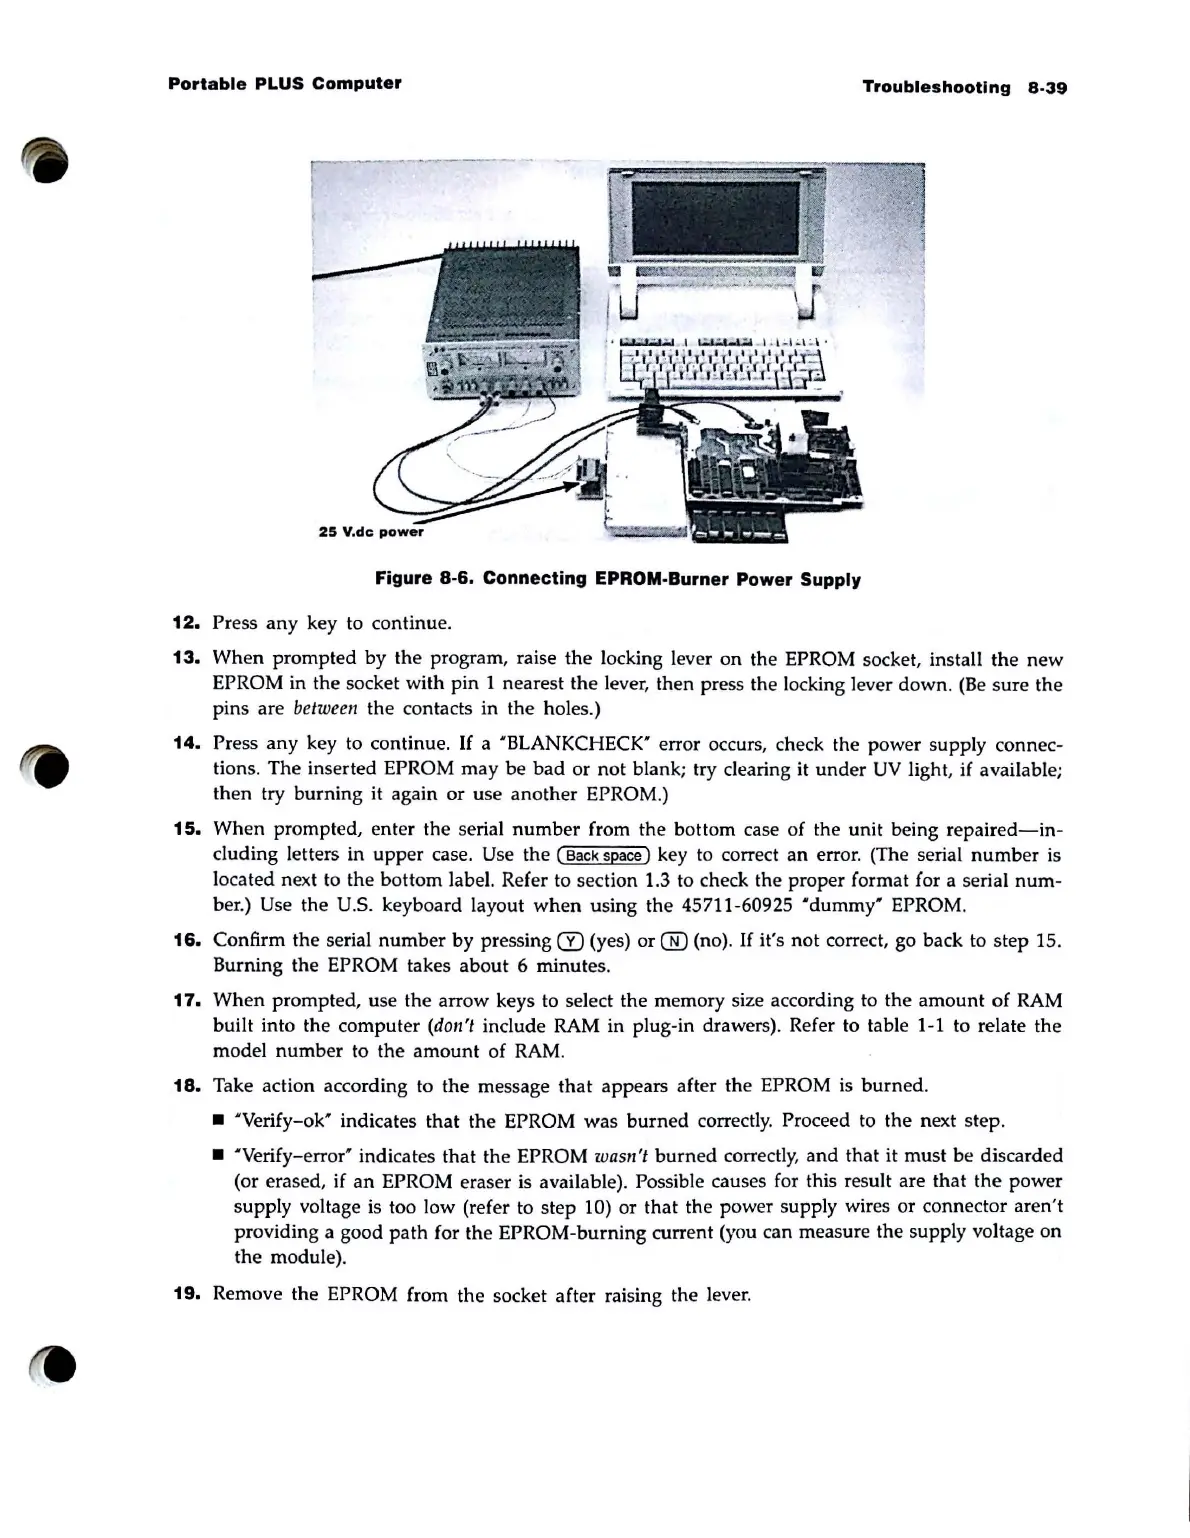
Figure
8·6.
Connecting
EPROM·
Burner
Power
Supply
12.
Press
any
key to continue.
13.
When prompted by
the
program, raise
the
locking lever on the EPROM socket, install the
new
EPROM in the socket with pin 1 nearest
the
lever, then press the locking lever
down
.
(Be
sure the
pins are be
twe
en the contacts in the holes.)
14.
Press any key to continue.
If
a "BLANKCHECK" error occurs, check the power supply connec-
tions. The inserted EPROM may be
bad
or
not
blank; try clearing it
under
UV
light, if available;
then try
burning
it again
or
use another EPROM.)
15.
When prompted, enter the serial
number
from the bottom case
of
the unit being
repaired-in-
cluding letters
in
upper
case. Use the ( Back space) key to correct
an
error. (The serial
number
is
located next to the bottom label. Refer to section 1.3 to check the proper format for a serial
num-
ber.) Use the U.s. keyboard layout
when
using
the
45711-60925
"dummy'
EPROM.
16.
Confirm the serial
number
by pressing CI) (yes)
or
® (no).
If
it's not correct, go back to step 15.
Burning the EPROM takes
about
6 minutes.
17.
When
prompted, use the arrow keys to select the memory size according to the
amount
of
RAM
built into the computer (don't include RAM in plug-in drawers). Refer to table 1-1 to relate the
model
number
to
the
amount
of
RAM
.
18.
Take action according to the message
that
appears after the EPROM is
burned
.
• "Verify-ok' indicates
that
the EPROM
was
burned
correctly. Proceed to the next step .
• "Verify-error' indicates
that
the EPROM wasn't
burned
correctly,
and
that it must be discarded
(or erased, if
an
EPROM eraser is available). Possible causes for this result are that
the
power
supply voltage is too low (refer to step 10)
or
that the power supply wires
or
connector aren't
providing a good
path
for the EPROM-burning current (you can measure the supply voltage on
the module).
19.
Remove the EPROM from the socket after raising the lever.