6.10
Aemoval
and
Aeplacement
Portable
PLUS
Computer
Reassembly Note: First install
nuts
on the three studs
on
the keyboard PCA.
Then
insert the
ground plate
stud
through the fourth hole in the keyboard PCA
and
loosely install the fourth
nut. After positioning the ground plate over the holes for the hinge cover screws, tighten the
fourth nut at the top edge of the keyboard
PCA.
3.
Remove the four nuts
on
the underside of the keyboard PCA. Do this with the display open
and
the assembly tipped back
on
the display case.
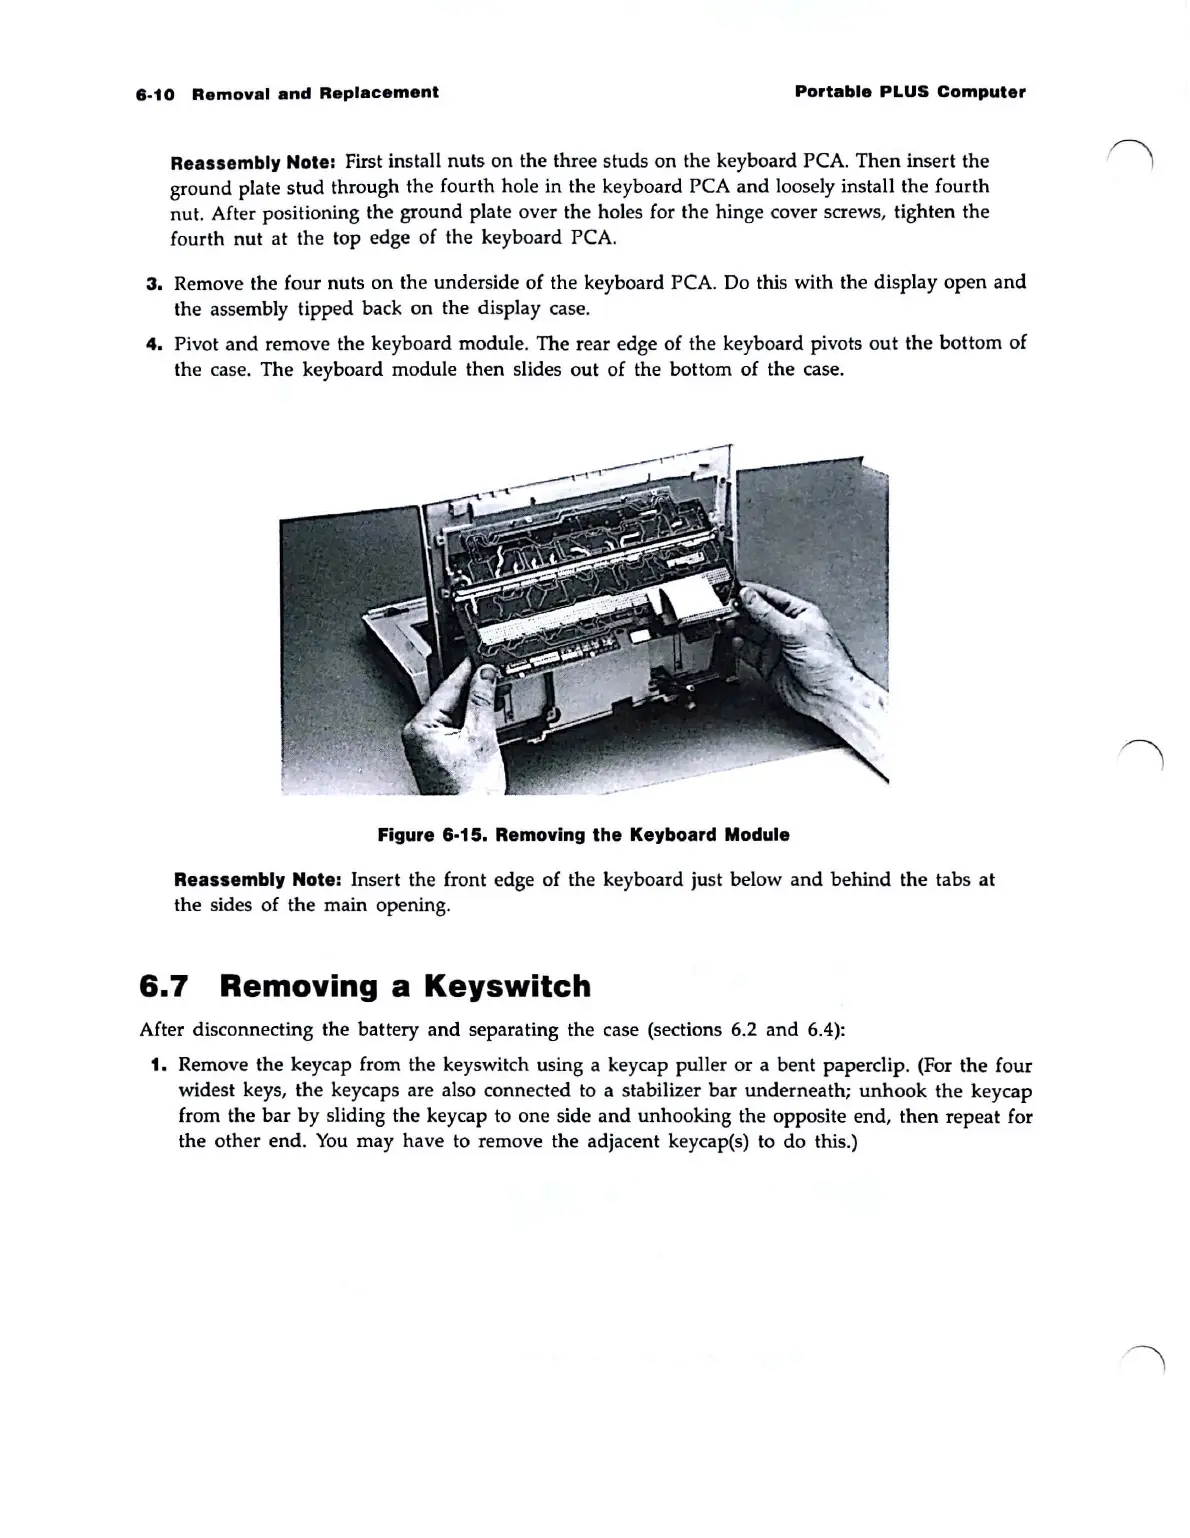
4.
Pivot
and
remove the keyboard module. The rear edge of the keyboard pivots
out
the bottom of
the case. The keyboard module then slides
out
of the bottom of the case.
Figure 6·15. Removing the Keyboard Module
Reassembly Note: Insert the front edge of the keyboard just below
and
behind
the tabs
at
the sides of the main opening.
6.7
Removing a
Keyswitch
After disconnecting the battery
and
separating the case (sections 6.2
and
6.4):
1. Remove the keycap from the keyswitch using a keycap puller or a
bent
paperclip. (For the four
widest keys,
the
keycaps are also connected to a stabilizer
bar
underneath;
unhook
the
keycap
from the
bar
by
sliding the keycap to one side
and
unhooking the opposite end,
then
repeat for
the other end.
You
may have to remove the adjacent keycap(s) to
do
this.)