8·28
Troubleshooting
Portable
PLUS
Computer
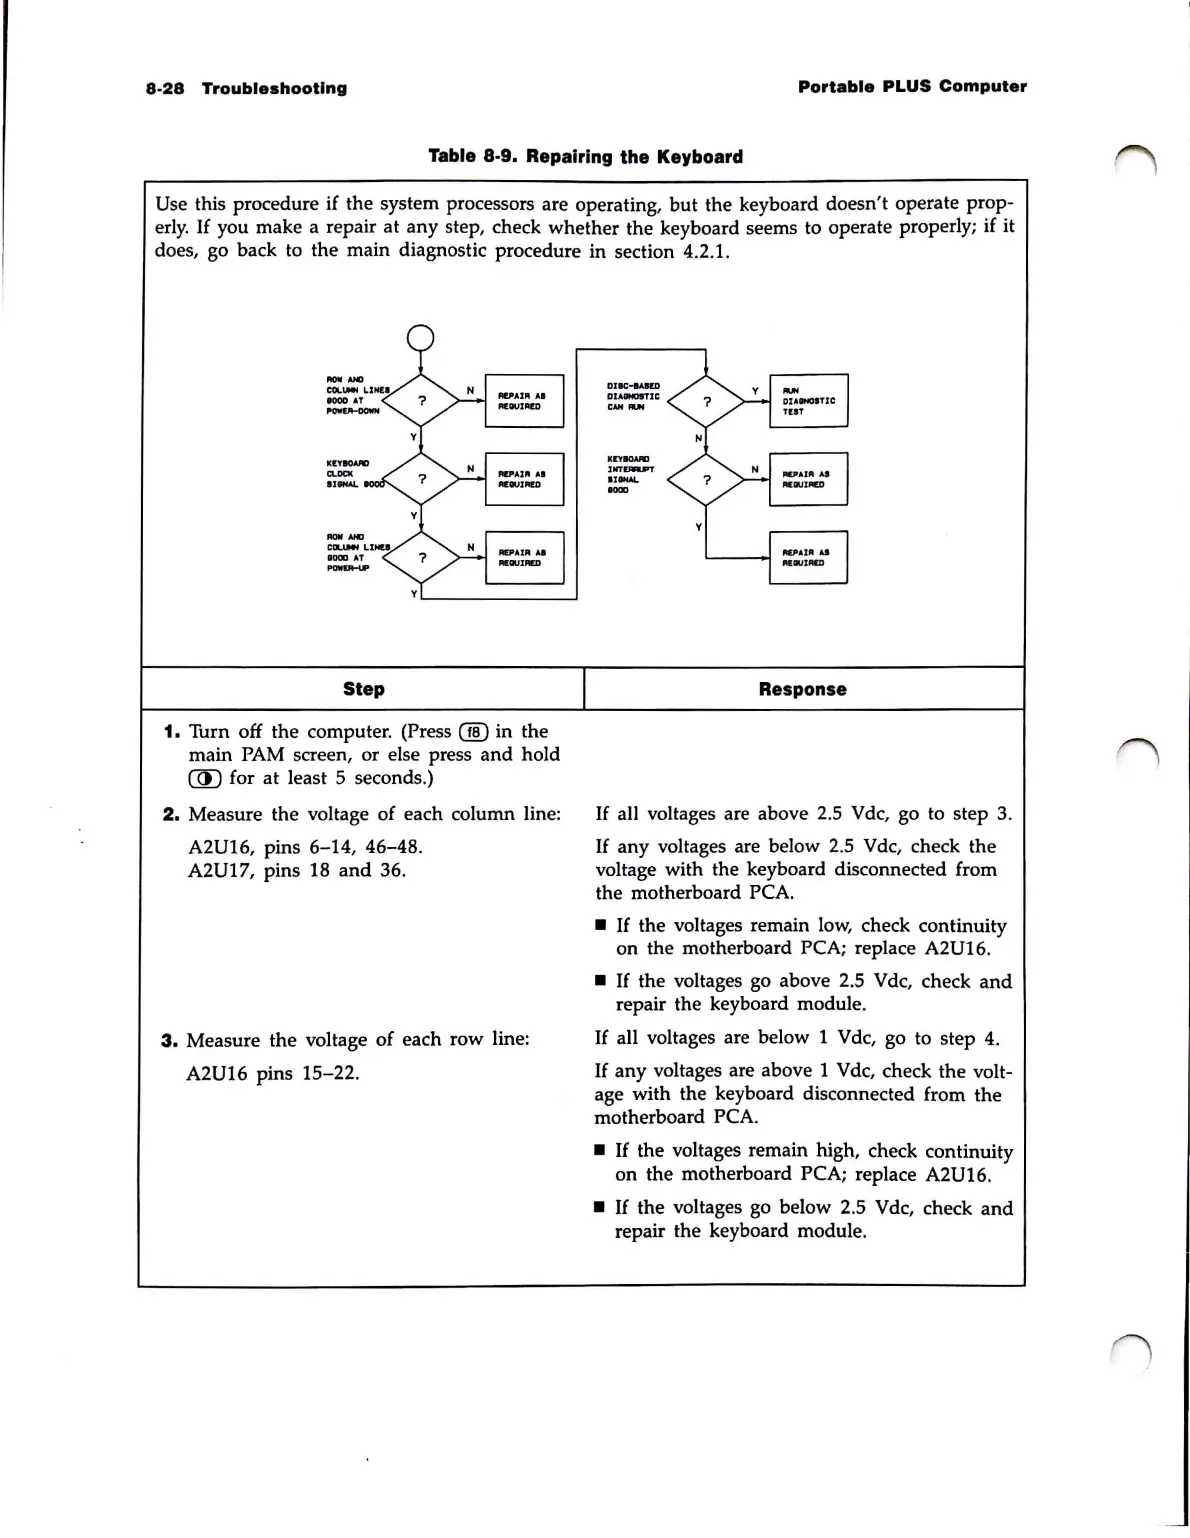
Table 8·9. Repairing the Keyboard
Use this procedure if the system processors are operating,
but
the keyboard doesn't operate prop-
erly.
If
you make a repair at
any
step, check whether the keyboard seems to operate properly; if it
does, go back to the main diagnostic procedure in section 4.2.
1.
Step
1.
Turn off the computer. (Press
00
in the
main
PAM
screen, or else press
and
hold
(J[)
for
at
least 5 seconds.)
2.
Measure the voltage of each column line:
A2U16, pins 6-14, 46-48.
A2U17, pins 18
and
36.
3.
Measure the voltage
of
each row line:
A2U16 pins 15-22.
DJIC...um
aUINOST1C
c
.......
K
..
8CWOD
'NT.-.,
.,
.....
1000
Response
If
all voltages are above 2.5 Vdc, go to step 3.
If
any
voltages are below 2.5 Vdc, check the
voltage with the keyboard disconnected from
the motherboard
PCA.
•
If
the voltages remain
low,
check continuity
on the motherboard
PCA; replace A2U16.
•
If
the voltages go above 2.5 Vdc, check
and
repair the keyboard module.
If
all voltages are below 1 Vdc, go to step
4.
If
any
voltages are above 1 Vdc, check the volt-
age with the keyboard disconnected from the
motherboard
PCA.
•
If
the voltages remain high, check continuity
on the motherboard
PCA; replace A2U16.
•
If
the voltages go below 2.5 Vdc, check
and
repair the keyboard module.