6-12
Removal
and
Replacement
Portable
PLUS
Computer
1.
Remove the cap from the display bezel by gently prying out the two ends at the latch slots;
discard the cap
and
the strip of double-sided foam tape that held the cap in place.
Reassembly Note: Install a
new
cap/tape
assembly (part
number
45711-60917) along the top
recess with the two notches towards the latches.
2.
Remove the two screws at the top
of
the bezel.
Reassembly Note:
If
a
new
display was installed, remove the protective film before installing
the bezel. Avoid over-tightening the two
screws-tighten
them until they are just snug. (Over-
tightening could damage the threads
or
cause the latches to bind.)
3.
Lift off the bezel.
Reassembly Note: Before installing the bezel, clean the glass on the display module with
freon
or
petroleum benzene
(using
only light
pressure),
and
clean both sides
of
the bezel win-
dow
with mild detergent or plastic cleaner.
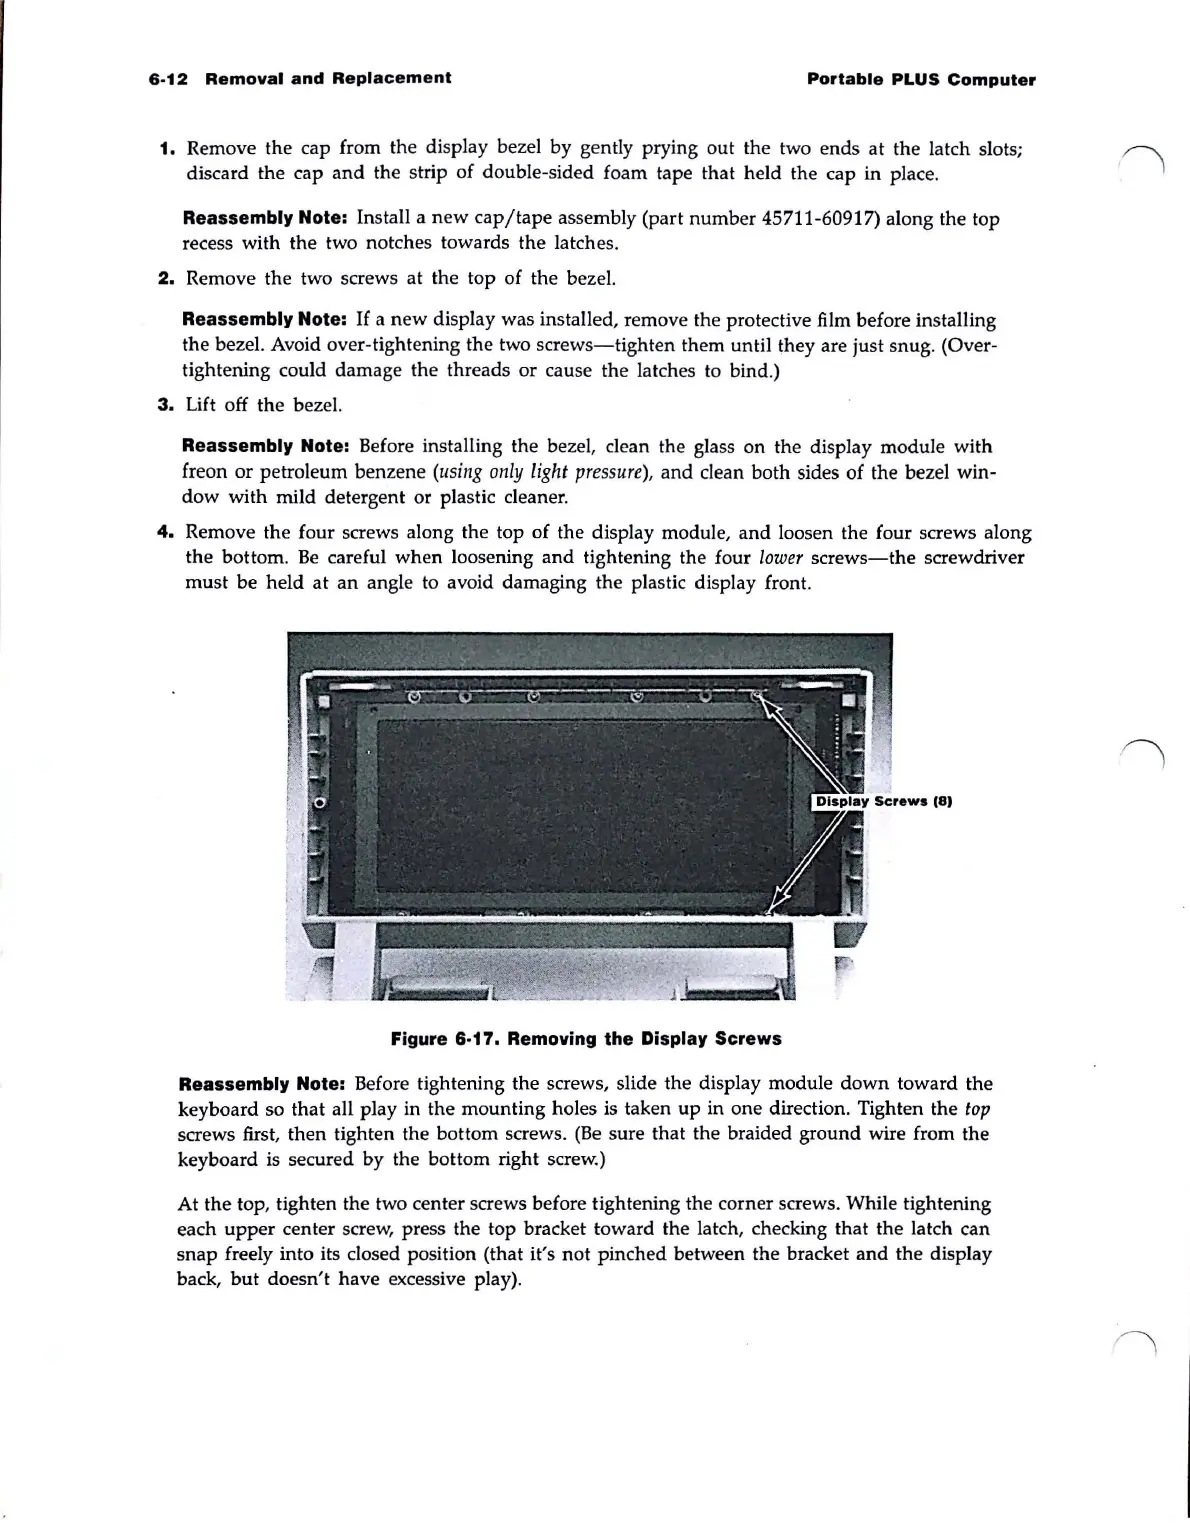
4.
Remove the four screws along the top of the display module,
and
loosen the four screws along
the bottom.
Be
careful
when
loosening
and
tightening the four lower
screws-the
screwdriver
must
be held
at
an
angle to avoid damaging the plastic display front.
Figure 6-17. Removing the Display Screws
Reassembly Note: Before tightening the screws, slide the display module
down
toward the
keyboard so
that
all play in the mounting holes
is
taken
up
in
one
direction. Tighten the
top
screws first, then tighten the bottom screws.
(Be
sure that the braided ground wire from the
keyboard is secured
by
the bottom right screw.)
At the top, tighten the two center screws before tightening the corner screws. While tightening
each
upper
center screw, press the top bracket toward the latch, checking that the latch can
snap
freely into its closed position (that it's not pinched between the bracket
and
the display
back,
but
doesn't have excessive play).